Preview
Step 1: Download and install Mu Editor
Step 2. Connecting your board to your computer
Step 3. Installing CircuitPython
Step 4. Looking into the CIRCUITPY drive
Reference: https://circuitpython.org/
What is CircuitPython?
CircuitPython is a programming language designed to simplify experimenting and learning to program on low-cost microcontroller boards. It makes getting started easier than ever with no upfront desktop downloads needed. Once you get your board set up, open any text editor, and get started editing code. It’s that simple.
Learn more: https://learn.adafruit.com/welcome-to-circuitpython/what-is-circuitpython
Step 1: Download and install Mu Editor
https://learn.adafruit.com/welcome-to-circuitpython/installing-mu-editor
Mu is a simple code editor that works with the Adafruit CircuitPython boards. It’s written in Python and works on Windows, MacOS, Linux and Raspberry Pi. The serial console is built right in so you get immediate feedback from your board’s serial output.
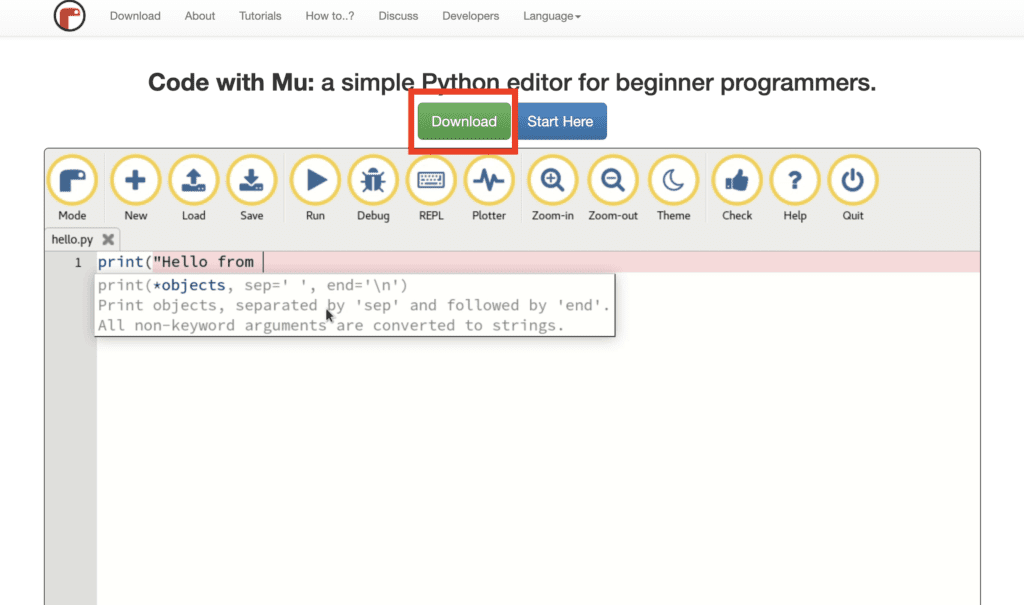
1.Download Mu from https://codewith.mu.
2. Follow the installation instructions. You may refer this website for more information. https://learn.adafruit.com/welcome-to-circuitpython/installing-circuitpython
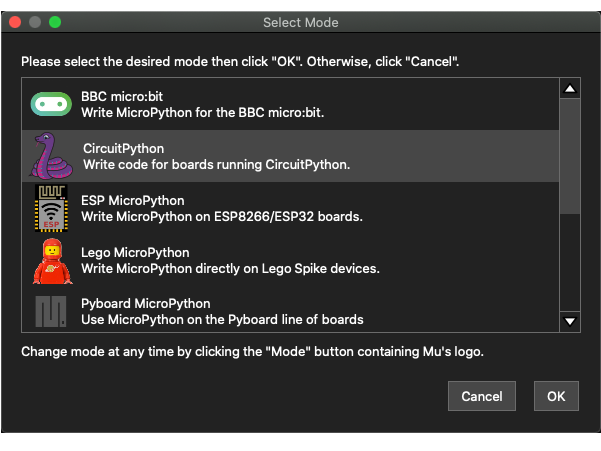
3. Please select CircuitPython mode after you start your Mu Editor for the first time.
Your current mode will show up on the bottom right corner, next to the ⚙️ icon.
You can switch your mode by clicking the Mode button at the top bar.
But let’s select CircuitPython for now.
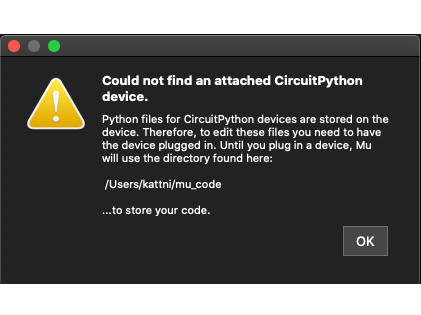
This warning alert may show up if you are not connecting to your board yet.
To avoid this warning, plug in a board and ensure that the CIRCUITPY drive is mounted before starting Mu.
Step 2. Connecting your board to your computer
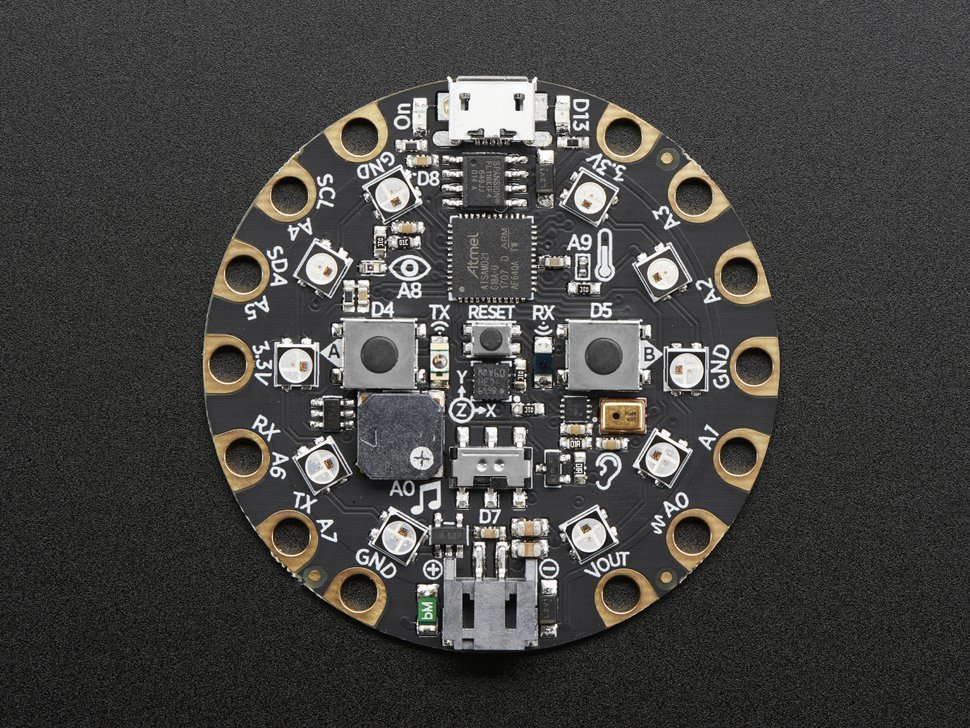
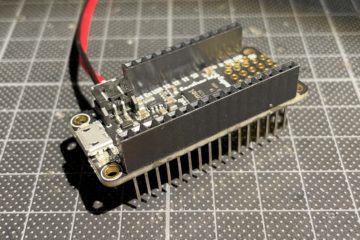
Now you have your Circuit Playground Express board. (Learn more about the board)
You’ll want to plug in your board using a known-good Micro-B USB data cable. Make sure the USB cable is a DATA cable! There are some that work only for charging and can lead to a lot of frustration.
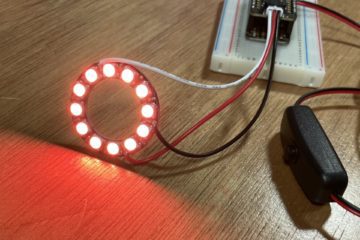
Now your board is glowing with the rainbow light chase.
Step 3. Installing CircuitPython
https://learn.adafruit.com/welcome-to-circuitpython/installing-circuitpython
Download the latest version!
Here is the CircuitPython for Circuit Playground Express: https://circuitpython.org/board/circuitplayground_express/
If the file you downloaded that matches the board name ends in uf2 then you want to continue with this section.
Start the UF2 Bootloader
If your circuit playground is fresh-out-bag, Press the middle RESET button once.
The light circle on the board will all turn red, then they will stay green once the board is connected to your computer.
A new drive called CPLAYBOOT will show up on your computer.
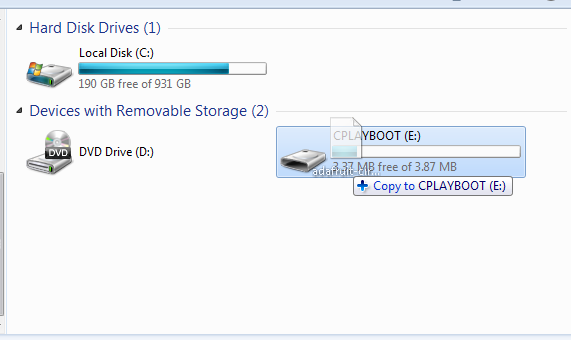
Install CircuitPython
Now find the uf2 file you downloaded. Drag that file to the boot drive on your computer.
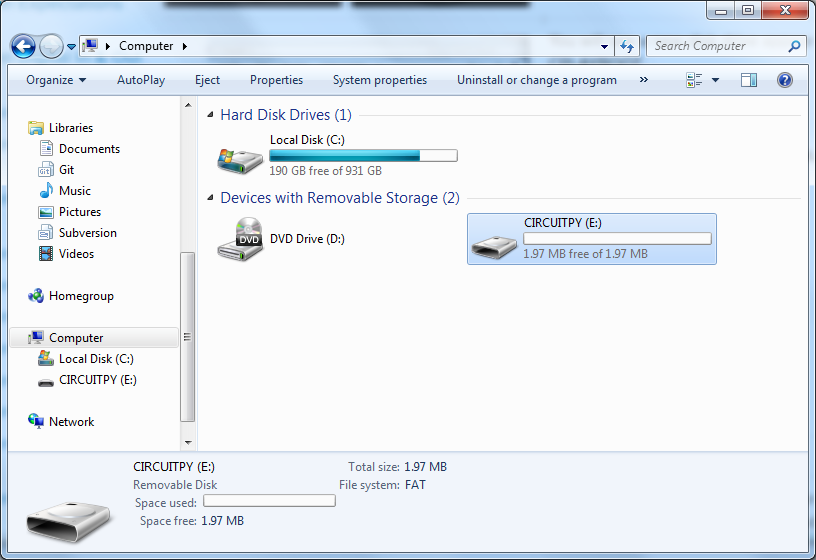
The lights should flash again, boot will disappear and a new drive will show up on your computer called CIRCUITPY.
Congratulations! You’ve successfully installed or updated CircuitPython!
Step 4. Looking into the CIRCUITPY drive
https://learn.adafruit.com/welcome-to-circuitpython/the-circuitpy-drive

With a fresh CircuitPython install, on your CIRCUITPY drive, you’ll find a code.py file containing print("Hello World!") and an empty lib folder.
If your CIRCUITPY drive does not contain a code.py file or the lib folder, you can easily create one and save it to the drive.
CircuitPython looks for code.py and executes the code within the file automatically when the board starts up or resets. Following a change to the contents of CIRCUITPY, such as making a change to the code.py file, the board will reset, and the code will be run. You do not need to manually run the code. This is what makes it so easy to get started with your project and update your code!
Now you are ready for making some amazing projects with CircuitPython!

0 Comments