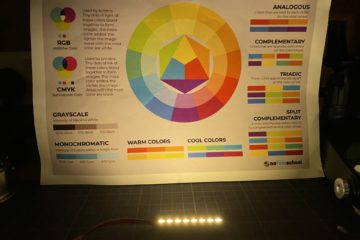
NeoPixels are LEDs that can be programmed to show specific colors. They are connected serially, allowing long chains of them to be easily controlled. You connect the first NeoPixel to a data output from your CircuitPython board, and each additional LED is connected in a chain. Pre-wired strips, rings, and other shapes are available or you can connect individual LEDs to each other to make a custom arrangement.
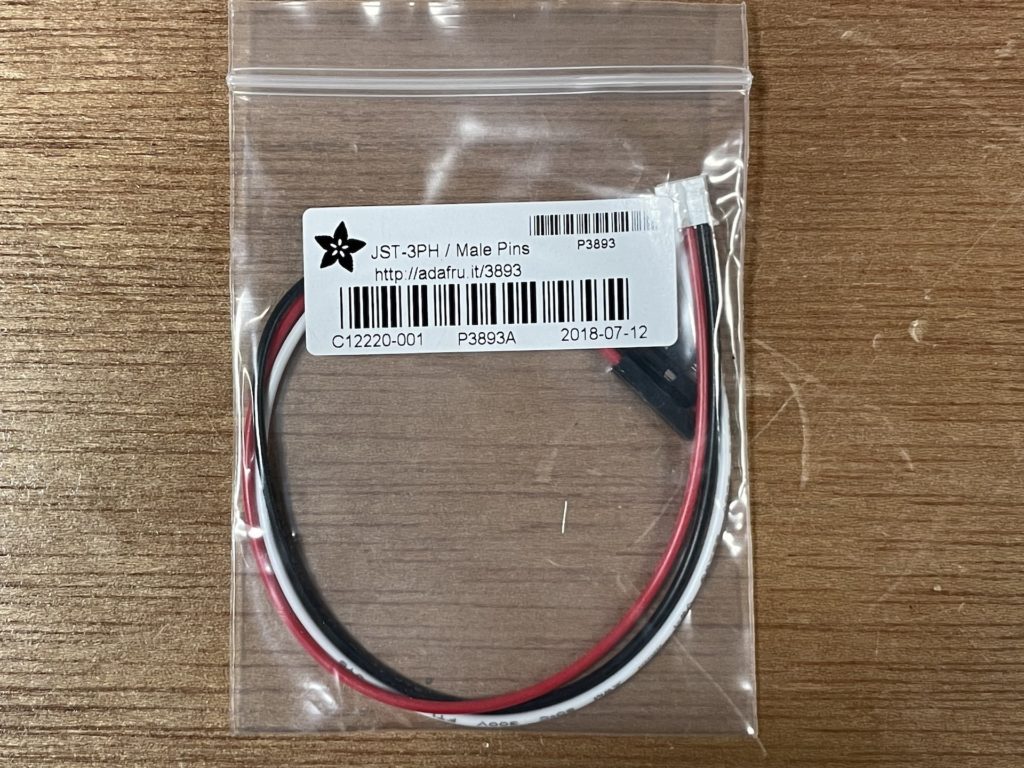
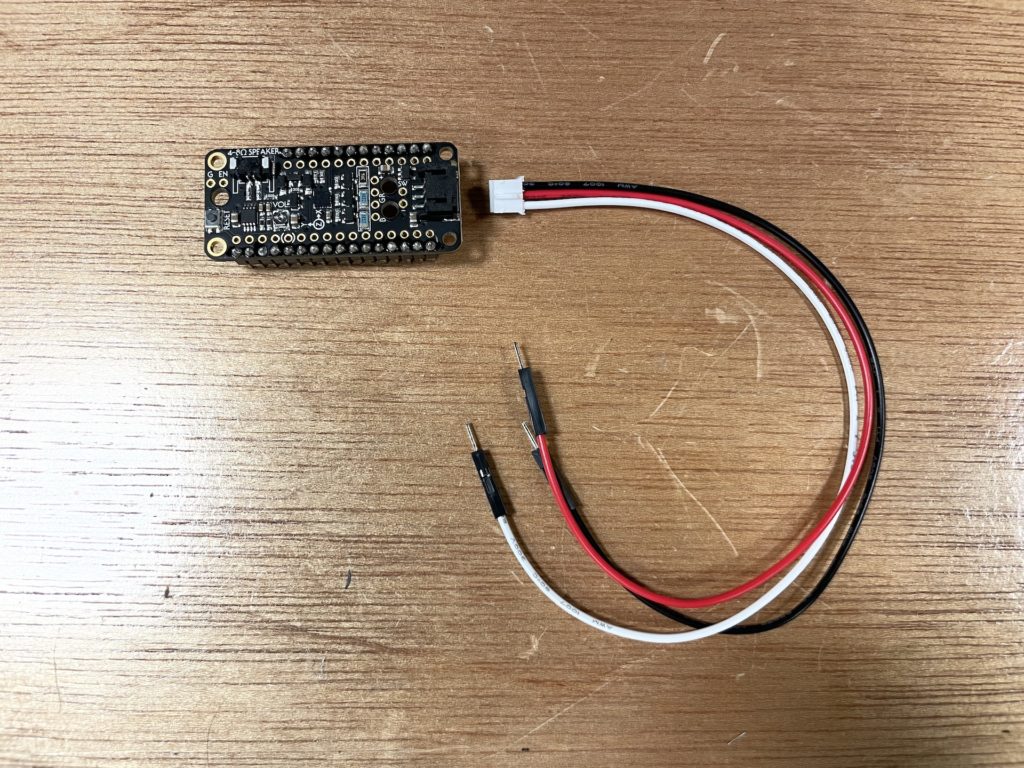
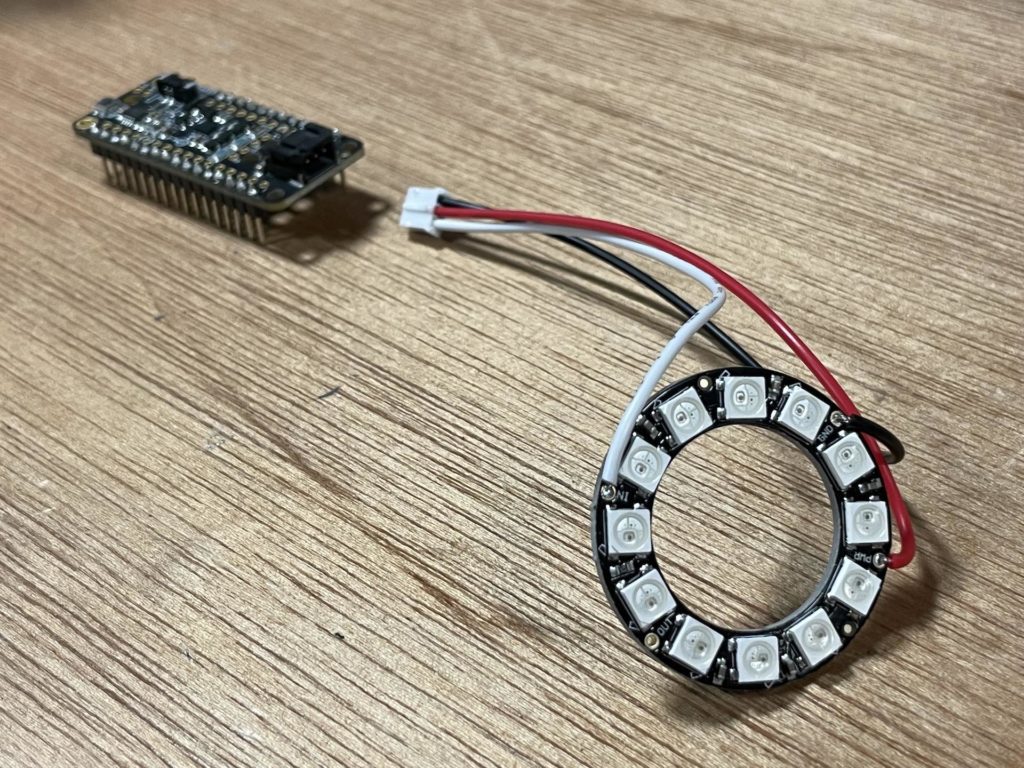
The Prop-Maker FeatherWing has a dedicated connector for connecting NeoPixels. We’ll need to solder the plug and wire that matches the connector to the NeoPixels we want to use.
Hardware References
- Adafruit NeoPixel Überguide
- Prop-Maker FeatherWing NeoPixel Connector (Adafruit)
- Make It Glow: How to Solder NeoPixels, A Beginner’s Guide
- Class parts available
- 12x NeoPixel Ring
- 8x NeoPixel Strip
- 1x RBGW NeoPixel buttons
- These have red, green, blue, and white LEDs (four colors total). The extra white LED allows for a nicer white than making white by mixing the RGB and also allows “pastel” colors to be created by mixing in some white with the main colors.
Software References
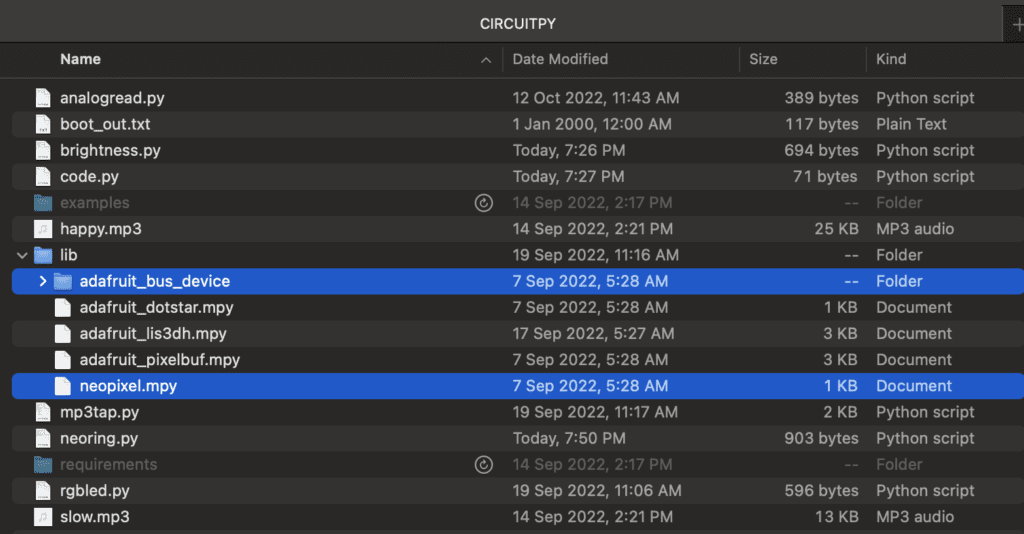
- CircuitPython Installation of NeoPixel Library (Adafruit)
- CircuitPython Libraries Bundle download – We’re using CircuitPython 8.x
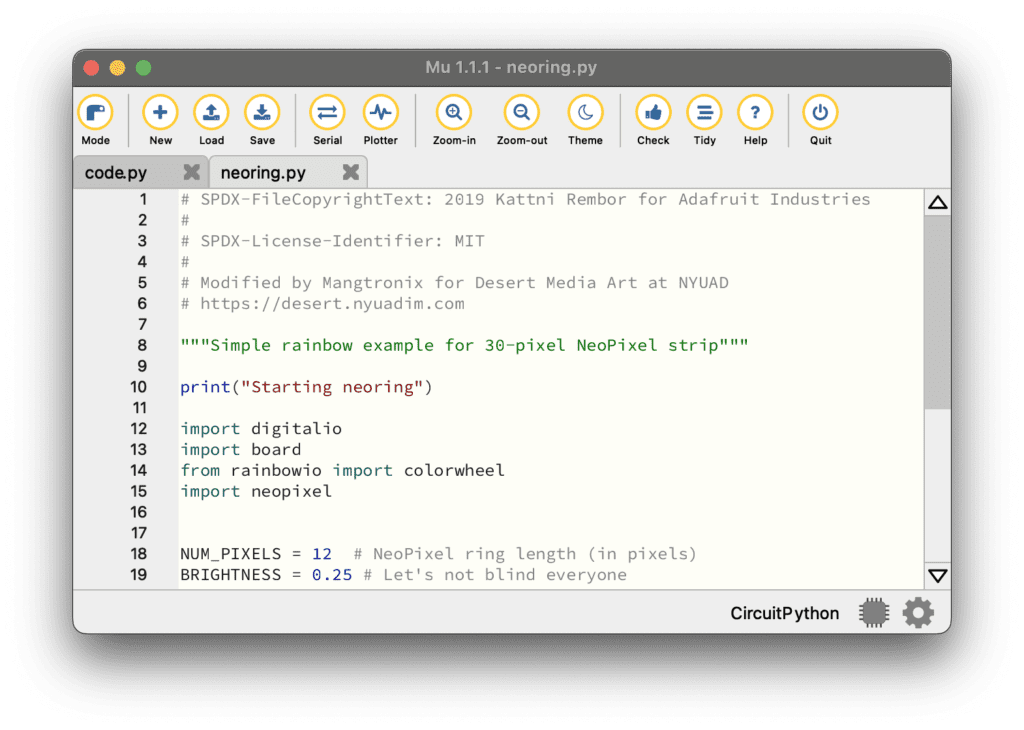
- Prop-Maker FeatherWing NeoPixel code (Adafruit)
- neoring.py (DMA GitHub) – Load this code
Assembly Guide
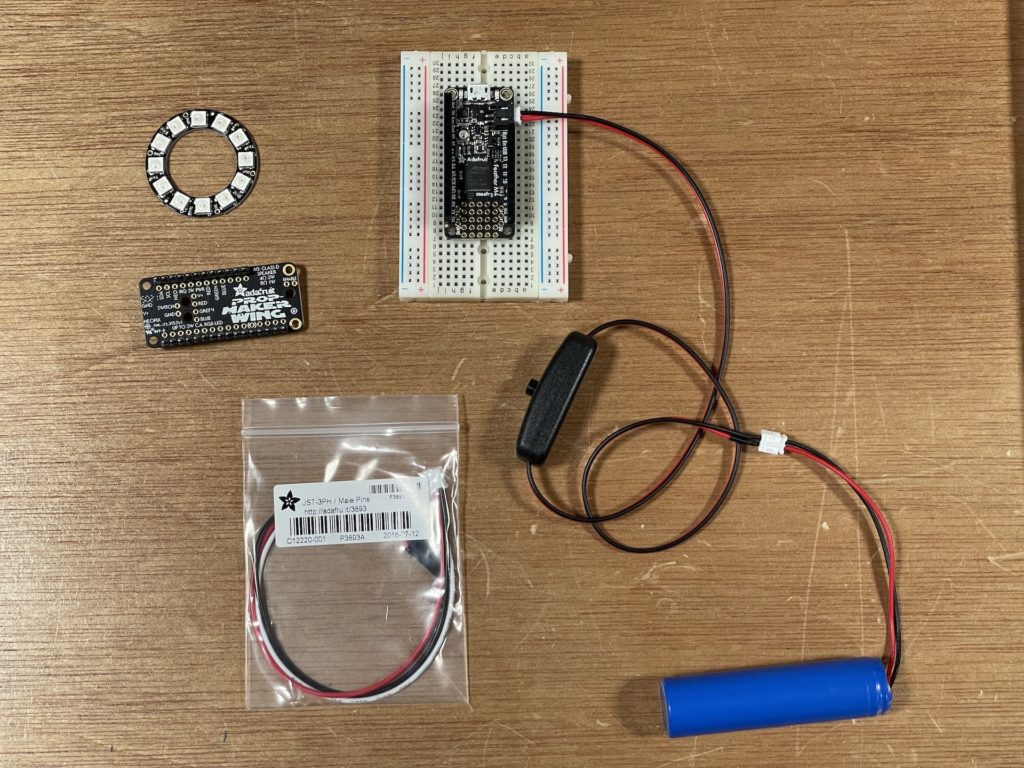
- Prop-Maker FeatherWing
- NeoPixel Ring (or strip, stick, etc)
- JST-3PH connector
- M4 Express CircuitPython board with battery
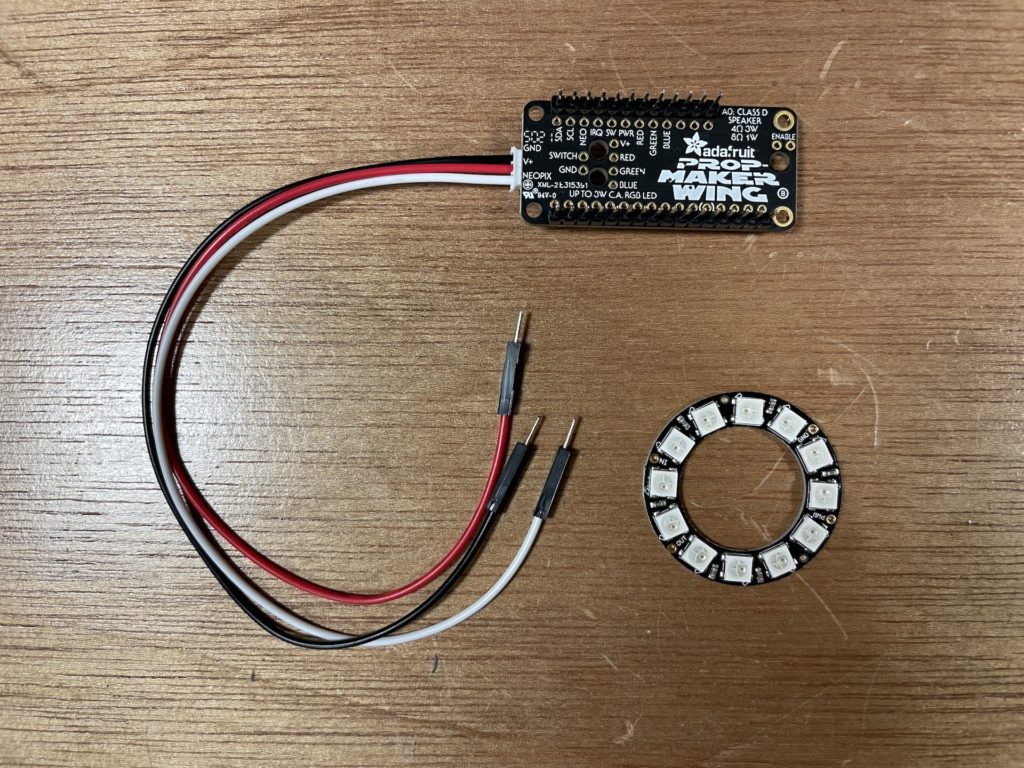
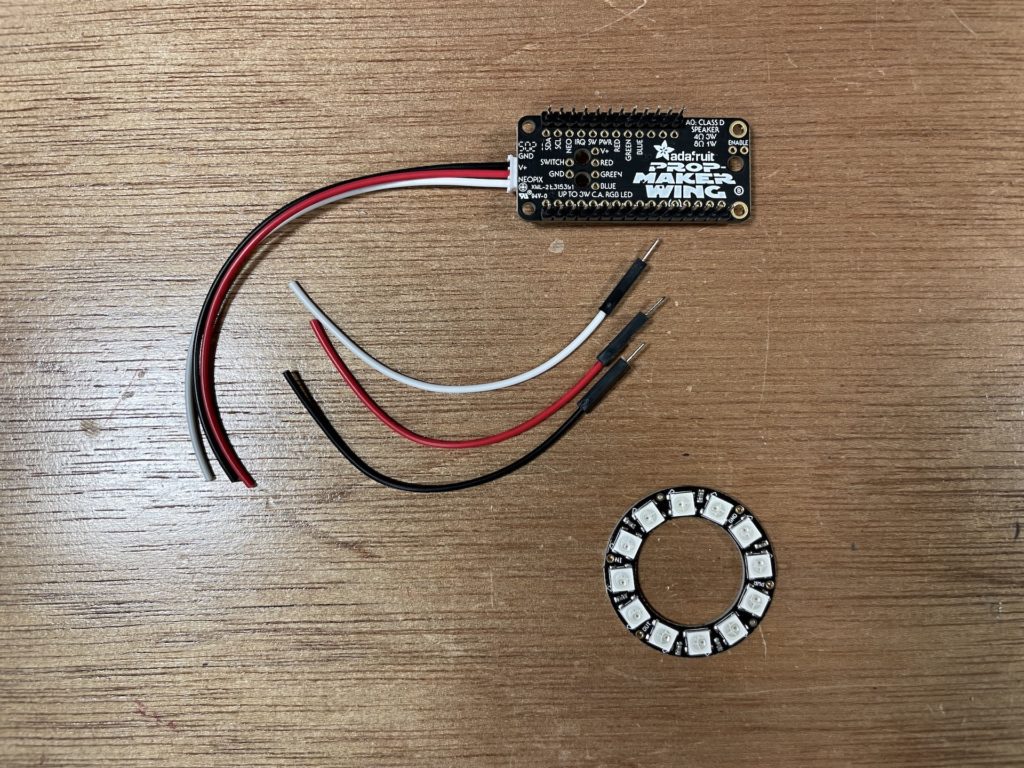
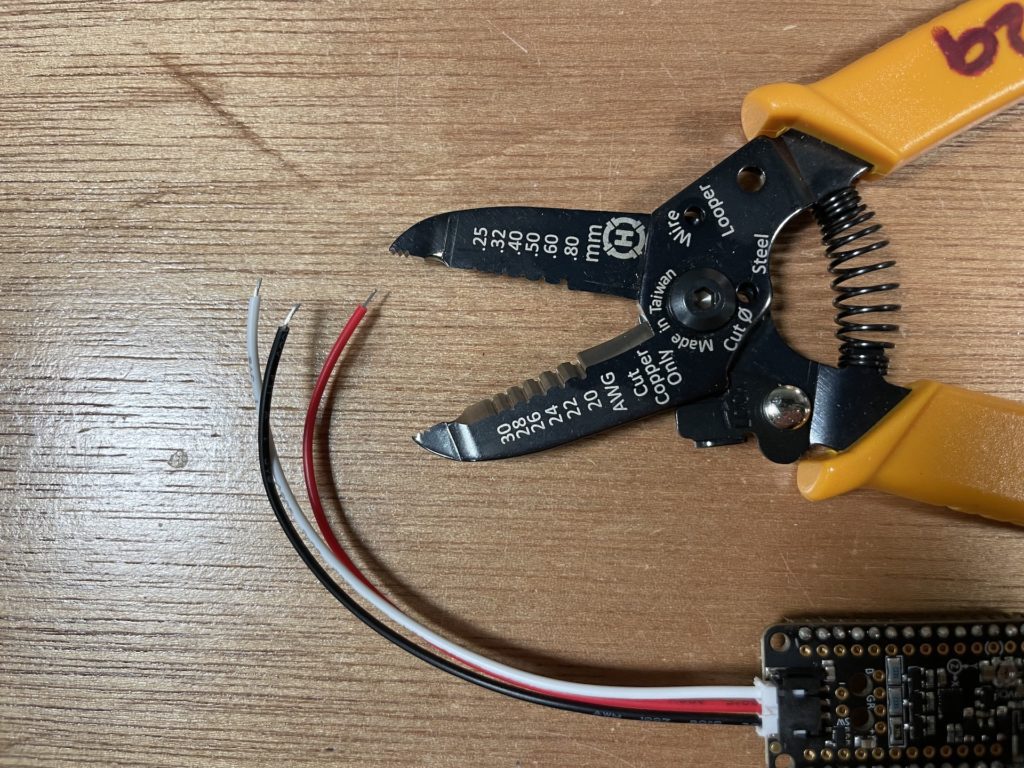
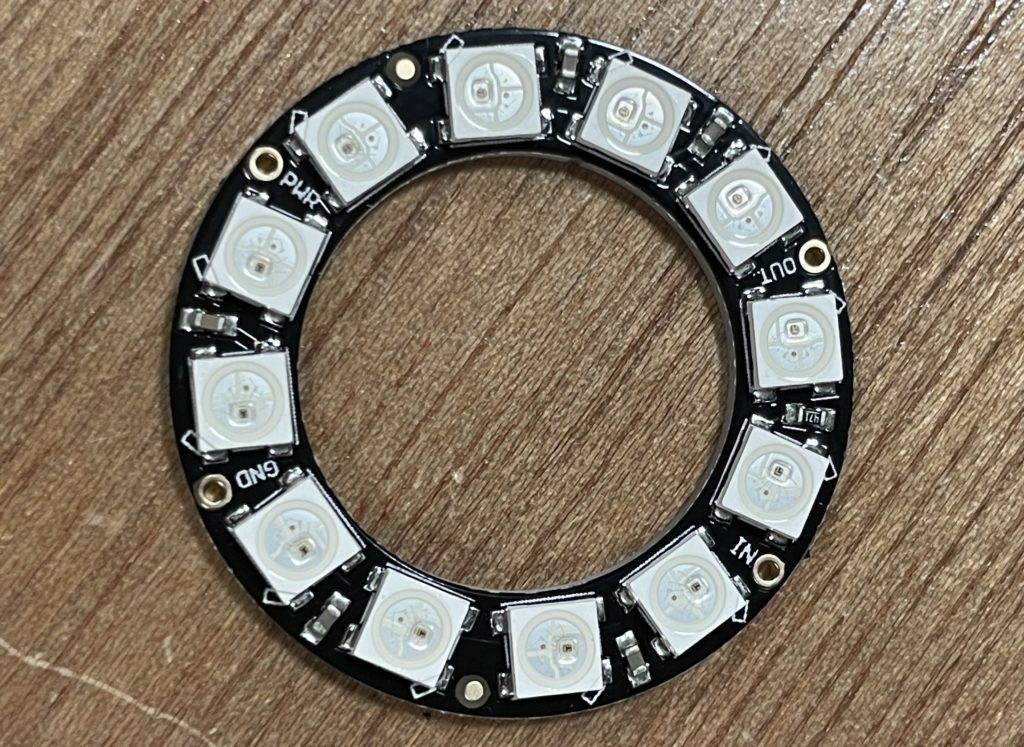
- PWR – +5V
- GND – ground
- IN – Data into the NeoPixel from the CircuitPython board
- OUT – Optional data out to another NeoPixel – to add another ring we would connect the OUT of the first ring to the data IN of the next ring
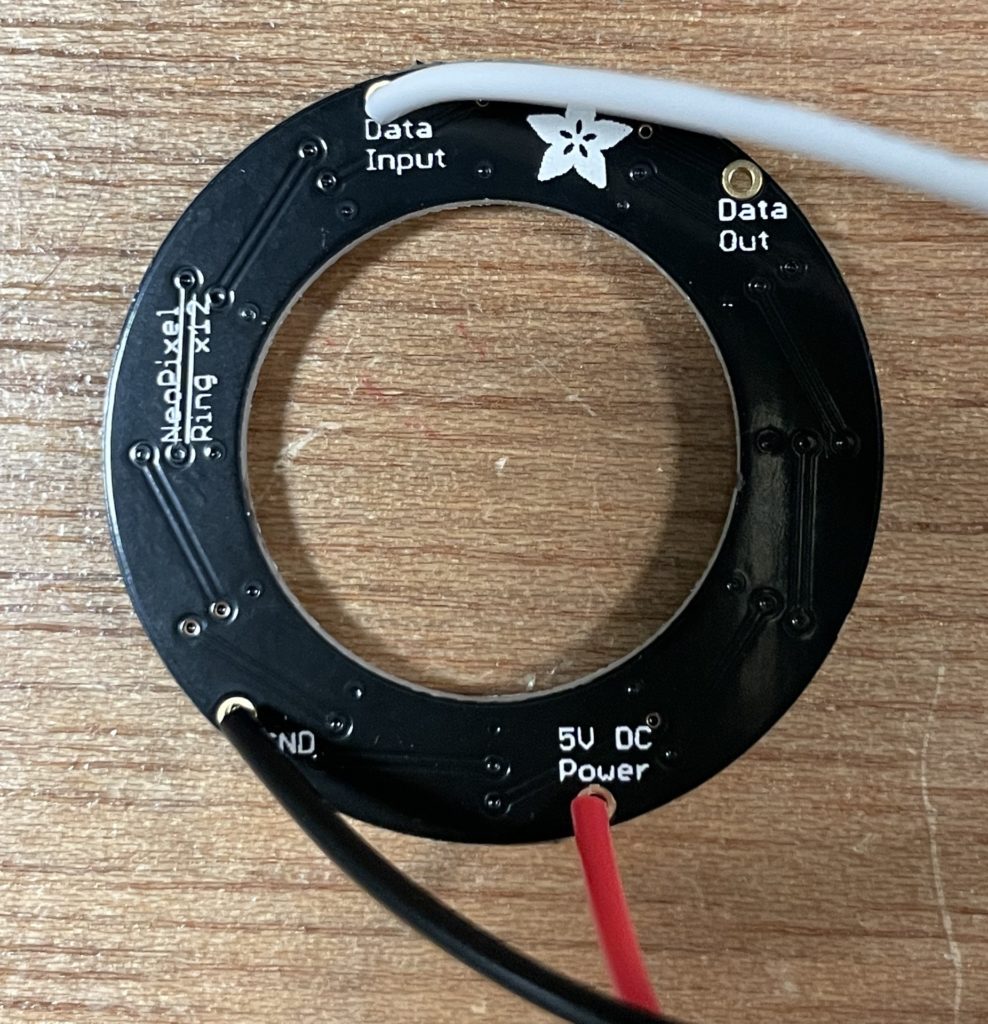
- Red wire -> +5V Power
- Black wire -> GND
- White wire -> Data Input
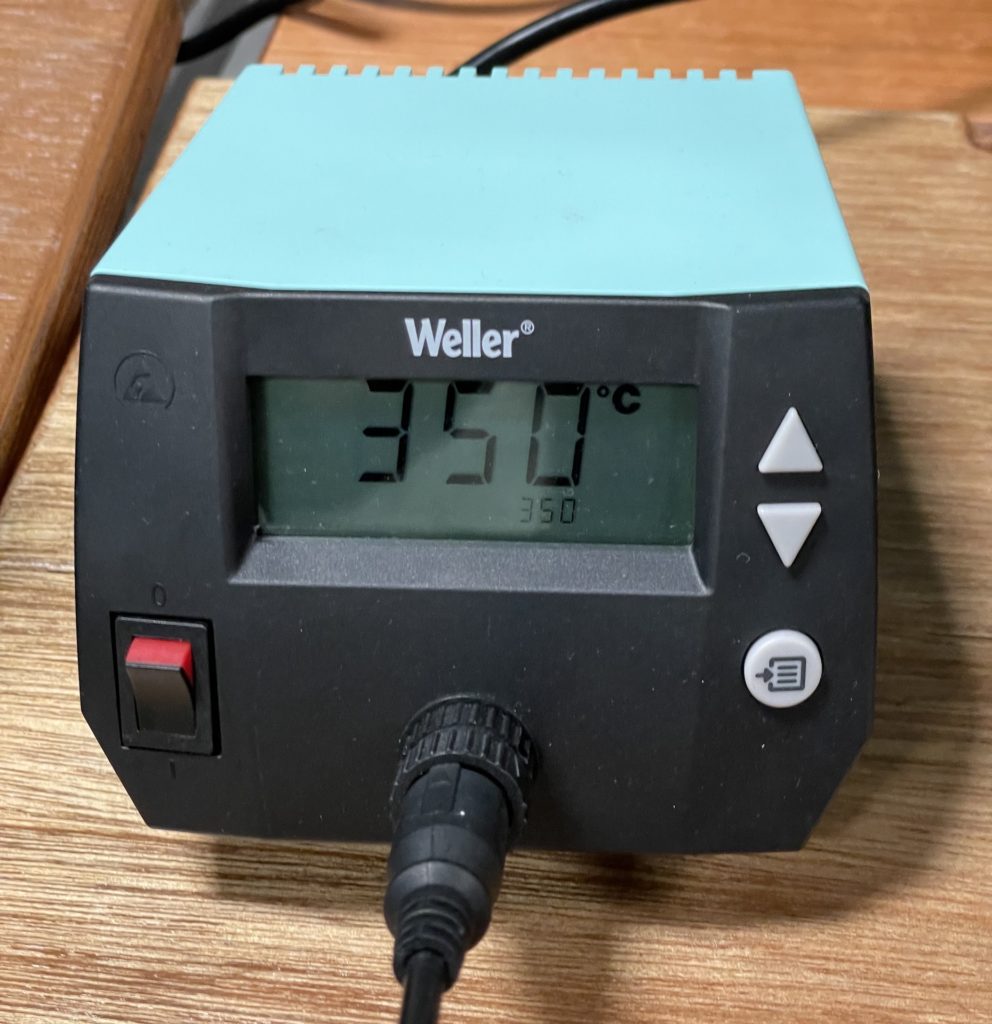
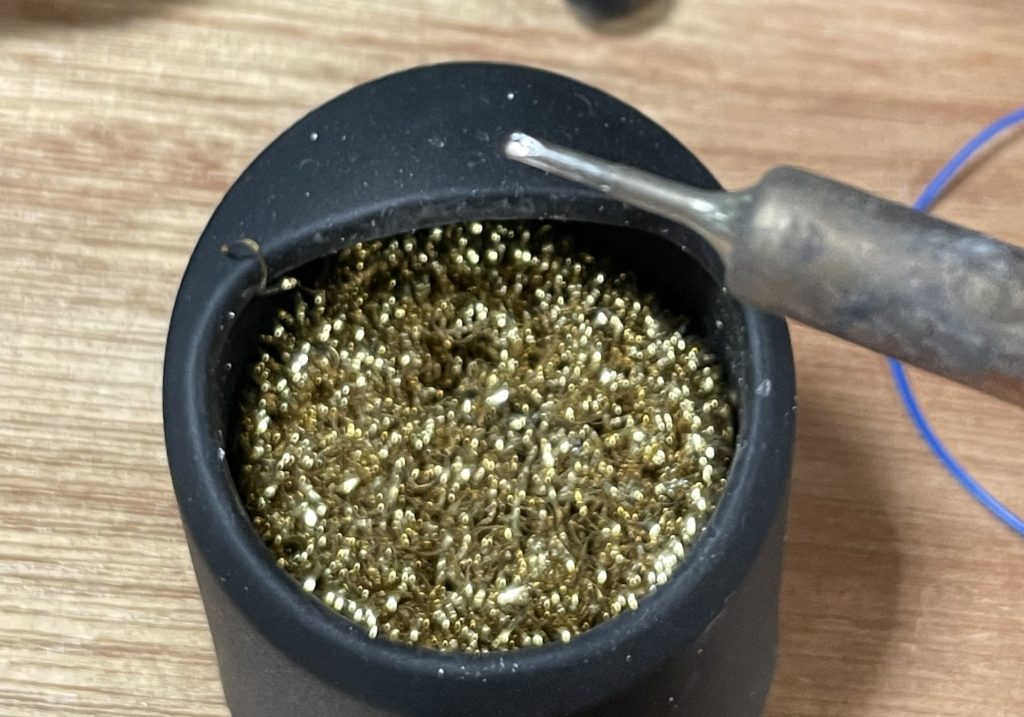
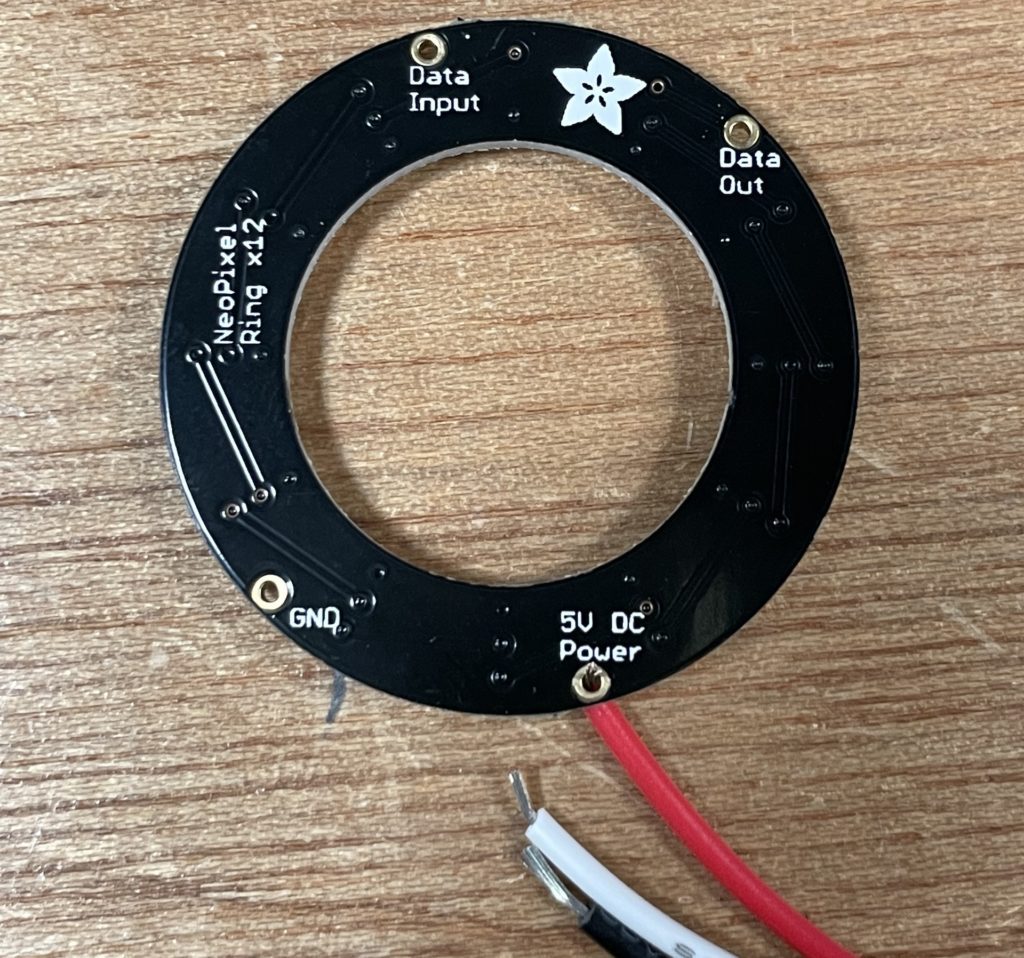
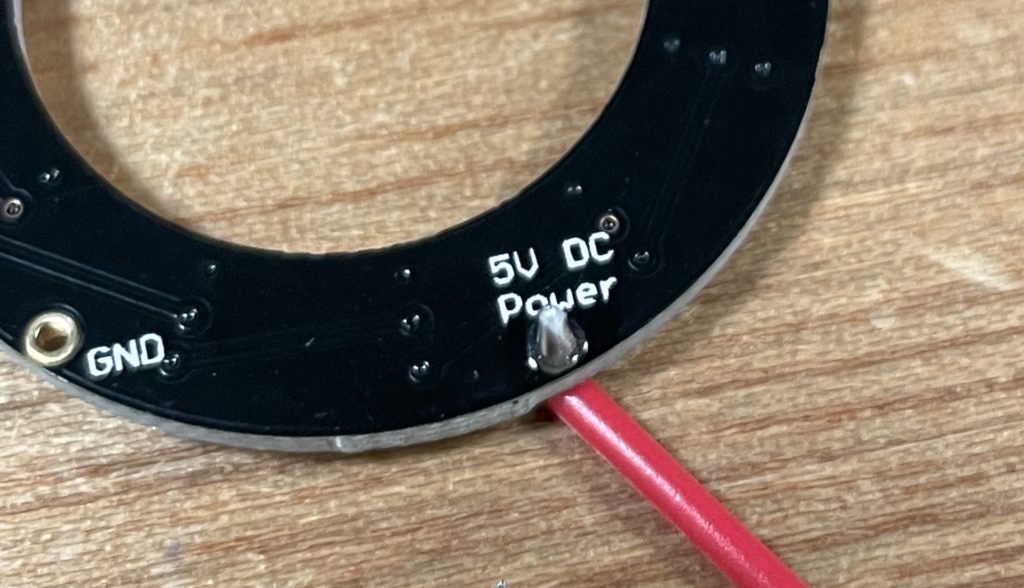
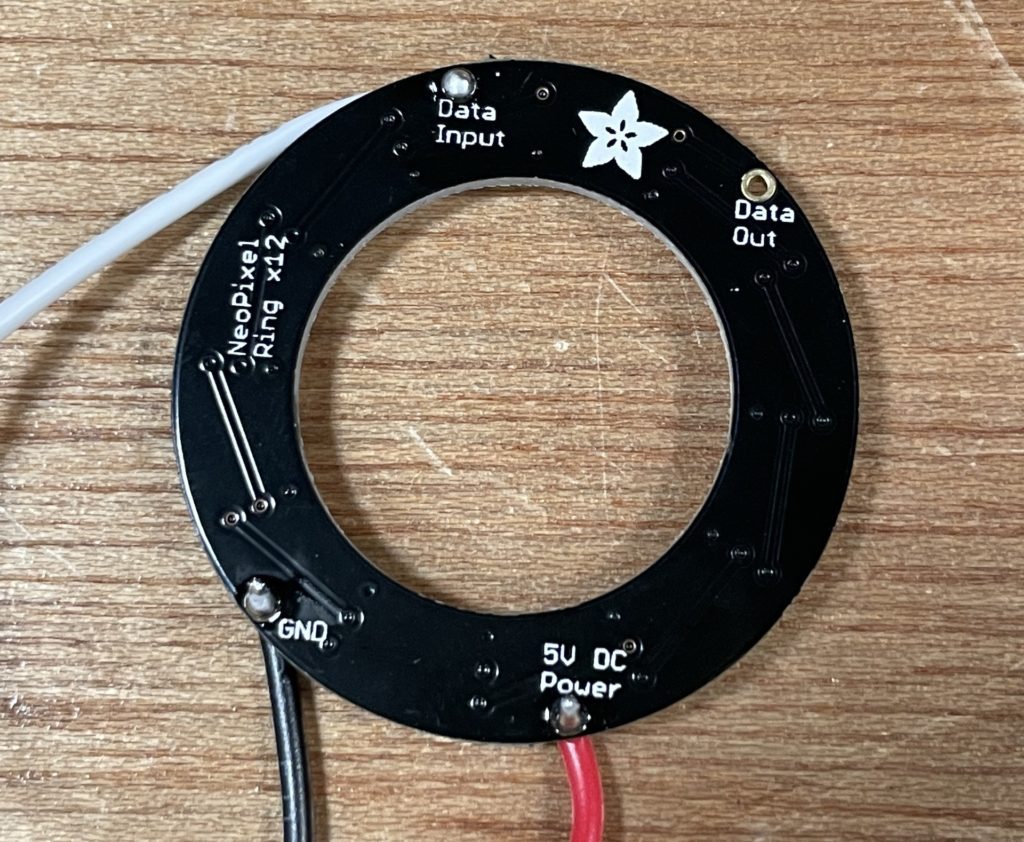
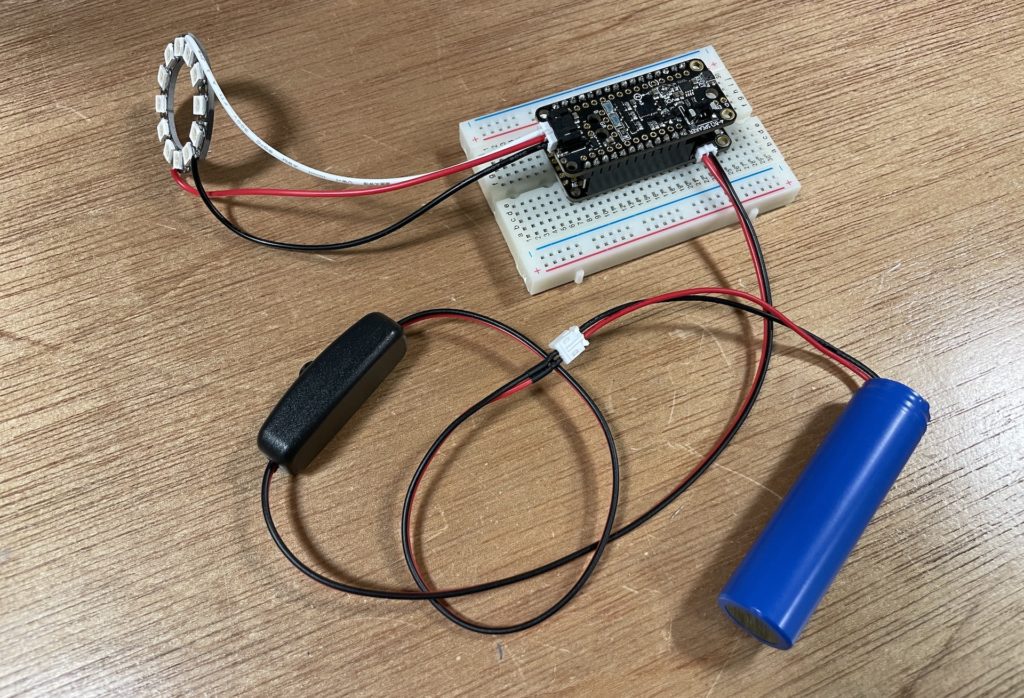
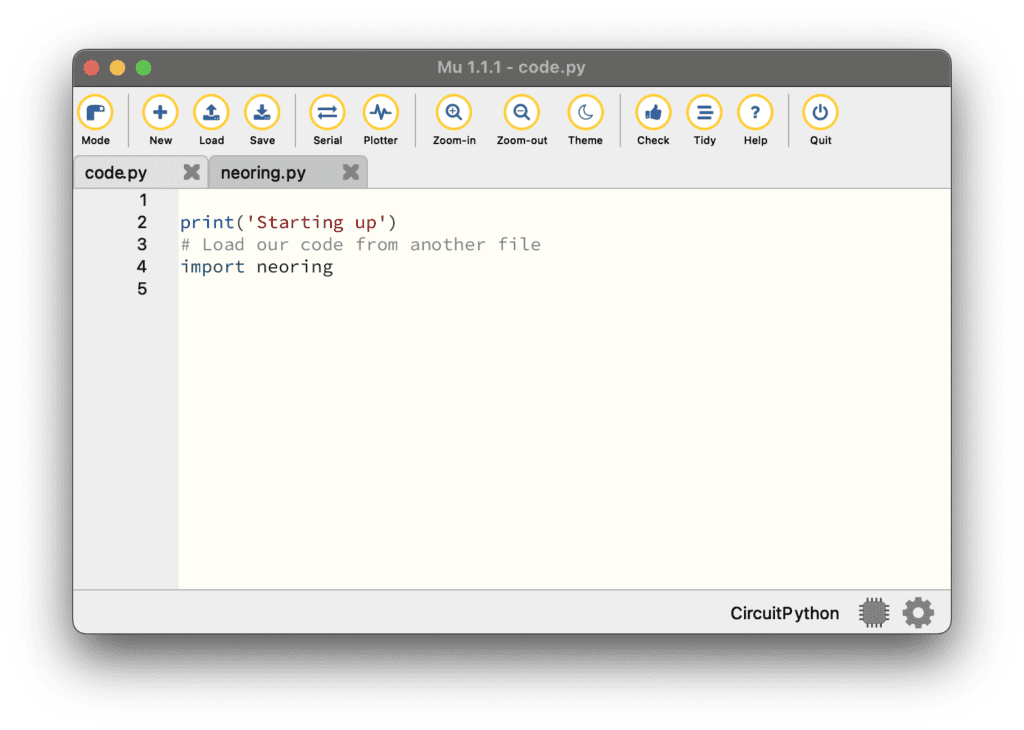
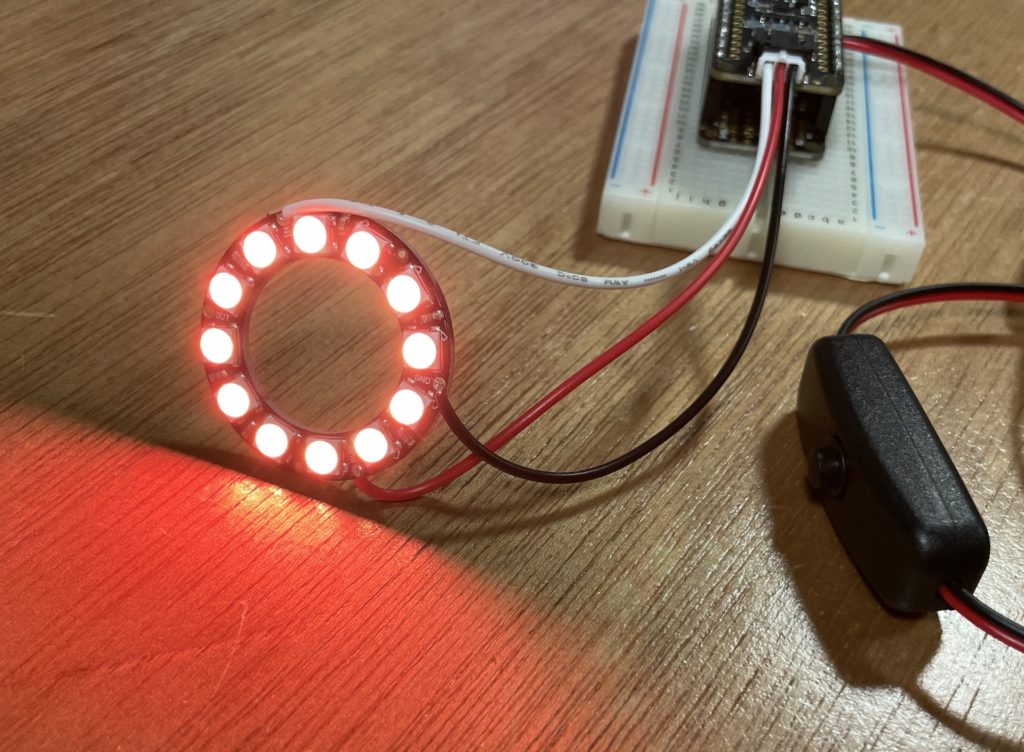
Bask in rainbow-licious NeoPixelated programmable light!
Don’t plug or unplug NeoPixels while the power is on! They could be damaged.
You can program the NeoPixel colors directly (recommended to start) or use an animation library
Happy NeoPixeling!
