Fabrication

We have modeled and used the 3D printer to print out 3 segments of the “bone” structure. We tried out two different models, one flat and one with curves, and decided on the latter one because it fits better with our concept and looks more similar to actual bones.
For the following steps for the fabrication part, we’ll focus on
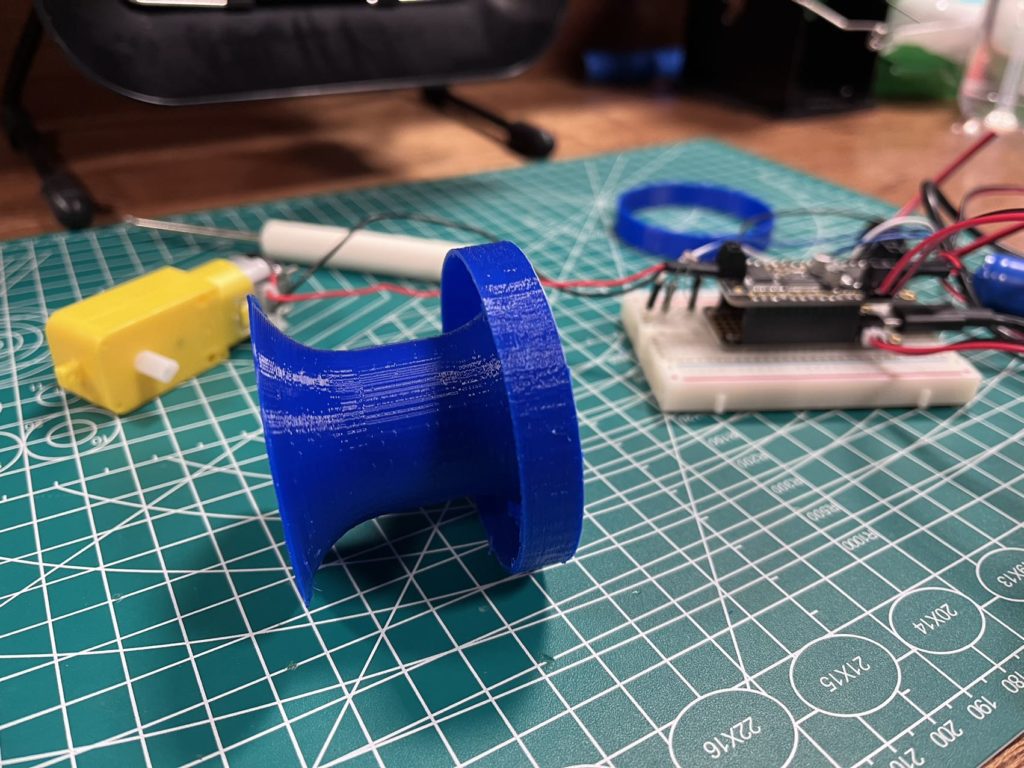
- 3D printing strip container
- For 3D printing the strip container, we have encountered some difficulties in printing it with the support. The shape does need the support to be printed out, but the support is hard to be removed. We are still thinking about the solutions for that.
- Laser cut the cooling fins
- Adjusting the holes in each segment of the bones for the servos to be put
- Now the servo is a bit too extruded, so we’re thinking about adjusting its position.
Cooling Fin
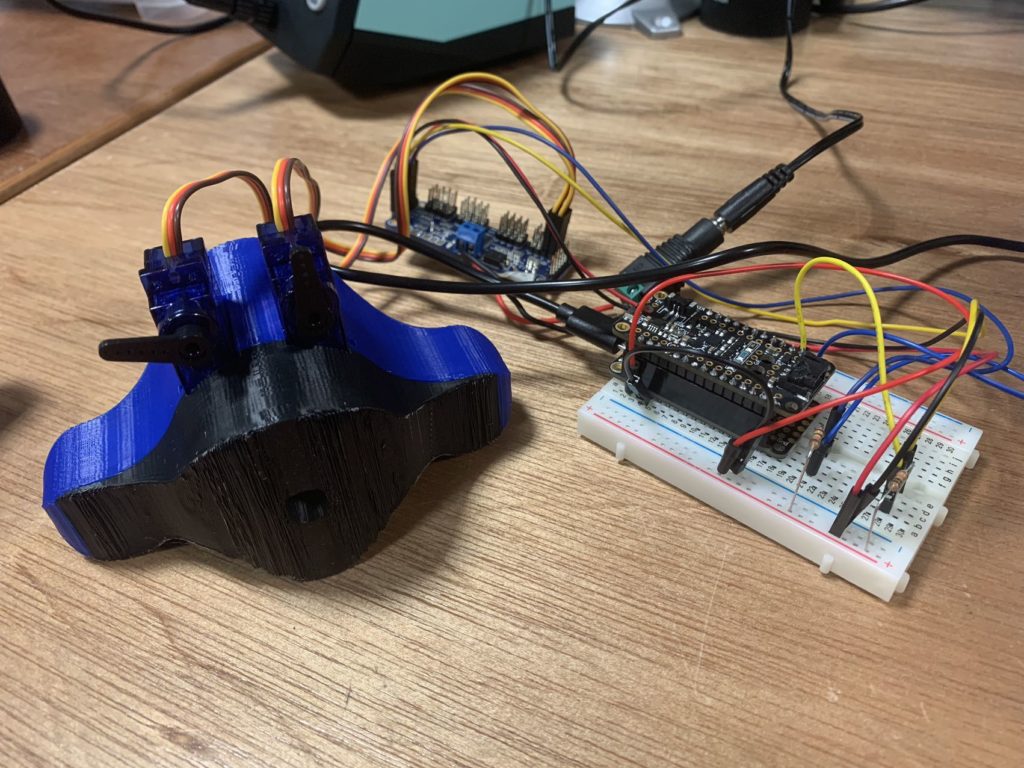
For the movement of the “cooling fin”, we’ve finished
- Movement of a single servo
- Use PCA9865 servo driver to power multiple servos
For further development, we still need the following:
- Laser cut the fins
- Figure out how to properly make multiple servos move according to the acceleration
- now the data of the accelerometer and PCA9685 board conflict with each other, and it doesn’t move well
- Apply to the actual model
Bending Movement
Light sensor and the Motor (curving spine)
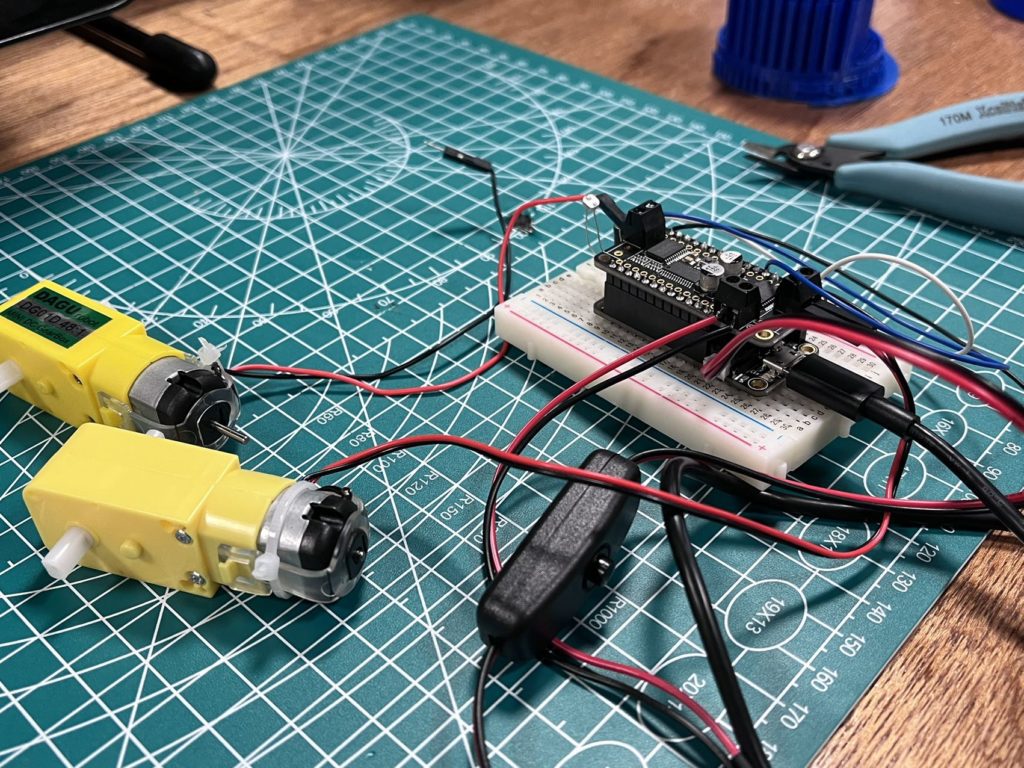
Physically, we worked on soldering the board for the DC motor, connecting the photocell sensor together with the featherwing board, and connecting the TT motors with the DC motor board. We also download the library for the TT motor and wrote the code to control the movement of the TT motor. For now, we have successfully achieved to use of the lighting condition to control two motor’s movement.
3D printing strip container (see fabrication section)
Neopixel Light Animation
For the neopixel light, we have successfully animated the led and figured out the power for the long LED strip.
For the following stage, we’ll focus on:
- Add CAPACITOR & RESISTOR
- Figure out how to position the strip on the actual installation (after the other segments are finished)