Prototype
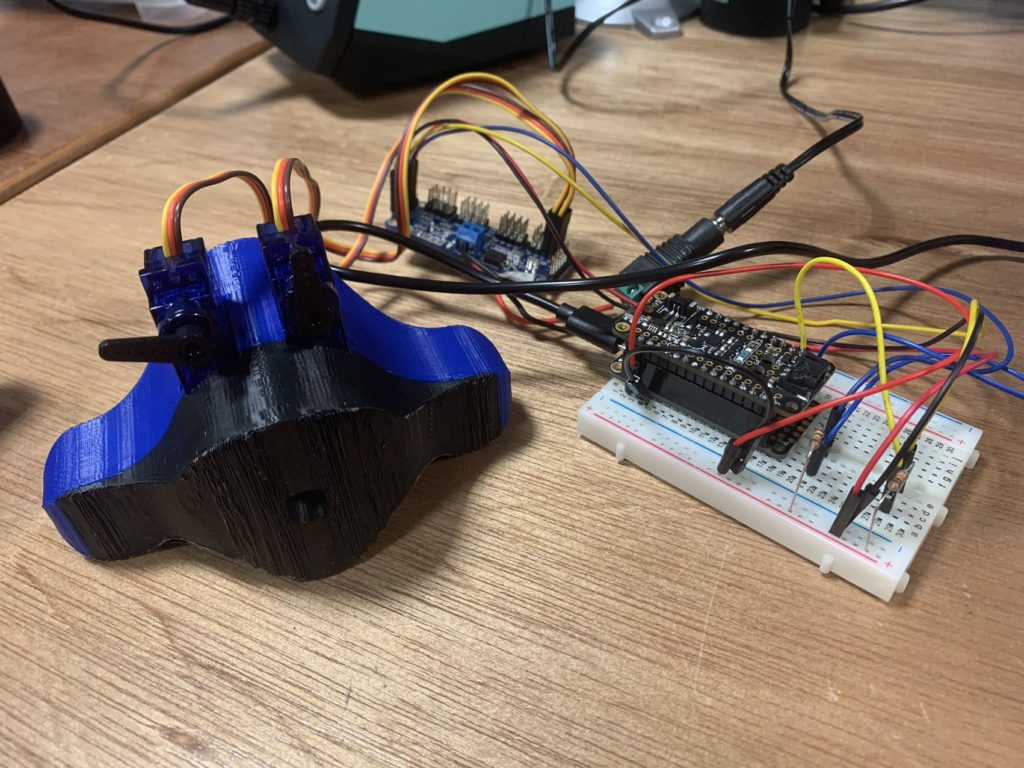
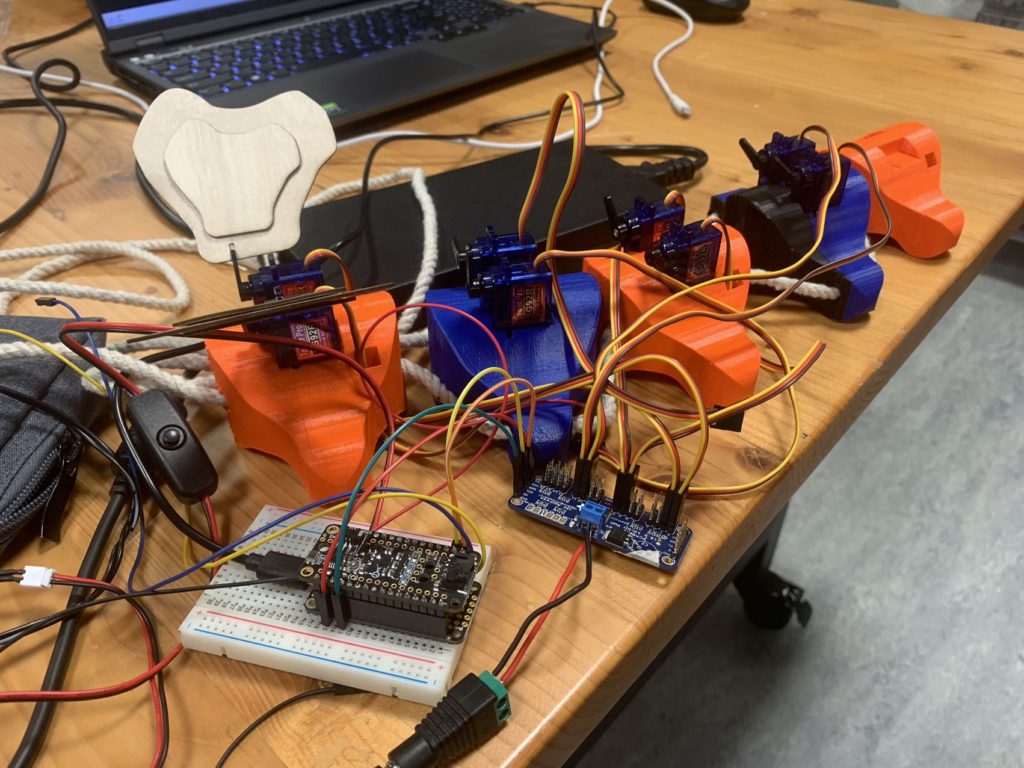
For the Dissipation fin we used the accelerometer on the feather wing board to detect the motion of the person. The bigger the person’s motion, the faster the servos move. We also used a PCA9685 servo driver to power up all 10 servos that we use.
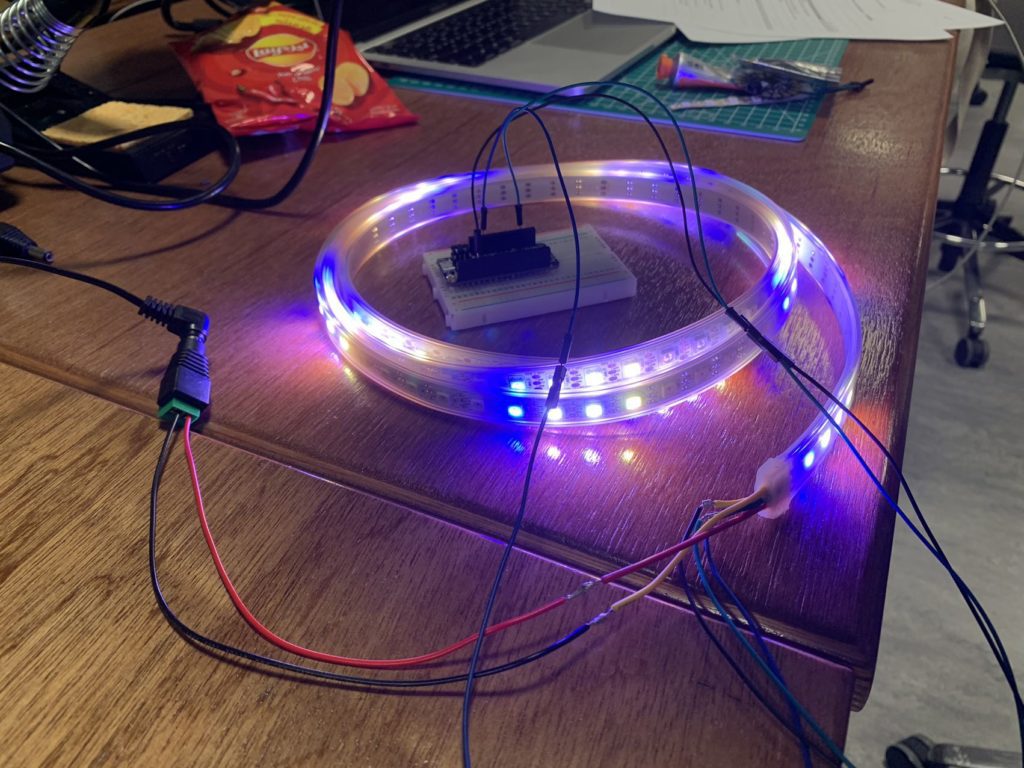
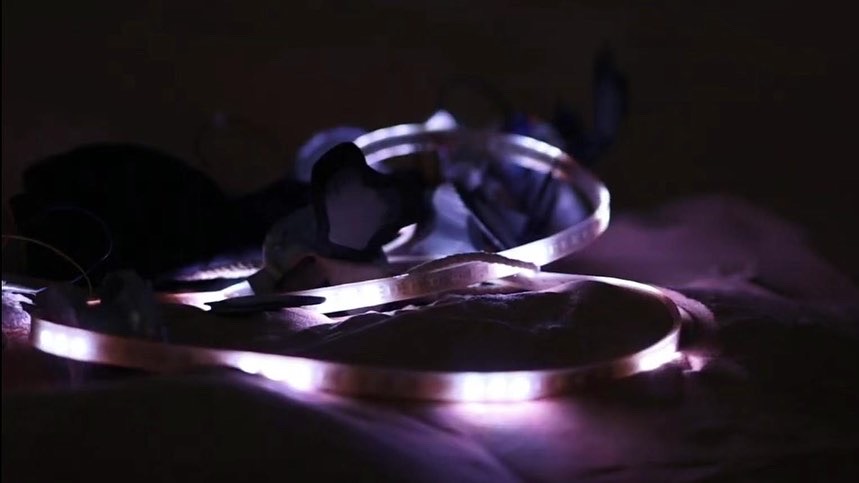
We animated the lights on the neopixel strip to make the lights “flow”. We added external 5V power, resistor, and capacitor to stablize the device.
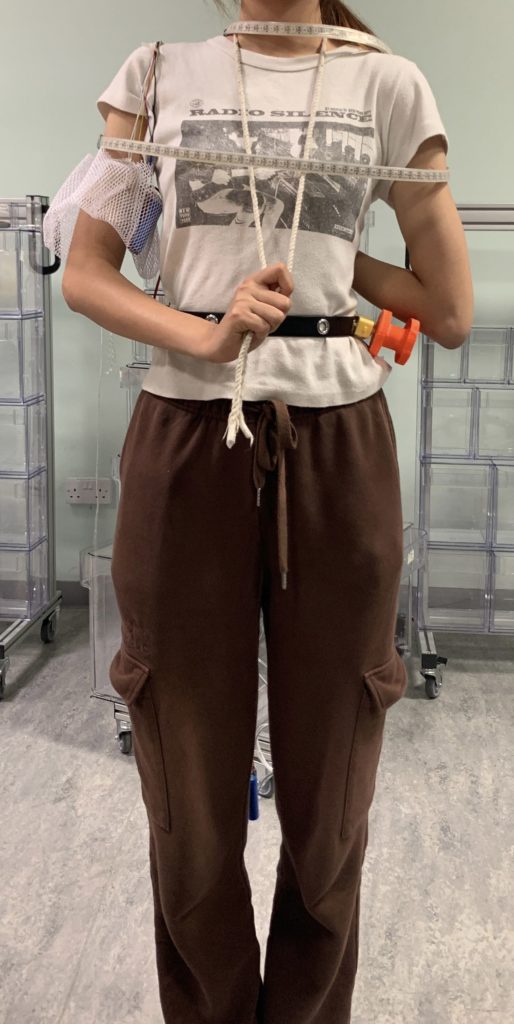
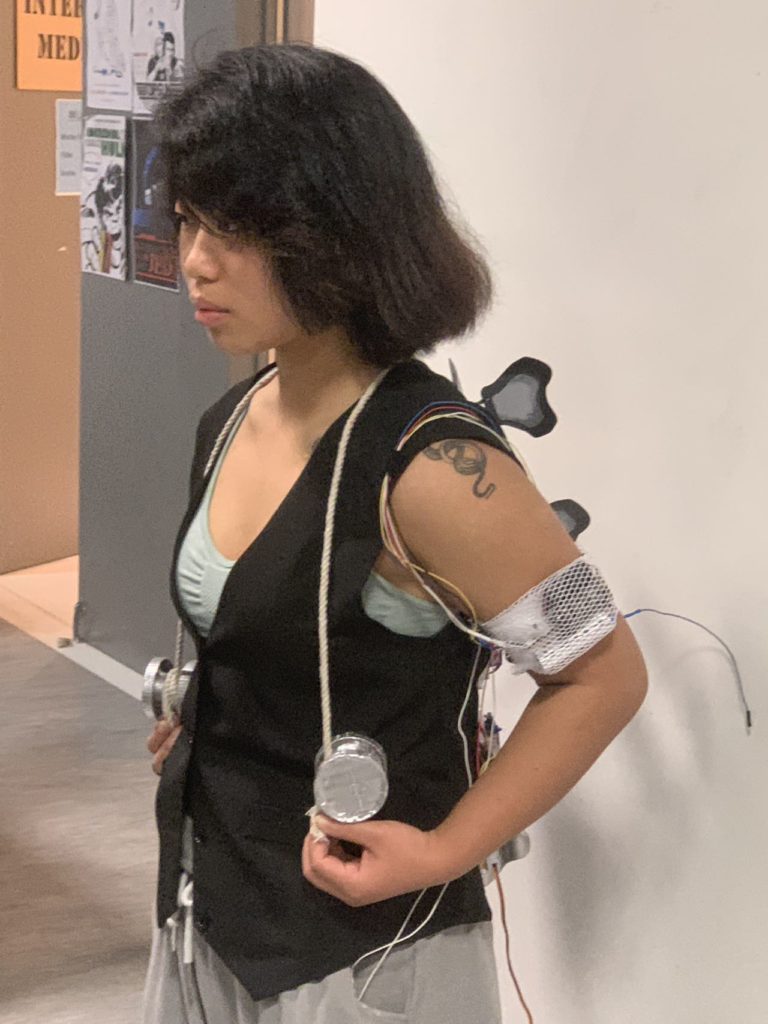
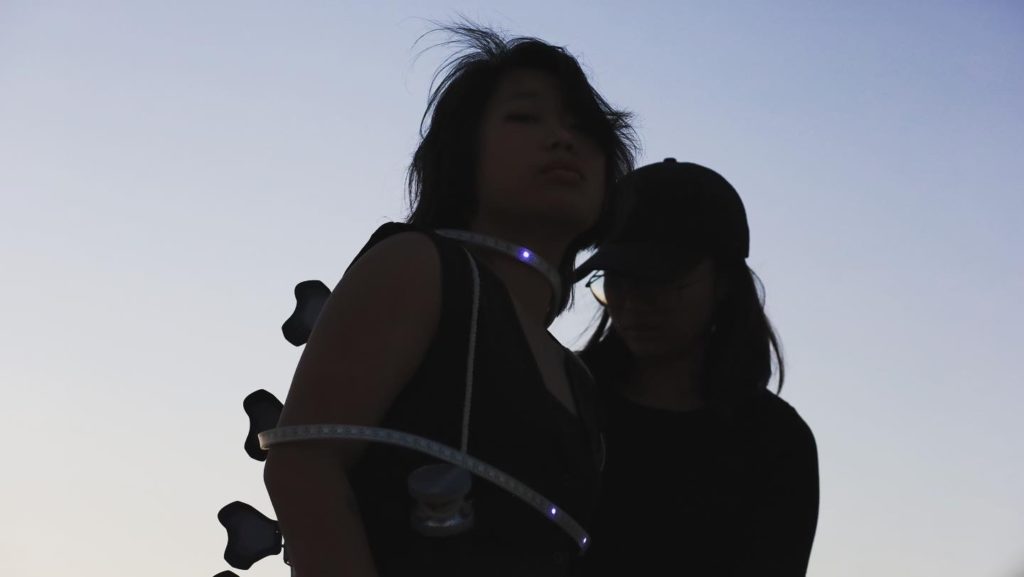
This is how it looks when the we wear the whole device.
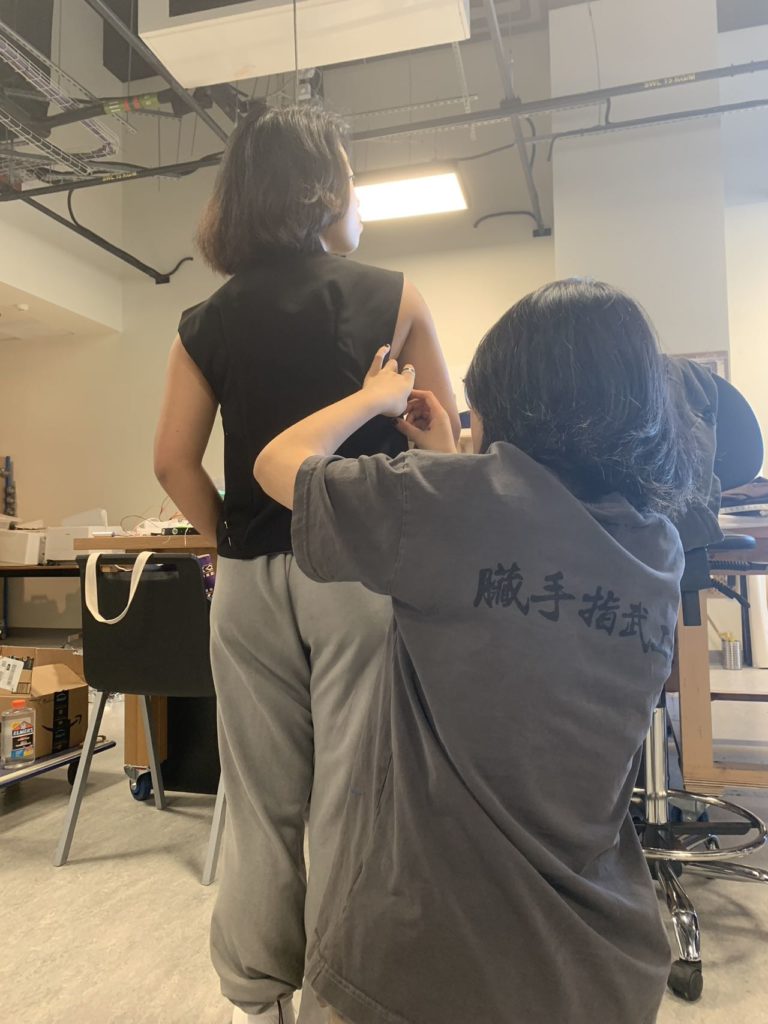
Thanks to Mang’s advice, we found a costume from the textile studio and attach the devices on the clothes. In this way we can hide much of the wires and have a better visual output.
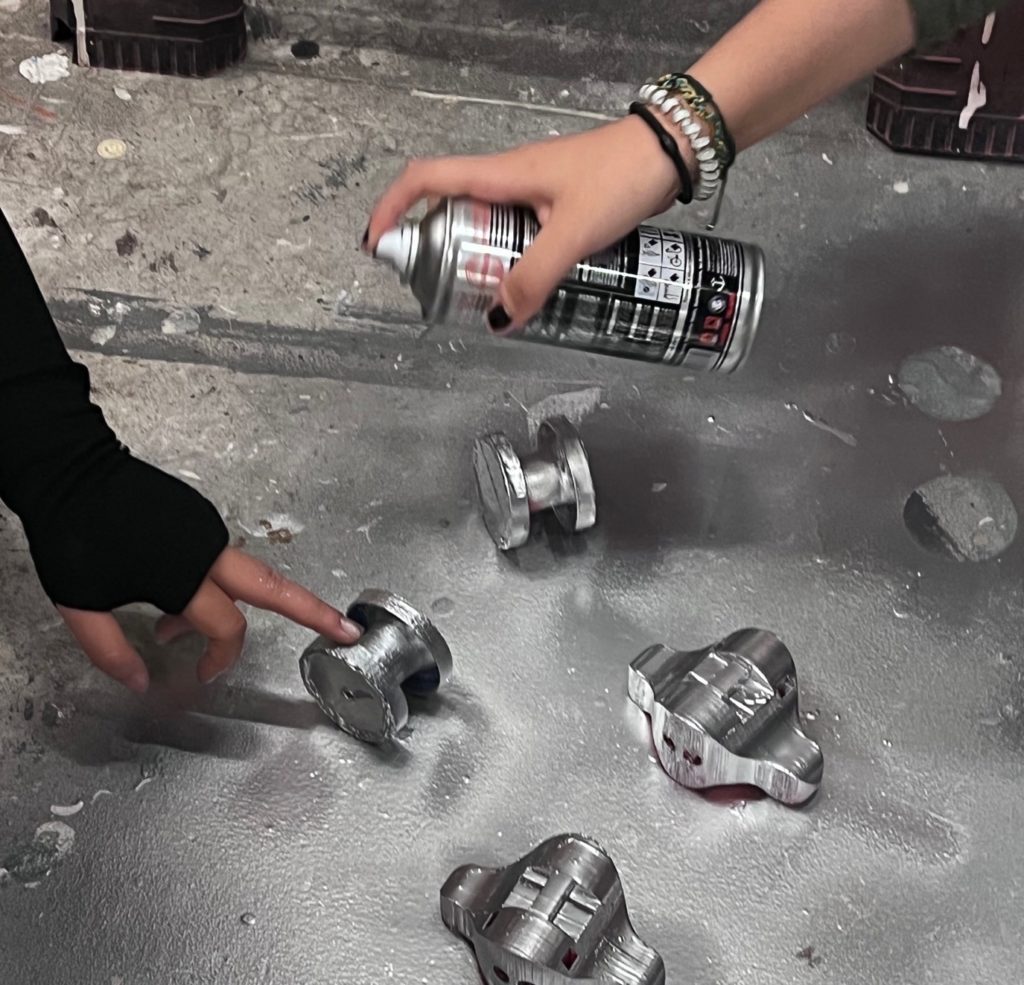
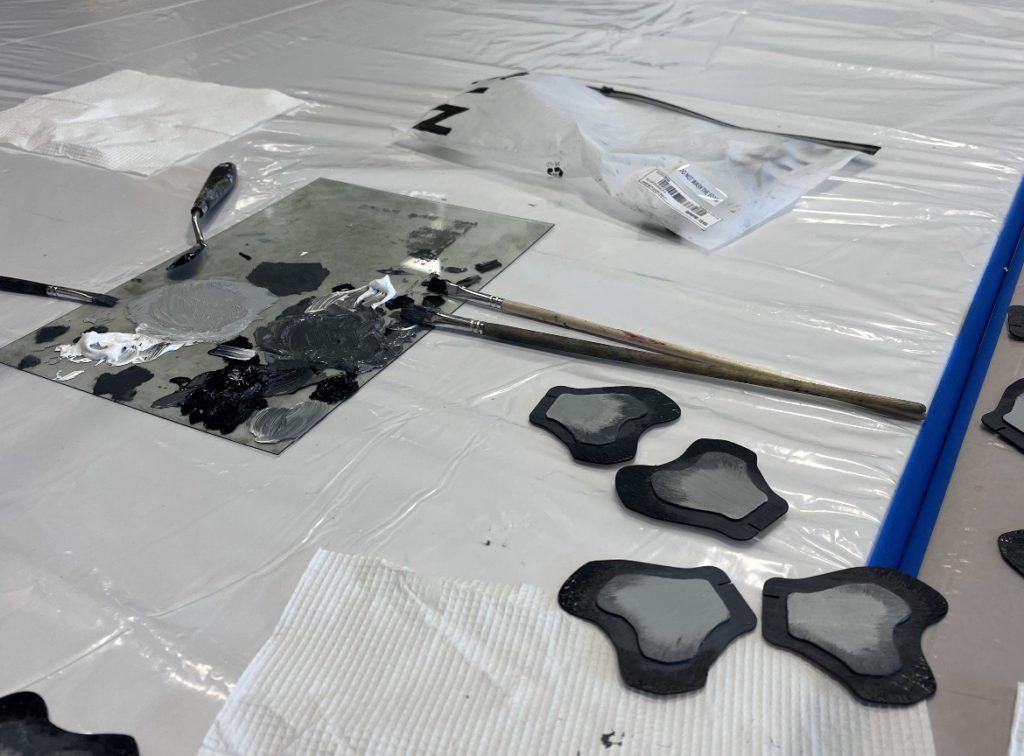
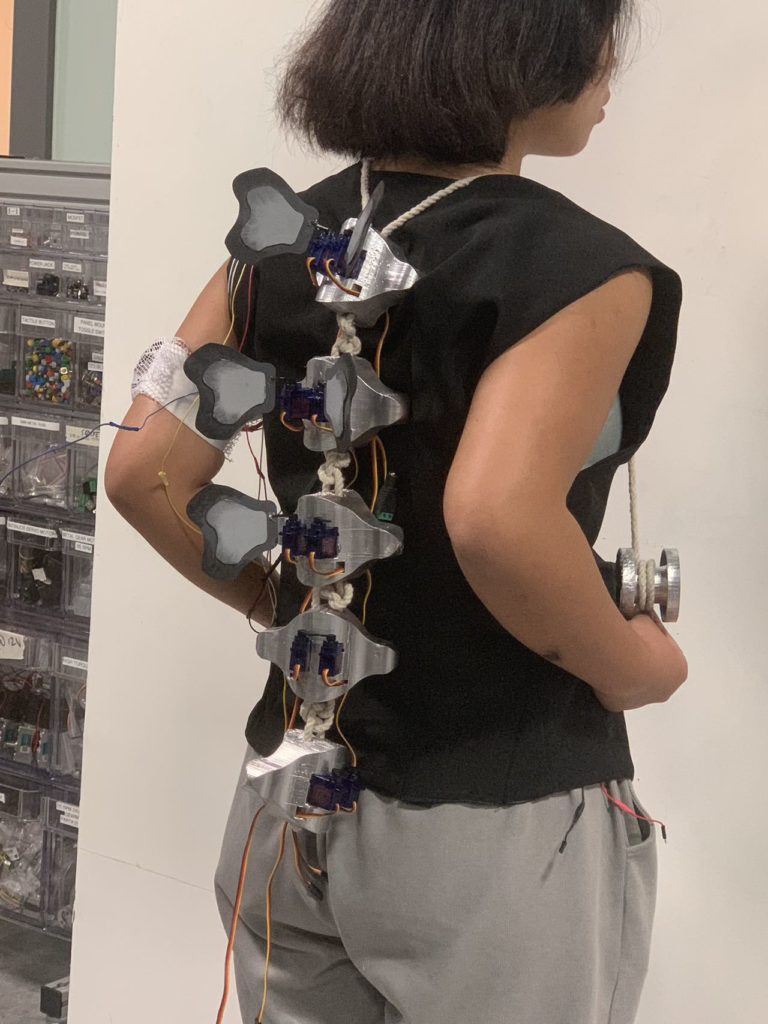
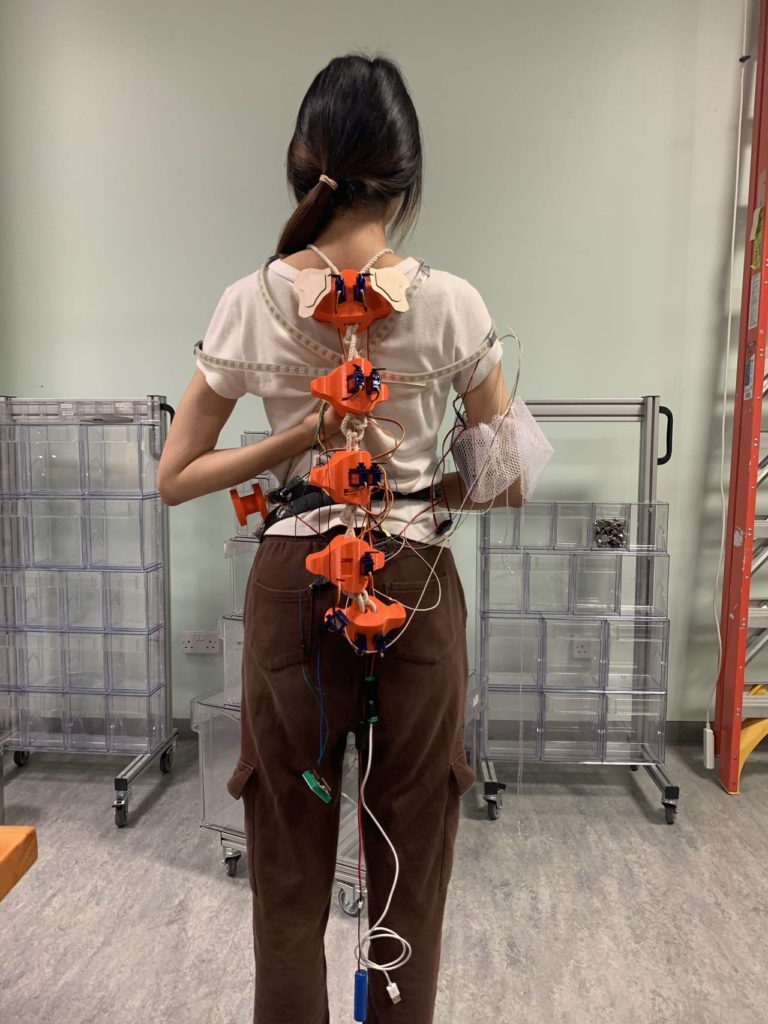
This is the final visual outcome after we painted the bones and fins, and attached all the devices on the clothes.
Behind the Scene
key images:
Cameras preparation
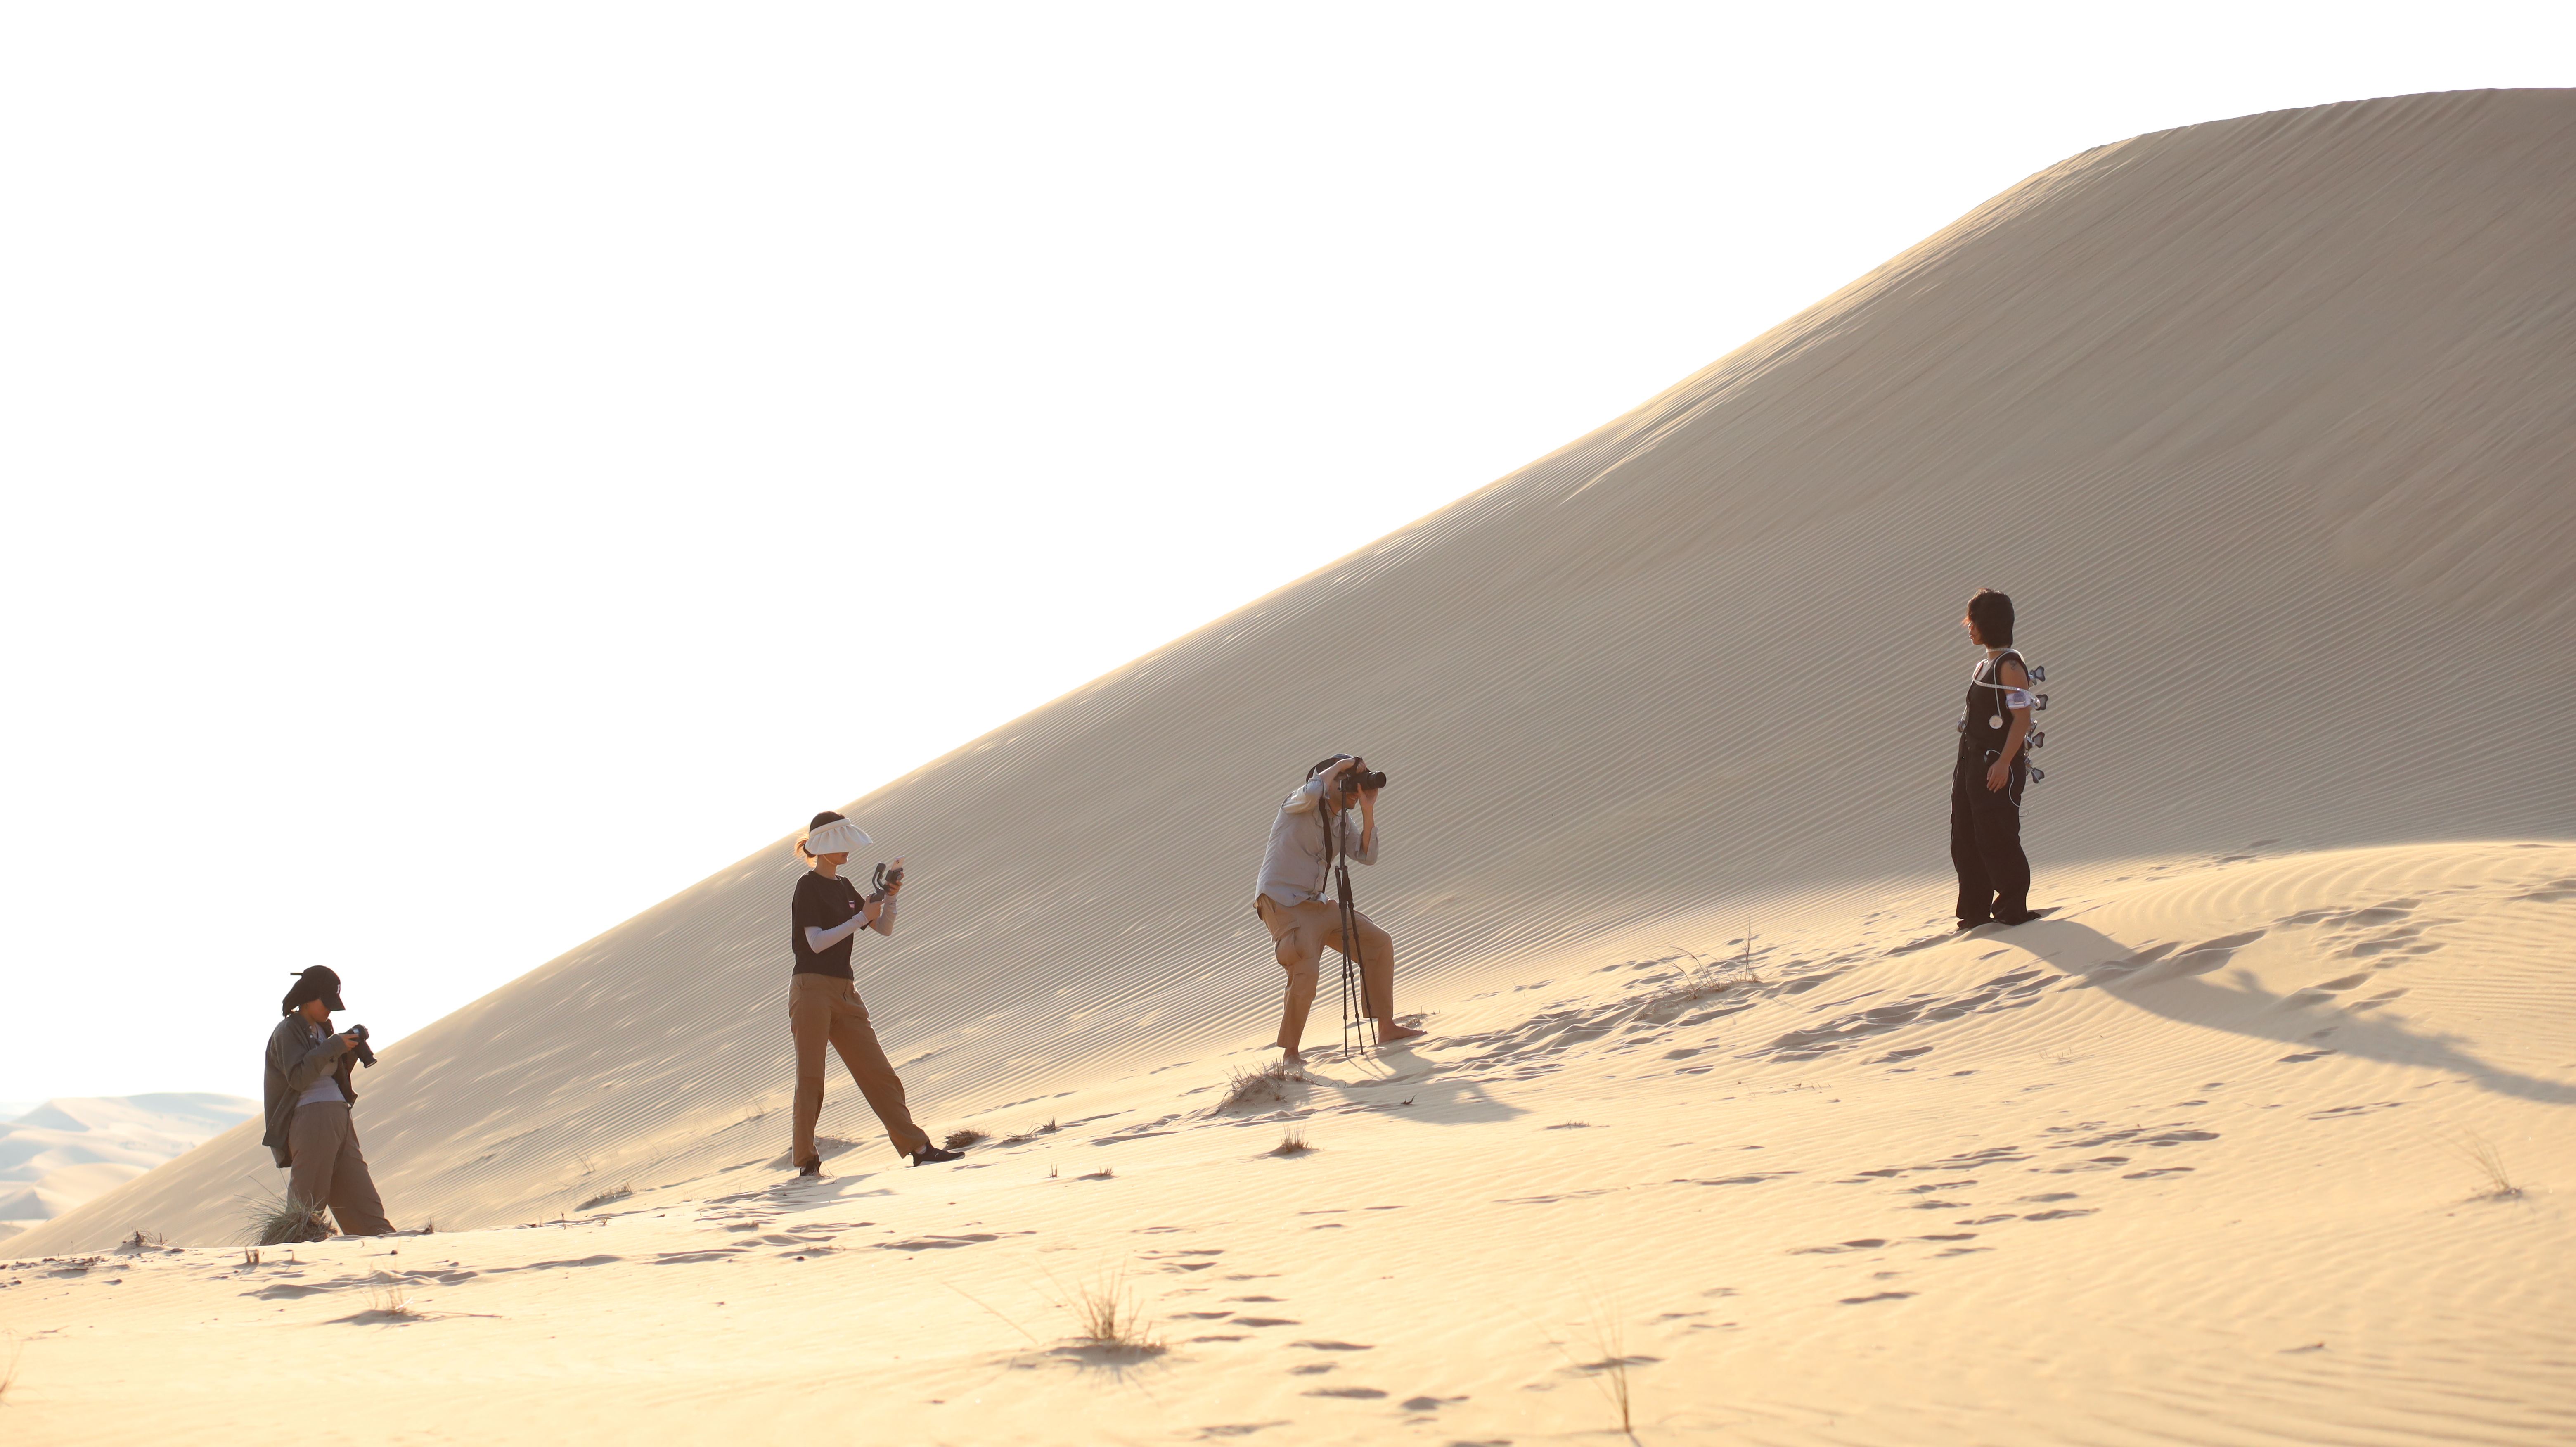
We borrowed two cameras, Canon 7D & Canon mirrorless, a tripod for the cameras and a PTZ for mobile recording from the library equipment room.
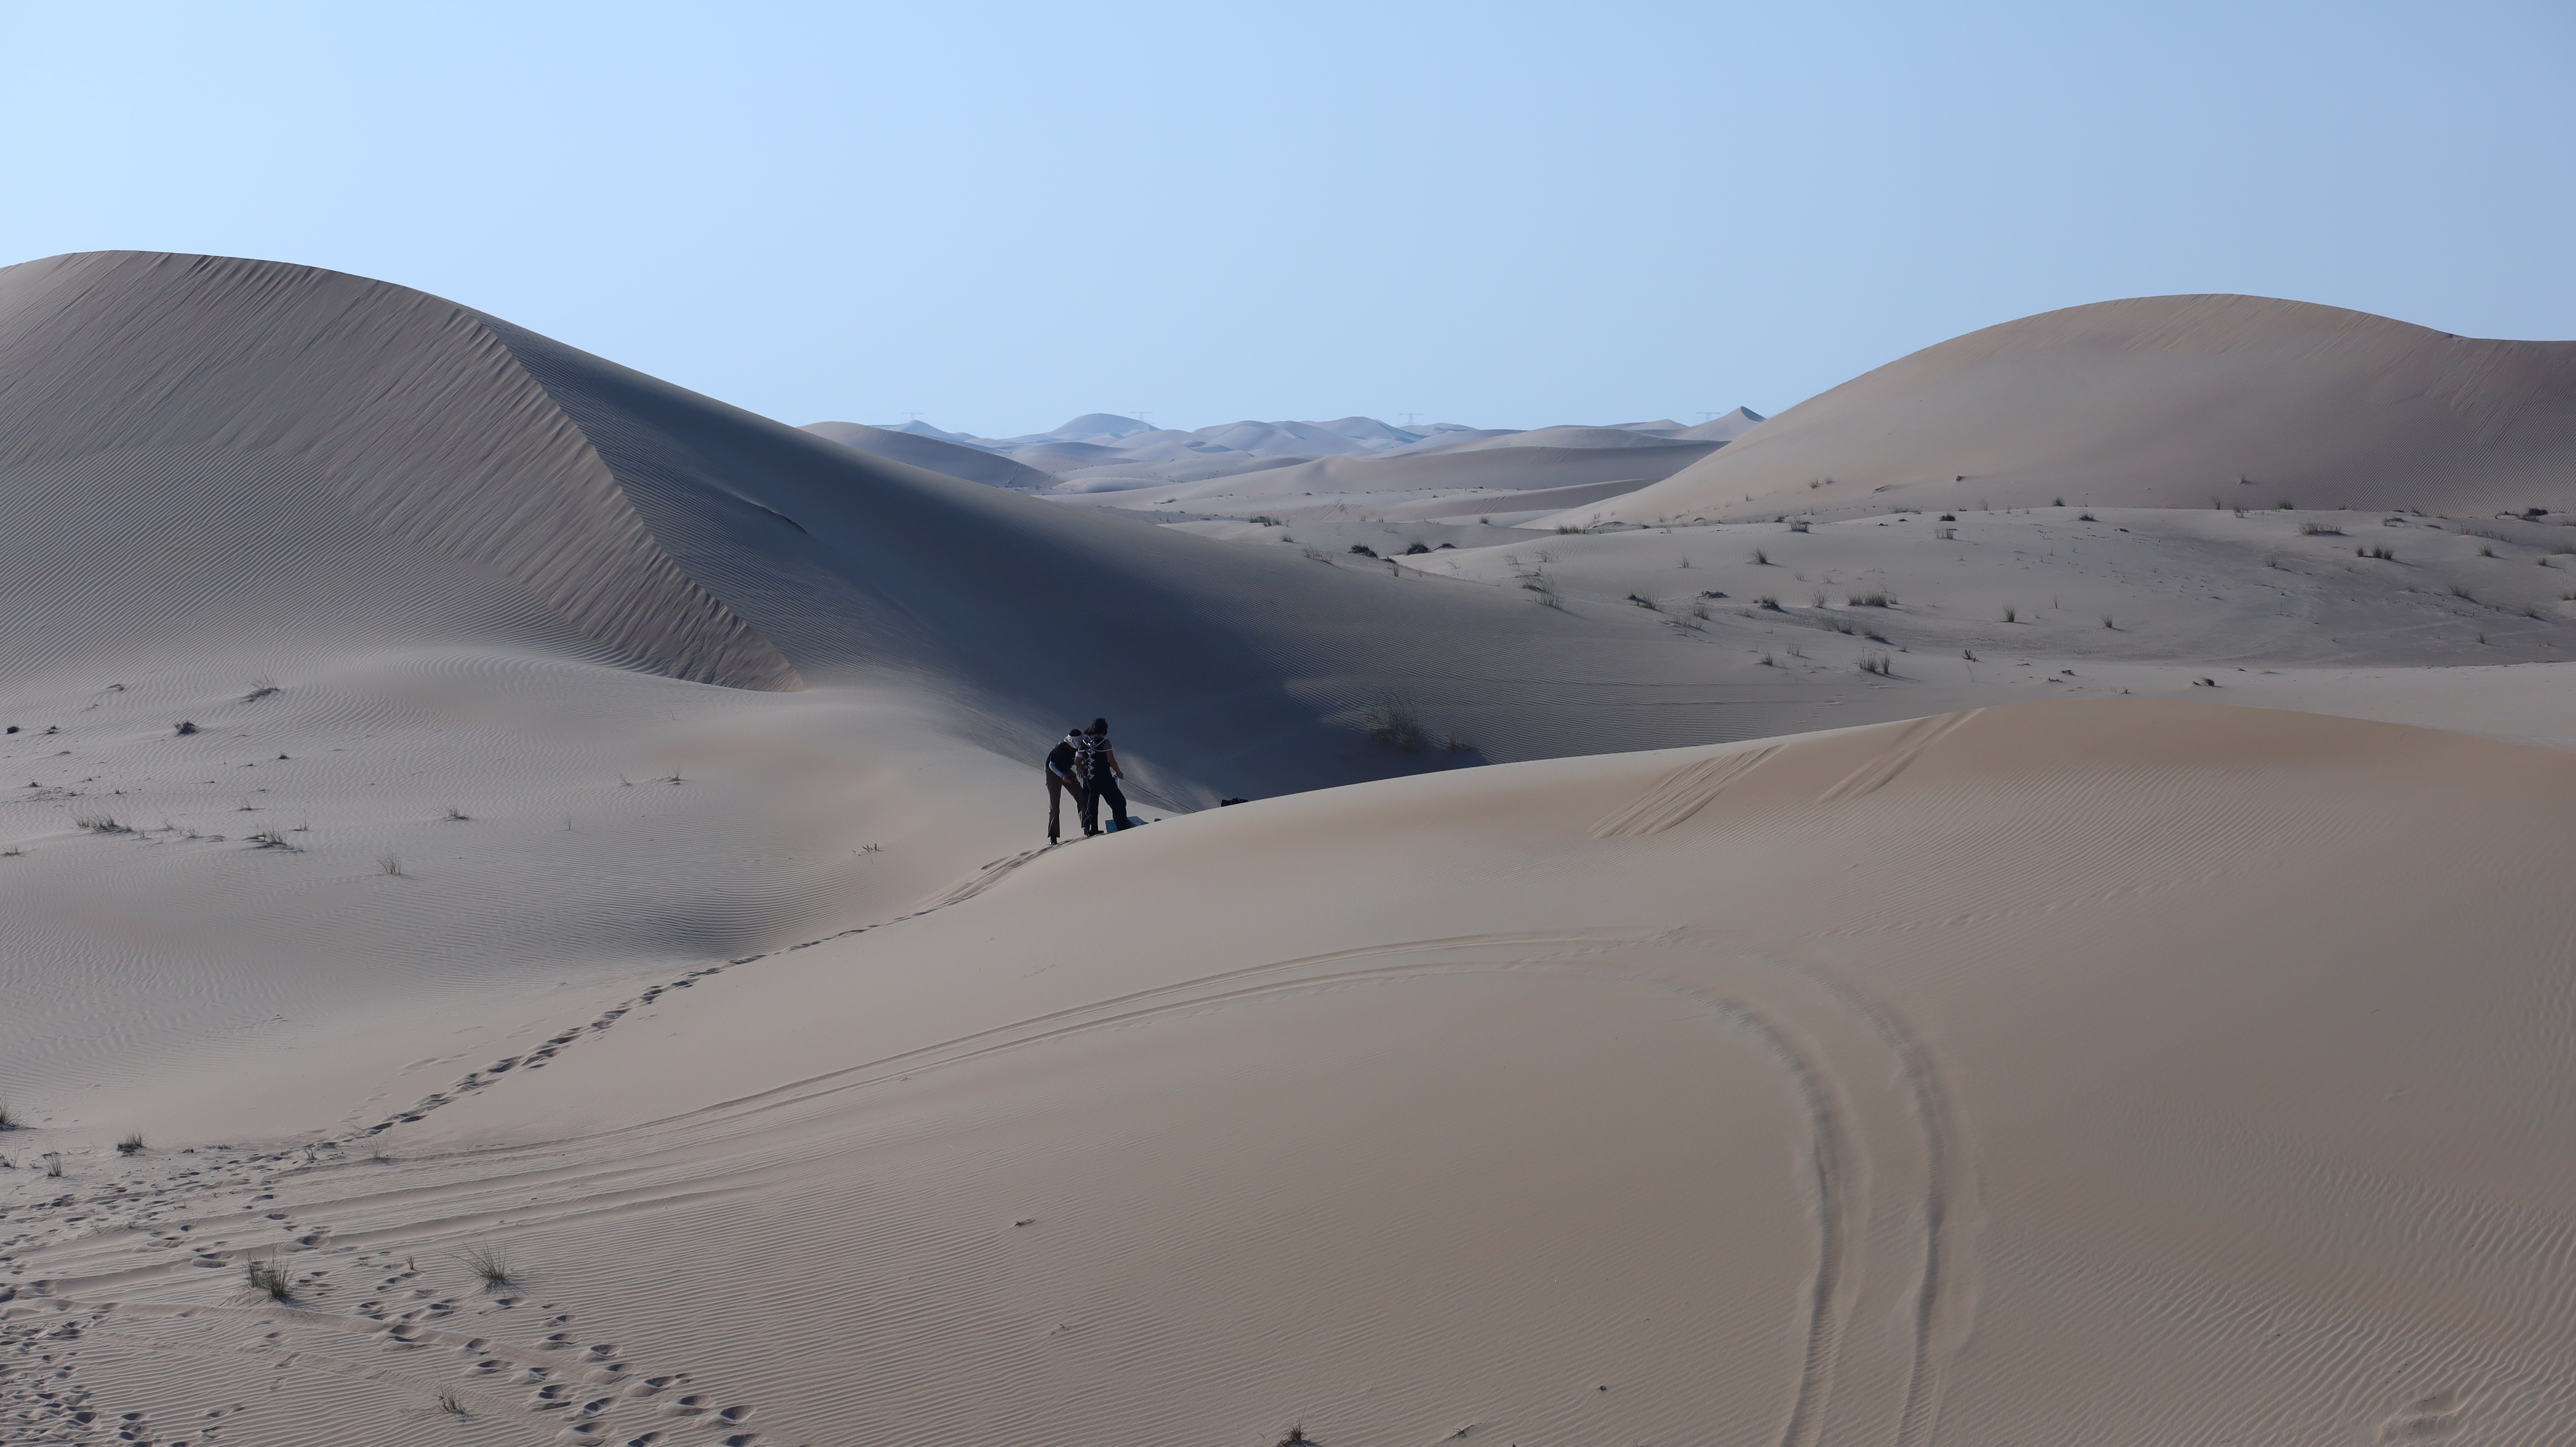
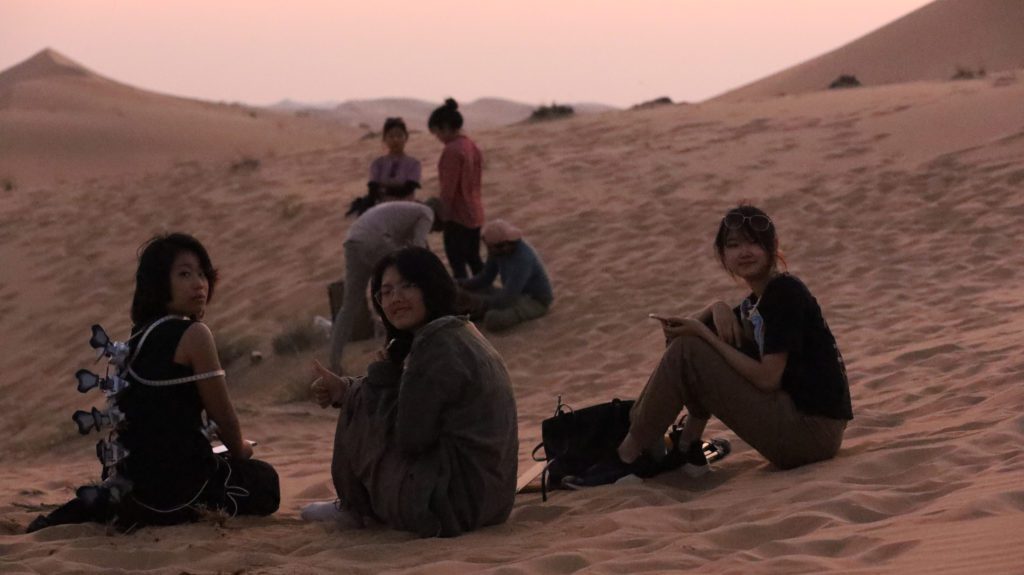
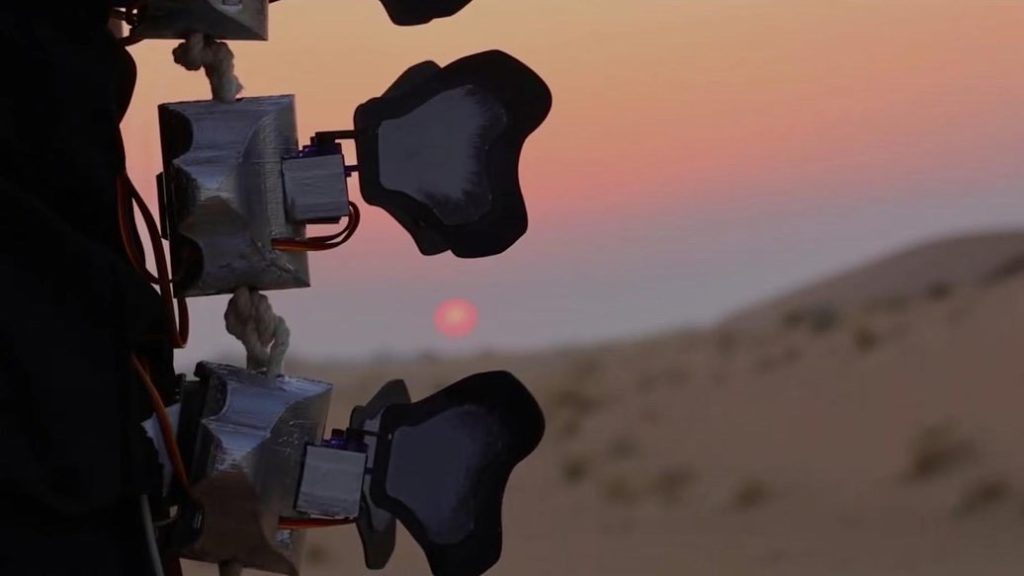
Choosing a dune for shooting
We designed to choose high spot to shoot the broad scene, which can show the vast and multi-layer of the desert. However, it is harder than we thought. Our lenses are not enough to capture things from a far distance. We finally choose to sacrifice the background and focus more on our project. Additionally, the foodprints also make it harder for the filming. Each scene could be only shot once because there will be footprints left after the filming. To maximize our efficiency, three of us shoot the video from different spots, to make sure we have different filming angles of our model.
While putting on the wearable devices
-motors for heating panels
During the field trip, when we put the device on for the first time, the fins didn’t work, just like what happened in the final testing. We took off the wearable device after the first round of shooting and took it back to the can for debugging. We found that the power and ground wire of its 5V input pin were contacting each other due to the lack of protection, and that created a shortcut which led to the malfunction of the circuit. We thus taped those parts and got it working again.
-motors for bending-over
During our test before the field trip, we got to know that it can’t work really well because of the friction of the fabric (we put the motor inside the vest, so that there is a piece of fabric between the strip container and the motor causing a strong friction). To be honest, it is not working smoothly and stably, but it’s still able to work. However, we also encountered some problems with that. After a long time of wearing and walking, one motor even falls down.
-light strips
We started shooting the light strip part in the second round of shooting, after sunset, when the environment goes darker and the lighting becomes more obvious. We encountered some disagreements when we were trying to fix the light strips. Yet after several trial, we decided to leave the strips hanging free around the neck and on shoulders. We decided to leave it this way because: First, it’s difficult to fix the strip with super glue, and we neither have textiles nor have needles. Second, the unfixed strips actually looks nice, and it’s more convenient to wear.
Problems we faced while shooting documentation
- Sensors and motors
We checked the final testing in the morning of the day, right before the field trip.
For the dissipation fin on the back, it works sometimes. In the morning of the field trip, we tested the equipment and it didn’t work. Then we examined the problem by plug the board into the computer to see its console and adjusted the wiring and finally it worked.
We also encountered some problems on the two TT motors on the sides of the waist. We took some chances and thought that it would be fine if we were just going to capture one shot of it moving. However, our device is so fragile that after a period of time carried by the model walking around, the strip begins to fall, which gives more pressure on the motor. The environment, body movement of the model, and the long time of wearing makes the motor harder to work. One strip container on the arm of the motor even fell down during the shooting. Finally, to solve the problem, we tried to manually spin the motor, and shoot a close shot of the spinning motor. And we will just edit a short piece into our final video cut. From this experience, we think that it is more important to test everything together all at once: test the motor after it is sawed onto the cloth, and when it is wearing on the body. There are many influences such as the gravity, and the pressure of the strip. Besides, it is not enough to only test in an ideal circumstance, it’s always better to test it in a circumstance that is similar to where it should be shown.
- Camera & Shooting
Since we’re not used to the lighting environment in the desert, it took us a great effort to adjust the camera exposure, shutter speed and other index of the camera. Unfortunately, after all those adjustments, the captured photos are still unsatisfactory due to dismatch of color and lighting. We had to seek help form professor Ang. Professor offered to shoot our documentation in formats of photo and video, closer shot and distance shot. They are of perfect quality and are beyond our expectation. We appreciate his help very much.