Soooo.. It was time to get this thing off the plans and into the real world!
The First Petal Iteration
We went through a few iterations of petals before settling on one. The first few prints were fails, as we couldn’t figure out a way to add any kind of mechanics to these petals. They were also really hard to snip off support wise and kept cracking. They were taken from a random model we found online, so we decided to try modeling something ourselves.
The Second Petal Iteration
For this second petal, we added supports on the 3D print to assemble the flower together. In order to also make sure that this would work, we printed petal samples in the library and the design lab.
Bob the Builder… Can We Fix Build It..?
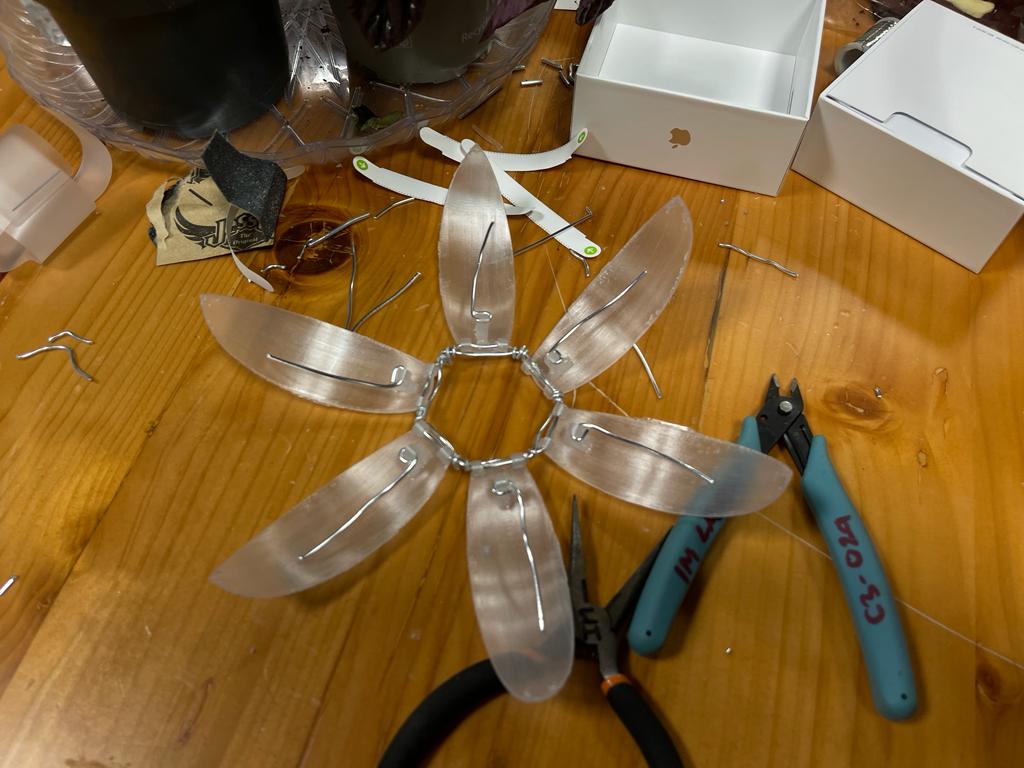
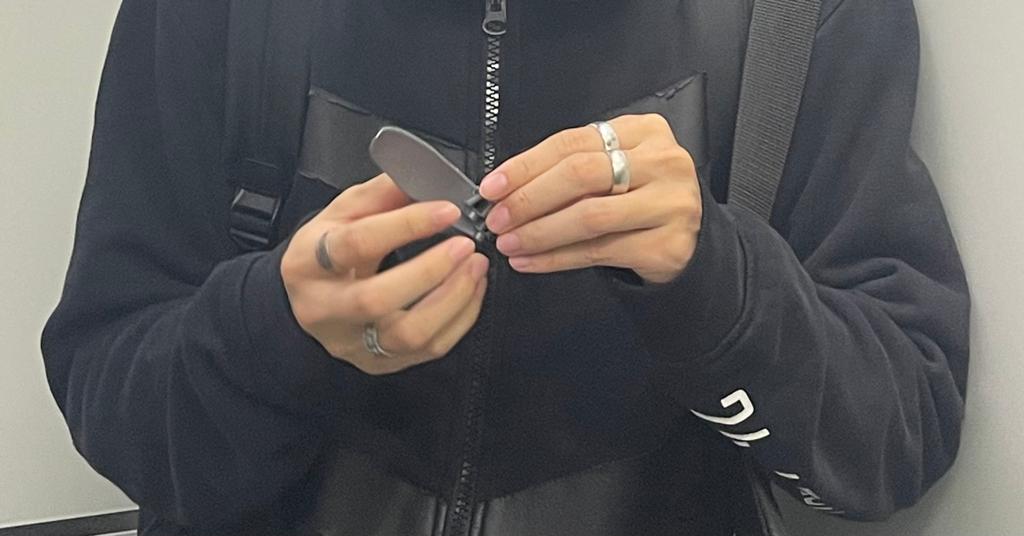
Instead of using pipe cleaners (tho we did consider it at one point), we opted for sculpting wire, which was a lot more durable and reliable while keeping a certain degree of malleability, which is what we were looking for–– particularly for a rapid prototype.
We printed the petals and only the petals, which meant that we needed to create a base for the flower as well as the entire push mechanism. After considering different ways of creating the parts, we decided we may as well make them with wire as well (which was maybe not the smartest decision but was one that was carried out nonetheless).
Even though the malleablility of the wires allowed us some leeway, we still had issues with the fact that a certain degree of uniformity was required in order for the petals to close properly and together. I think that was one of the hardest parts of the prototyping, getting the right degree of wiring in order to ensure that the petals would close together and open to the same degree.
Time taken to build a single flower: around 10+ hours.
Bob the Builder… Yes We Can! (sorta kinda mechanically)
After a long hard struggle of putting together the mechanism, we got the flower to open and close.
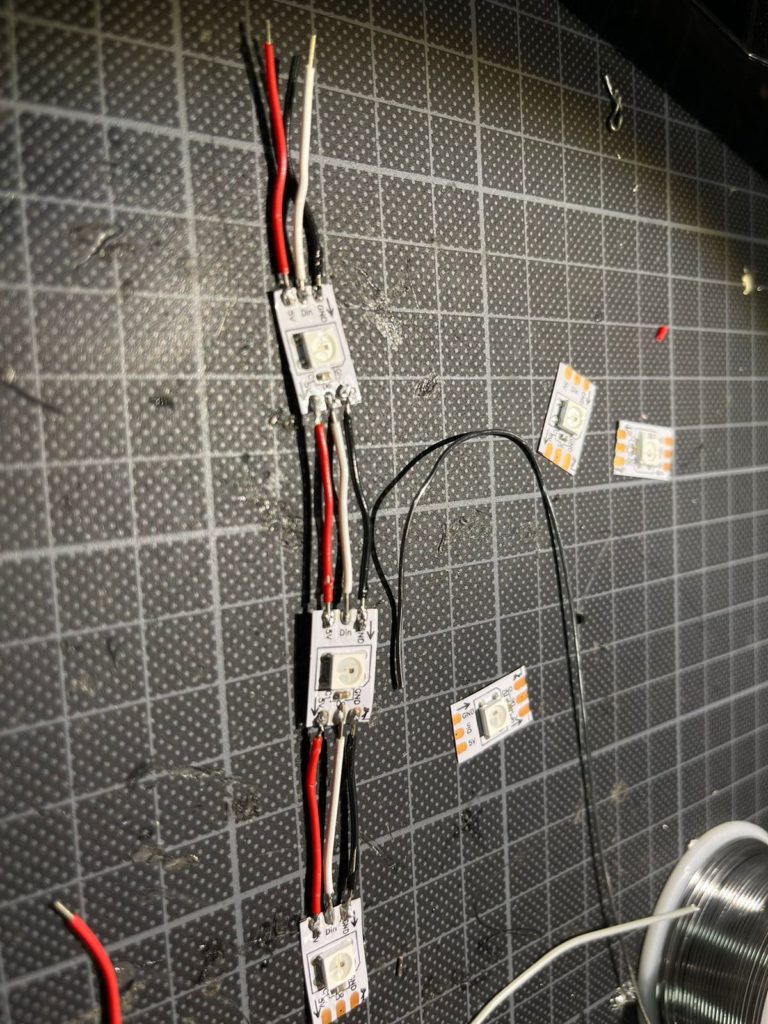
Light Assembly
Soldering the single neopixels (from the strip) together was a pain. This is something I had a lot of trouble with. We decided to use 6 neopixels, one under each petal. These are the the neopixels that will display the blue water effect.
The Beginning of the Code – The Pulsing White Light + Servo + Blue Lights
This is our first attempt in making the lights work. The work started with the neopixel ring.
import board
import time
import analogio
import digitalio
from rainbowio import colorwheel
import neopixel
from adafruit_led_animation.animation.solid import Solid
from adafruit_led_animation.animation.pulse import Pulse
from adafruit_led_animation.color import WHITE
import pwmio
from adafruit_motor import servo

NUM_PIXELS = 12
BRIGHTNESS = 0.3

print("Enabling NeoPixel power!")
enable = digitalio.DigitalInOut(board.D10)
enable.direction = digitalio.Direction.OUTPUT

pixelsRing = neopixel.NeoPixel(board.D5, NUM_PIXELS, brightness=BRIGHTNESS,auto_write=False)
pulse = Pulse(pixelsRing, speed=0.17, color=(255,255,255), period=16)

photocell = analogio.AnalogIn(board.A1)
def analog_voltage(adc):
    return adc.value / 65535 * adc.reference_voltage

pwm = pwmio.PWMOut(board.A3, duty_cycle=2 ** 15, frequency=50)

my_servo = servo.Servo(pwm)


while True:
    val = photocell.value
    volts = analog_voltage(photocell)
    if(val<20000):
        #Flowers and lights are enabled here
        print(val, "There will be darkness again")

        #LIGHT
        enable.value = True
        pulse.animate()

        #SERVO
        for angle in range(0, 180, 5):  # 0 - 180 degrees, 5 degrees at a time.
            my_servo.angle = angle


    else:
        print(val,"Let there be light")
        enable.value = False
The Final Rapid Prototype
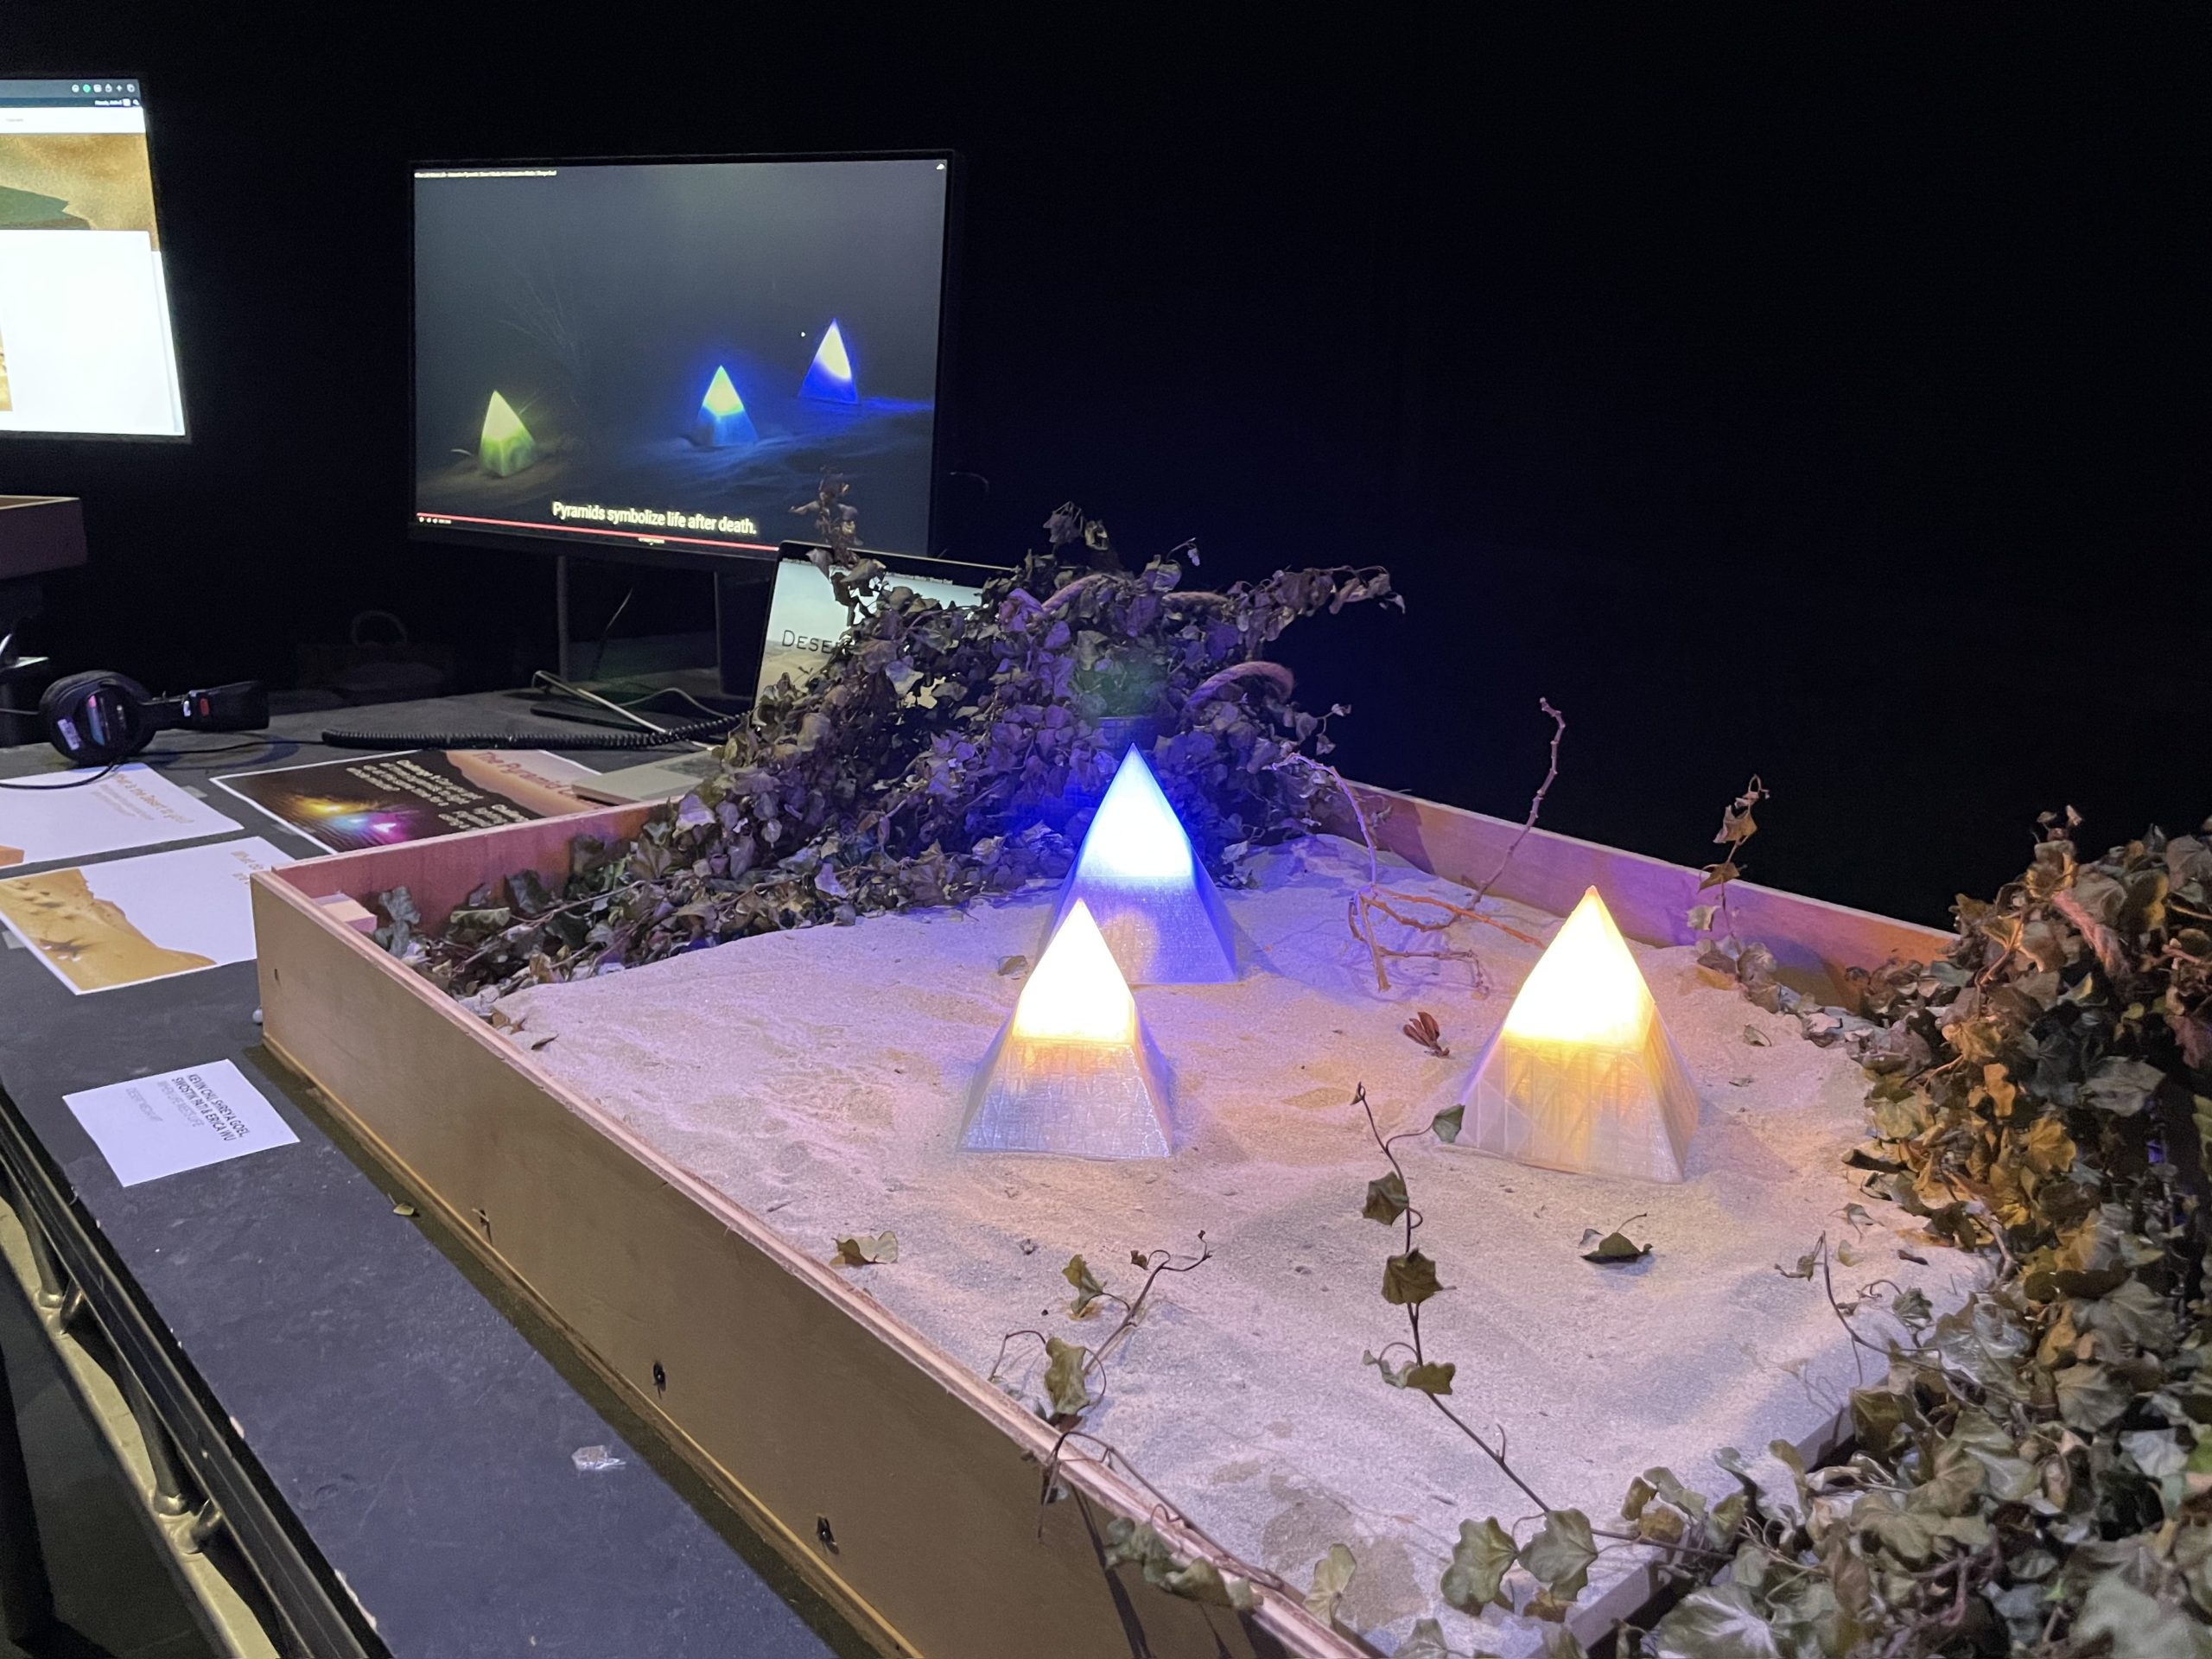
After getting the mechanism and the lights to work, we put the two together in order to create our rapid prototype. We realized that we would need a diffuser plate as well, considering that the neopixels by themselves were too bright. We decided to 3D print those as well, which we had tested previously with the Halloween costume prop quick diffuser test.
Next Steps
- Find a better shape for the petals
- 3D print a diffuser
- Be more mindful of the supports and the rods (possibly 3D print to make them uniform), try researching better ways of implementing the mechanism
- Maybe replace the neopixel single strips with another ring – possible power issue ?