GitHub Link: https://github.com/swostikpati/Interactive-Pyramids
This blog is meant to highlight the process of creating the rapid prototype of our desert installation of Interactive Pyramids. The entire process is broken down into different categories and then each category is explored deeply.
Technology
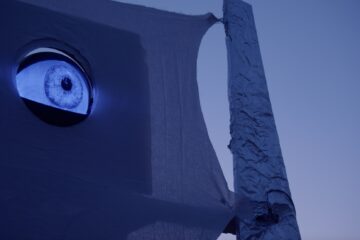
The process of implementing the technology used in the installation can be categorised into the subcategories of Interaction detection, Light design, and Sound design. The video below showcases how the implemented technology produces the light and sound effects upon interaction in the dark.
Interaction Detection
The most important part of our installation is to capture and respond to audience interaction. For that purpose it was essential that we work on detecting the interaction first. We brainstormed on a number of things initially that could trigger our installation like lights or sound. Even though sounds could be used to trigger the pyramid, but we had to capture something more natural in the desert environment. For example, in case of people travelling during the day in the desert environment, a shadow is inevitable; similarly during the night, people have to use flashlights to navigate through the dunes. So designing our installation as something that responds to light felt as the right idea.
We used a photoresistor and mapped out the values it received corresponding to different intensities of light in a graph. We knew we had to set a threshold and trigger a response from the pyramids whenever the light intensity crossed that threshold. But this posed a variety of problems. First, the threshold would be so different during the day and during the night and it would also be different even at the same time on different days. The most important component of our installation couldn’t be given up just on chance and therefore we set forth brainstorming better ways to detect the interaction.
Finally, in the end we cracked it. We decided on working with a specific change in light intensity instead. We began by setting a change is threshold constant and whenever the change in light intensity was more than the constant value, the response was triggered. This decision was pivotal as it allowed us to eliminate the problems that arised with using absolute intensities of light as threshold. Also we made sure to only account for positive changes in light intensity as in case of the other way around, the light from the neopixels would keep re-triggering the interaction response which again would set off the neopixels, thereby creating a chain reaction. We also added an additional boolean flag to avoid repetitive triggering of the response thereby making our interaction detection even more robust.
The code for this part is linked here.
Sound Design
Over the process of building the rapid prototyping, we iterated through several forms of music, sound effects, and musical notes. We weighed in our options by comparing the experiences we got from each form. There were several questions that we asked ourselves during this phase. What kind of experience do we want the audience to take away from the installation? Surprised? Startled? A harmonic installation of musical chords playing together? Each of the decisions came with their own pros and cons. We initially implemented musical notes but instantly realized that it was a bad idea. Specific musical notes when played together create an amazing experience but when notes that aren’t meant to go together were triggered together, the experience was completely ruined. Also, we had planned that the pyramids would be spread apart a bit and to make the musical chords come together, they would need to be really close together and triggered together. So we went back up to the drawing board.
We realized that our entire project is meant to depict life and the diversity we find in it. The idea stuck us that we could use a combination of sound and lights to convery diverse emotions that we feel in life. Each pyramid would be built to convey a specific emotion group like happiness, suspense/surprise, and calmness. The music, light colors, and patterns were all customized for each set to depict the emotion.
The links to the music chosen and the sound design code for each of the emotions are given below:
Light Design
For the purpose of our installation, we decided to use a neopixel ring (reasons have been discussed in the experiments section below). In the initial trials at making the prototype work, we used random colors with the music without any additional effects. It was more important to get a working prototype first to then focus on the aesthetics.
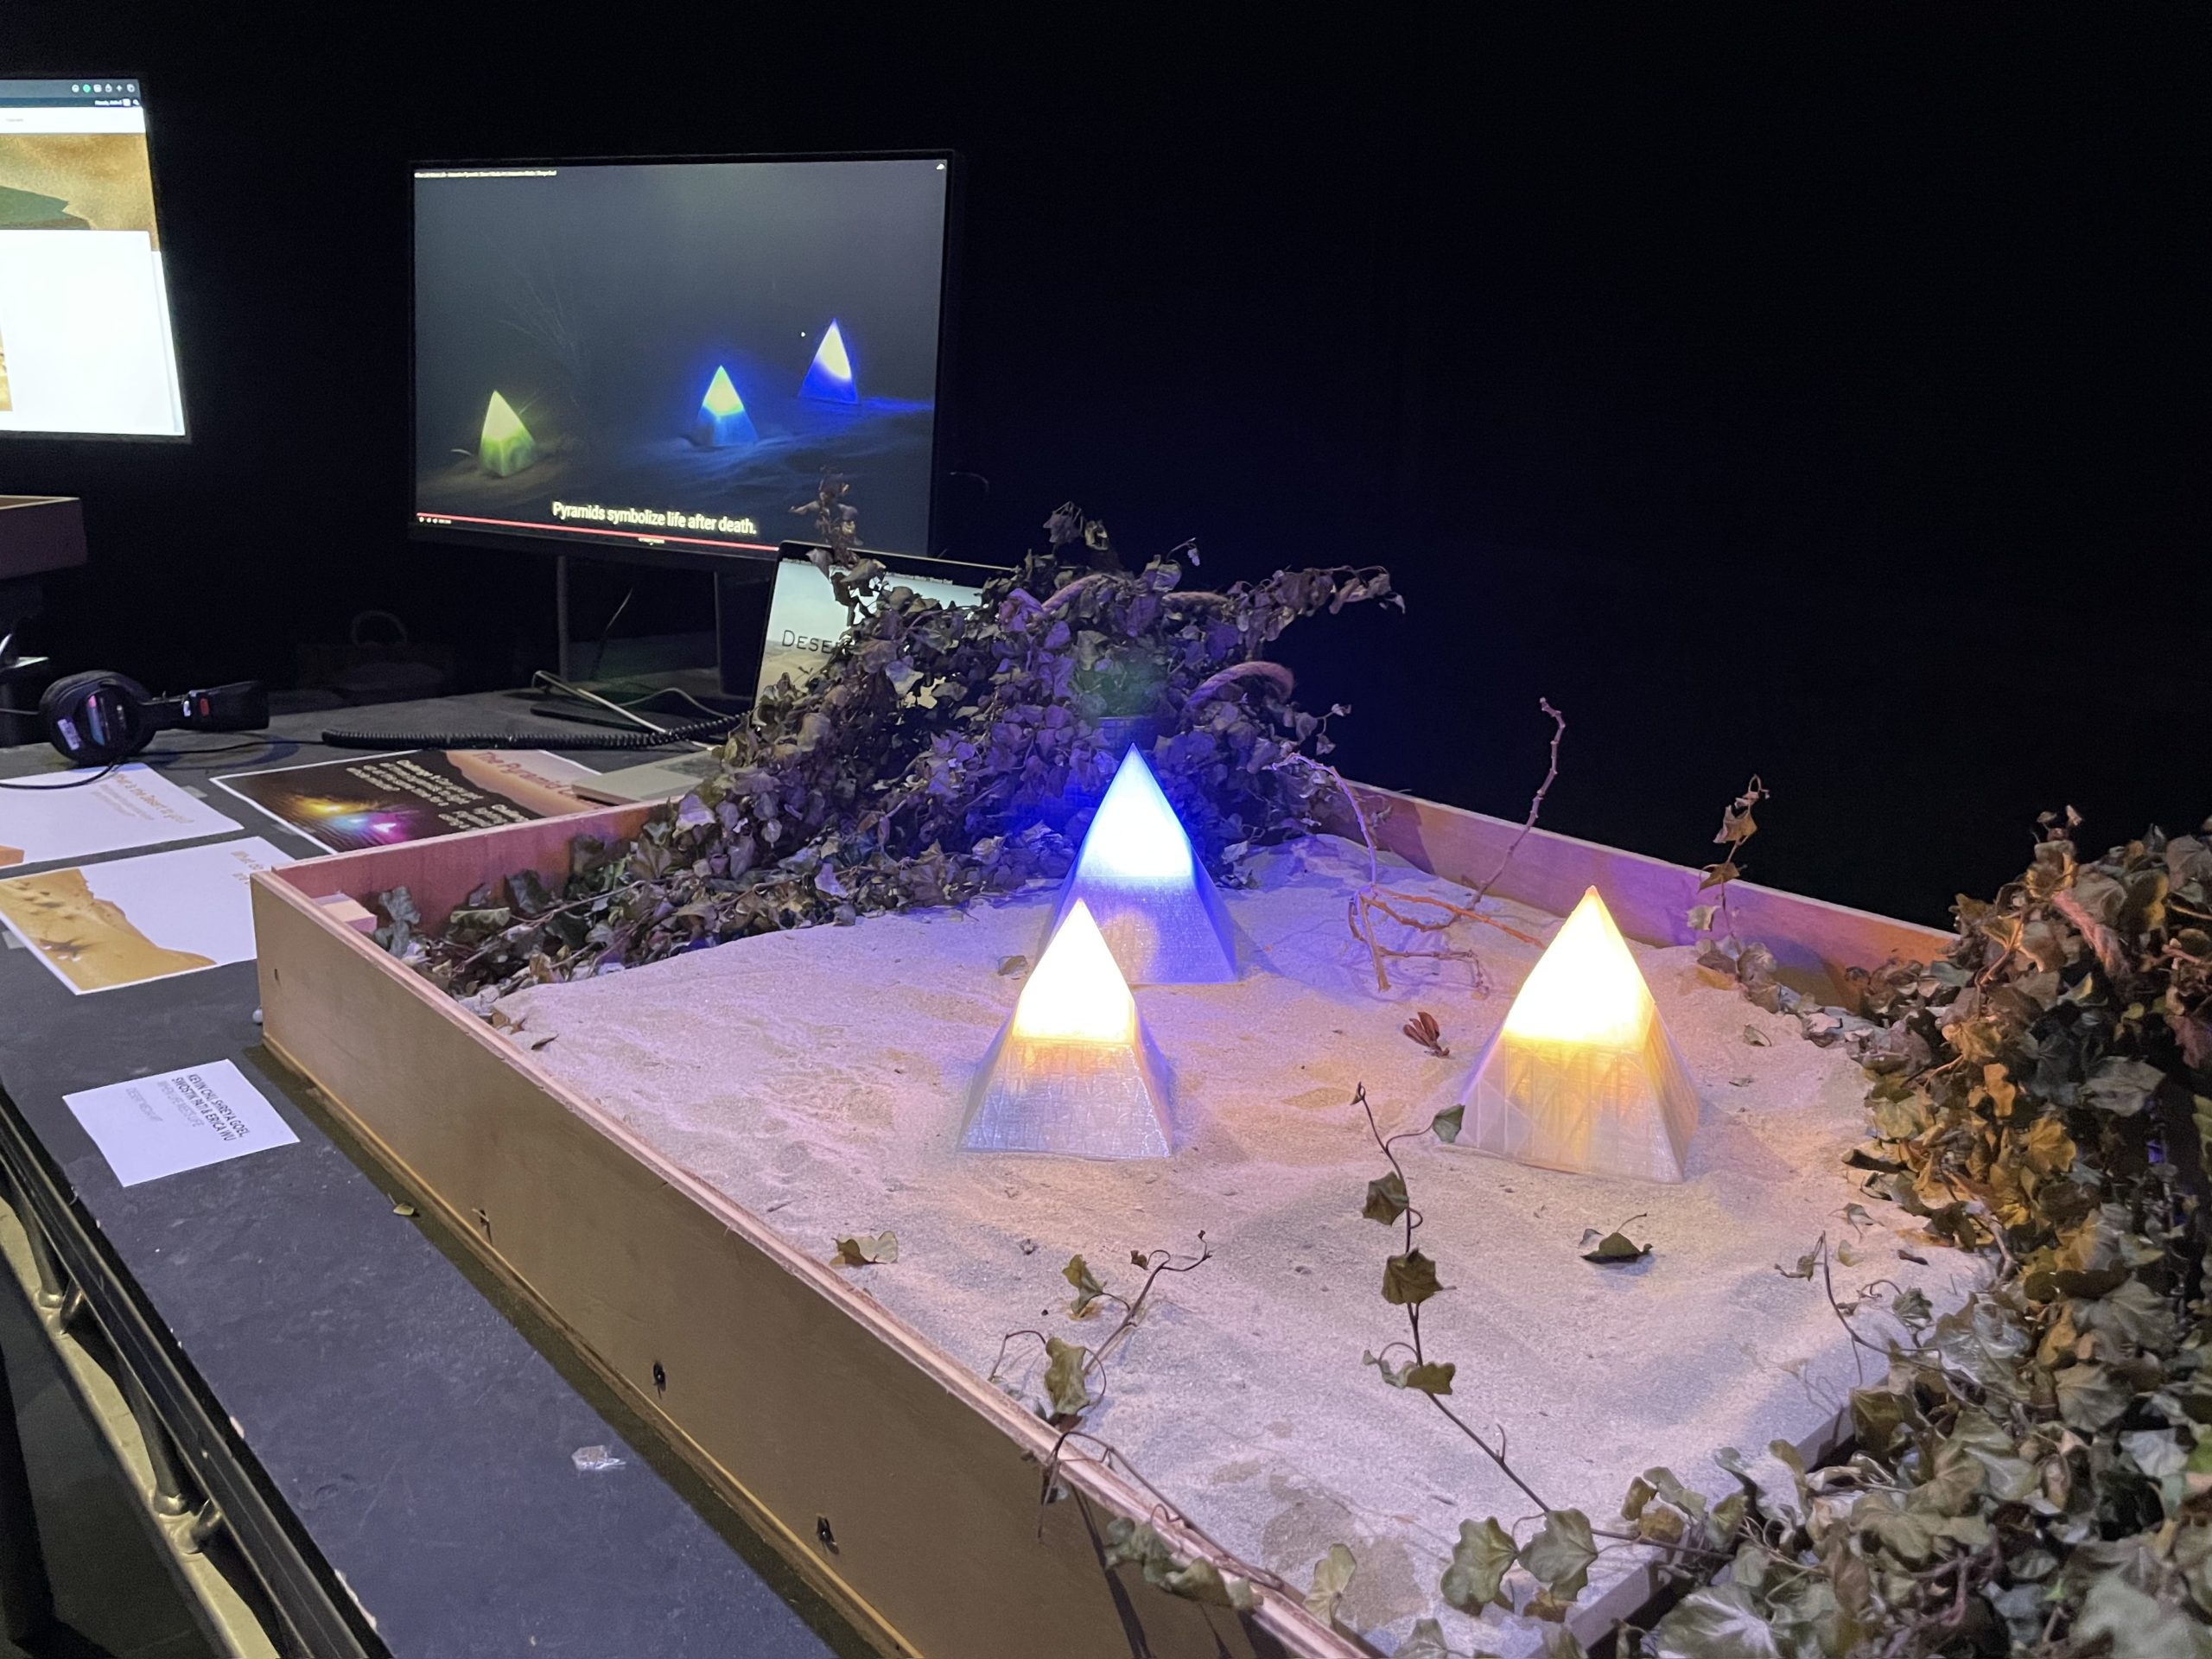
The final light design, as mentioned in the sound design, is done in a way to complement the beats of the music and together convey an emotion as deeply as possible. The several effects, of fading in, fading out, lighting up specific parts of the neopixel ring, and bouncing around with colors, have amplified the feeling by a huge extent and actually convey the primary motive of our project – to show life (changes in light effects symbolize movement of life).
The link to the light design code for each of the emotions is given below:
Production Techniques
We used a number of production techniques to create our installation including 3D printing, 2D lasercutting, and soldering, each of which have been discussed below.
3D Printing
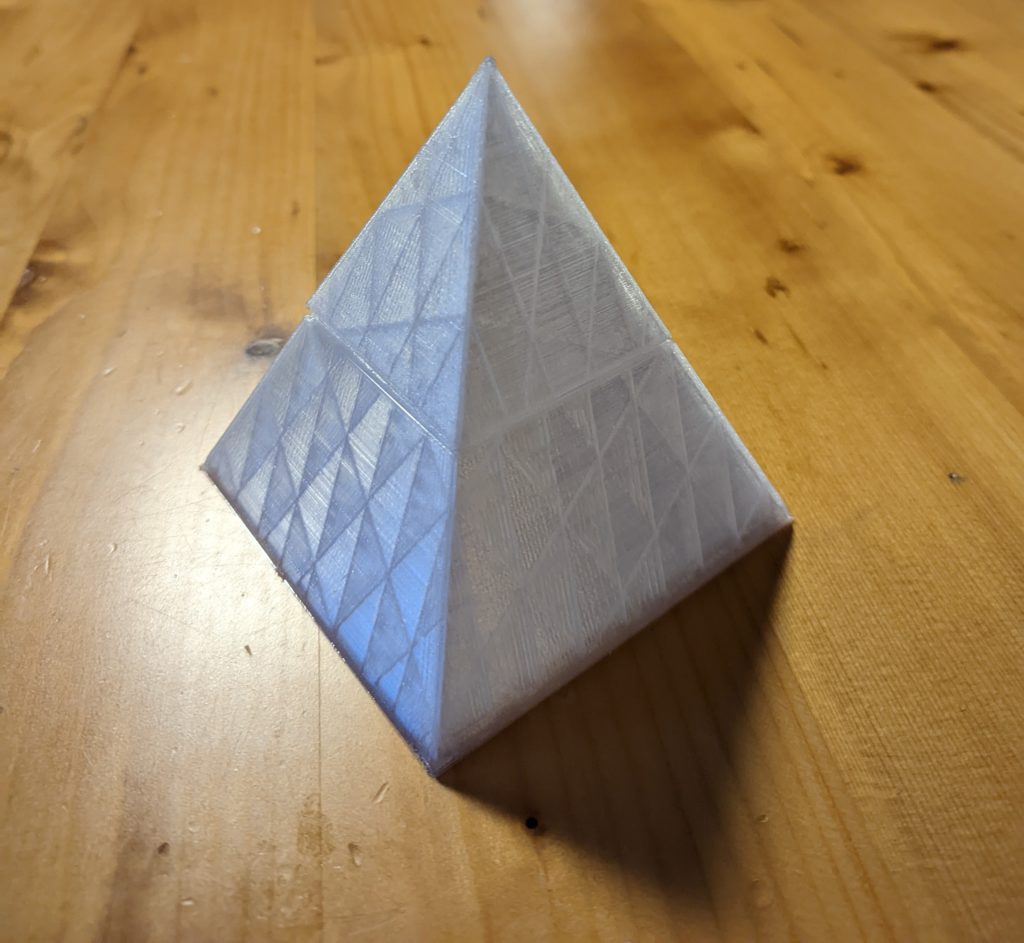
Desert installations need to be strong and robust to prevent accidental damage to the inner circuits. We decided on 3D printing our pyramids. Our first prototype was quite simple looking:
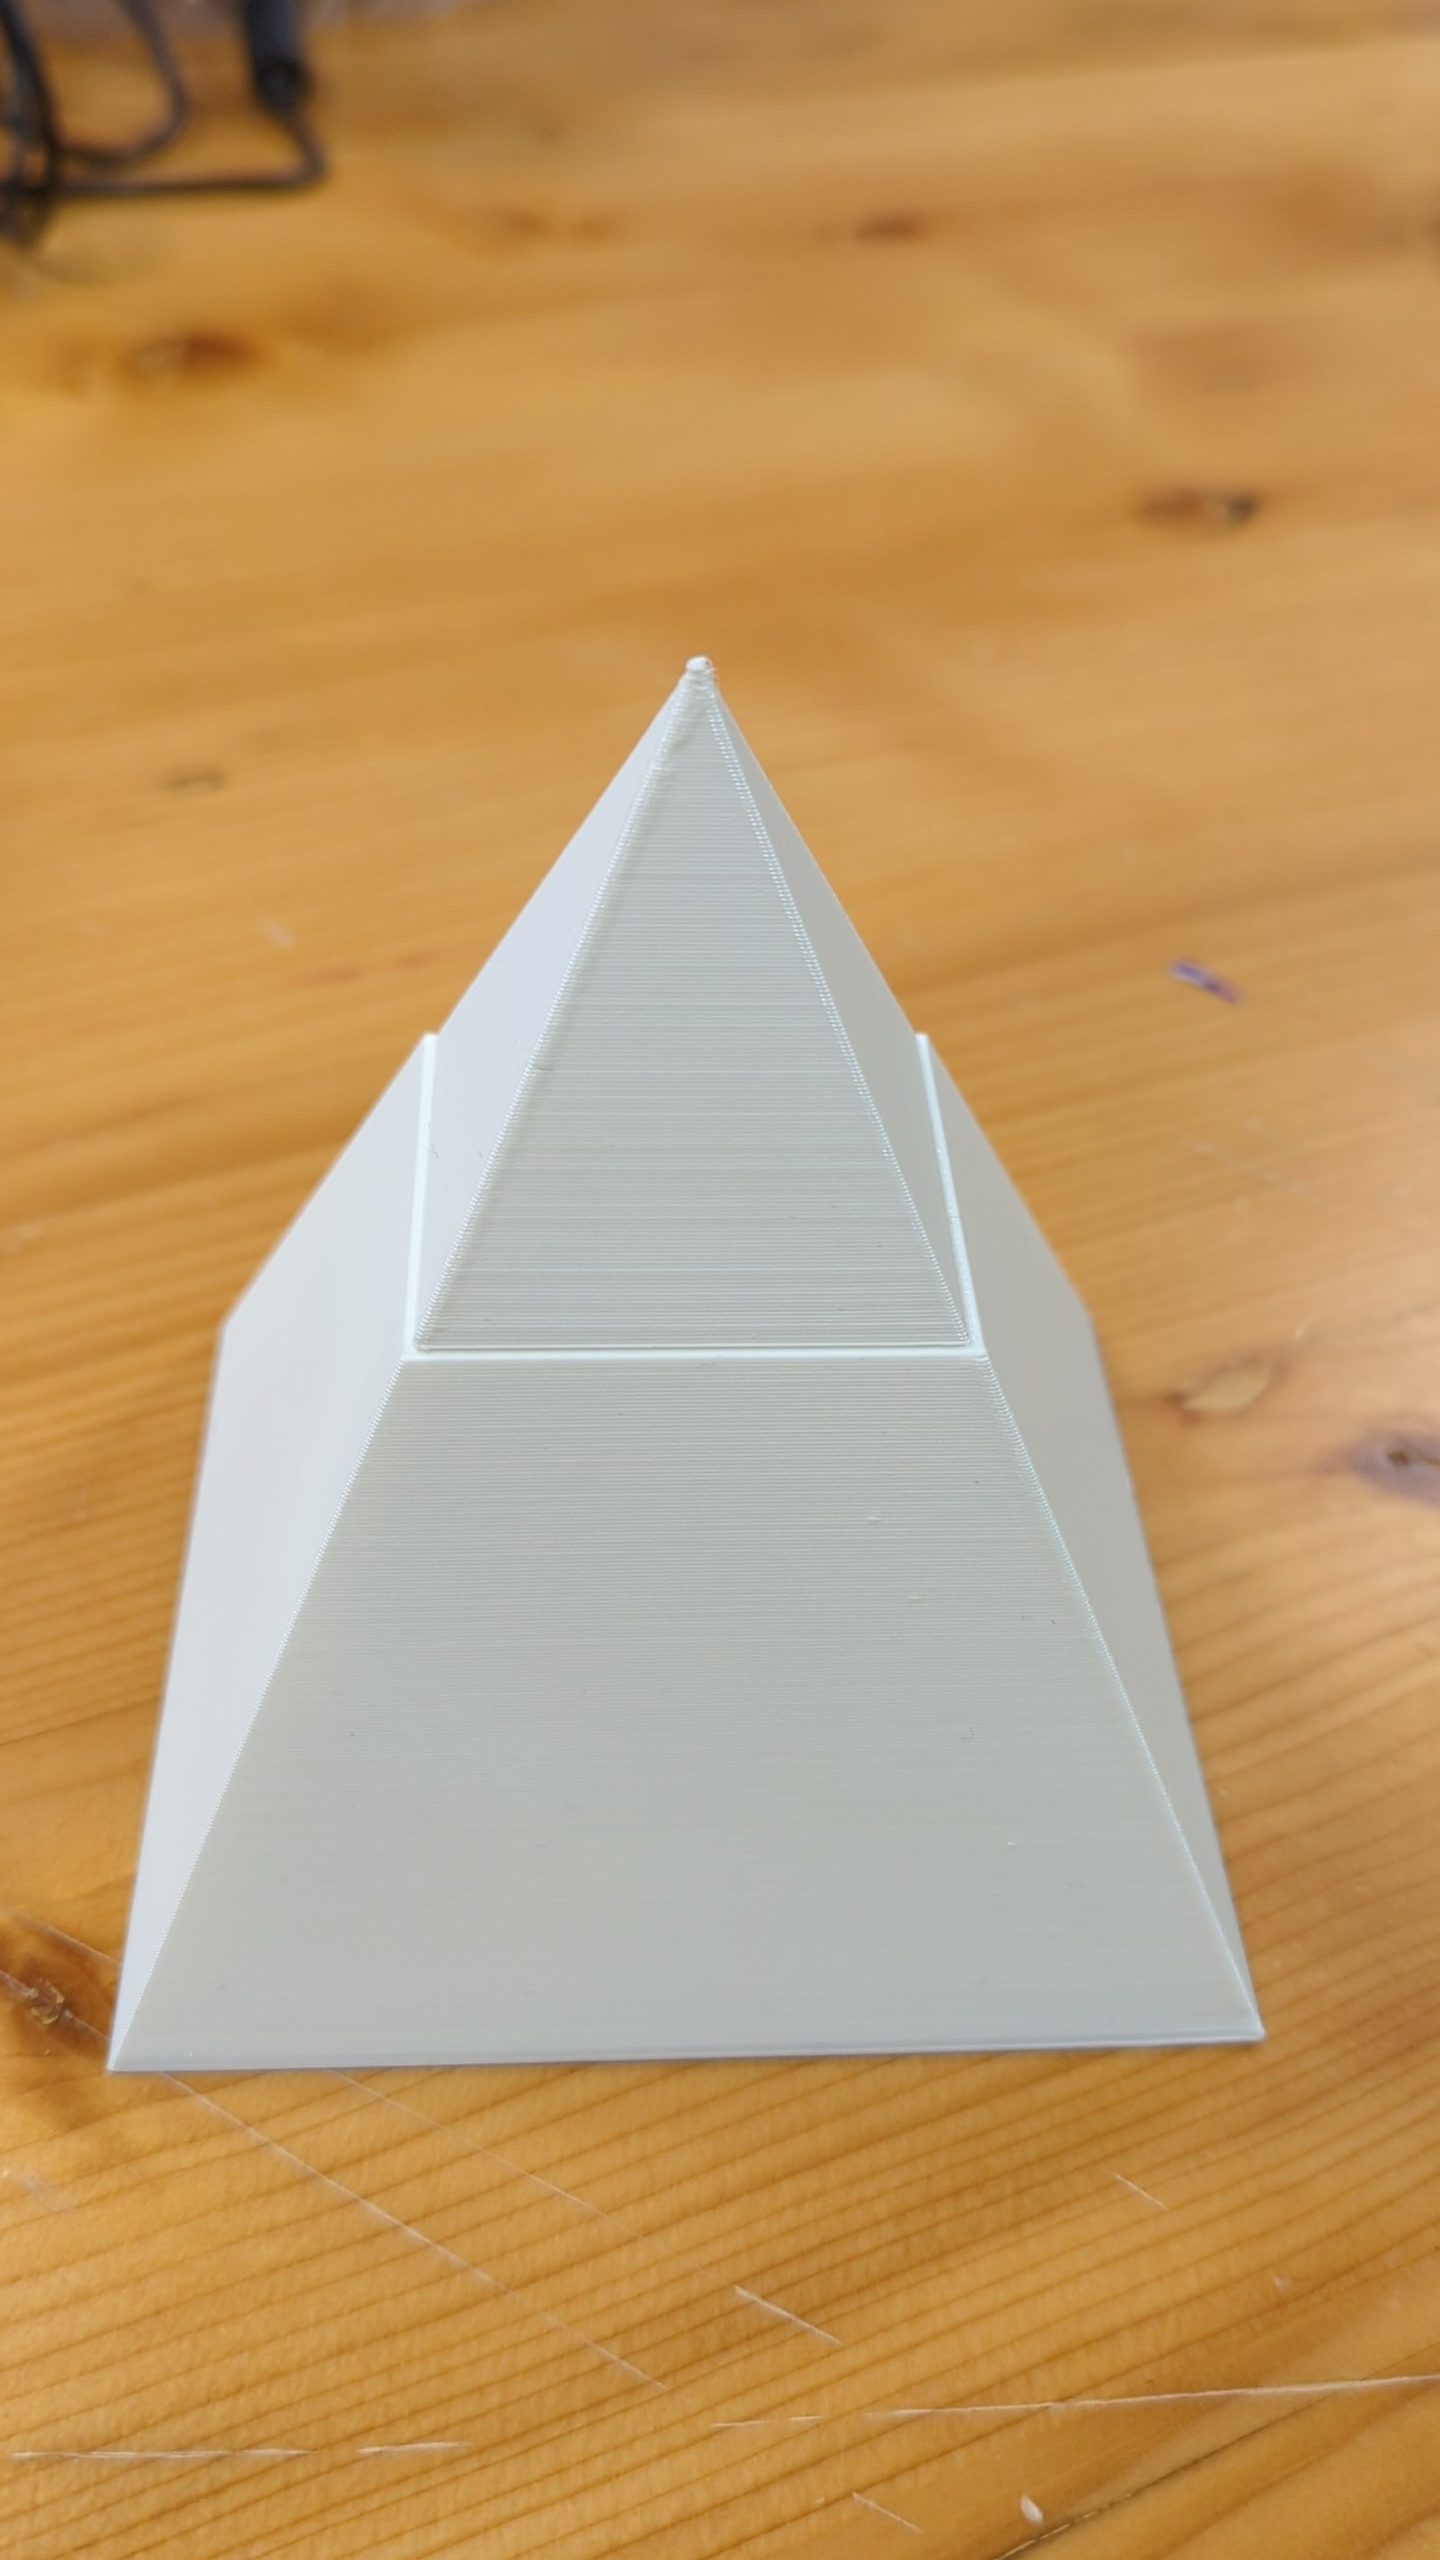
But on subsequent designs, we added a closing mechanism in the top and an infill pattern all around the walls. This enhanced the light interaction as the neopixels lit up and the pattern made them look “more alive”.
Our final prototype was designed in Solidworks, modified, and sliced in Cura, and finally printed using the Transparent PETG filament. This is how it looked:
Laser Cutting
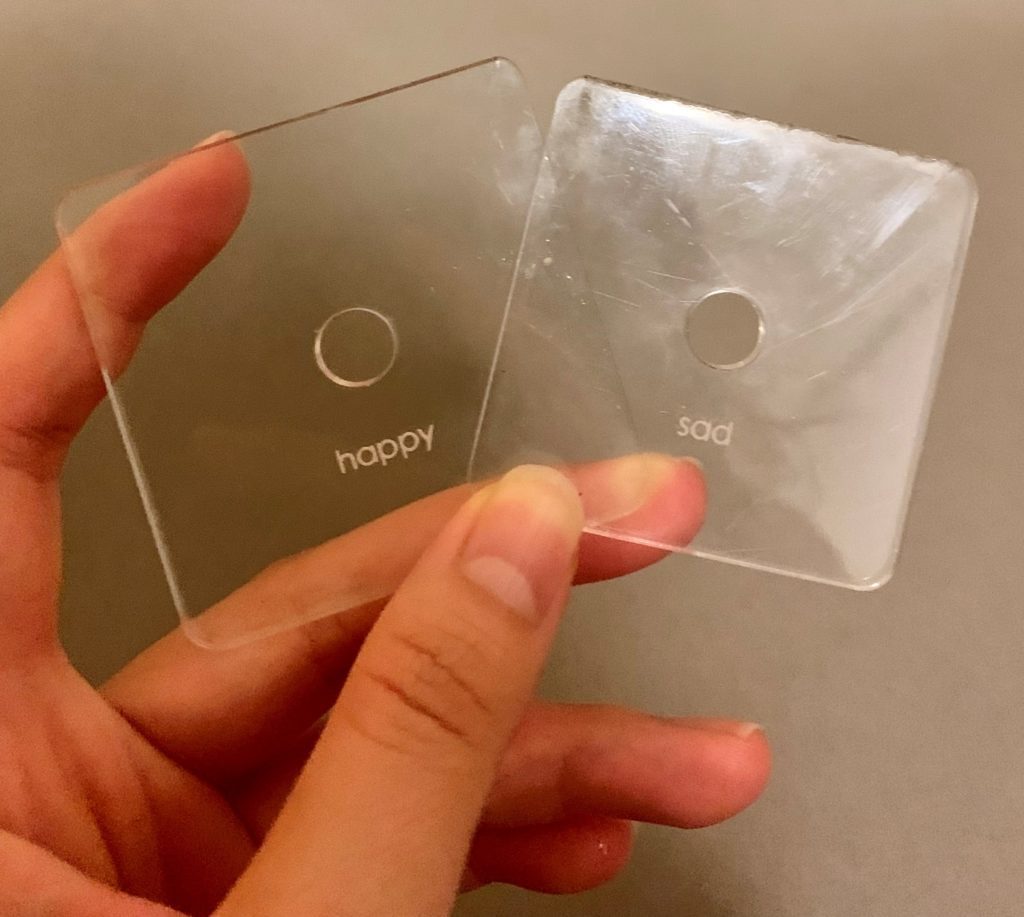
To keep the interior of our installation organized, we have decided to include a customized laser-cut acrylic board in our installation with different-sized pyramids. We have designed the board with customized size and with rounded edges so that it fits the pyramid. We also included a hole in the middle to place the wires. By separating the neoring and the rest of the hardware, the board is able to ensure that the placement of the source of light is consistent across the pyramids.
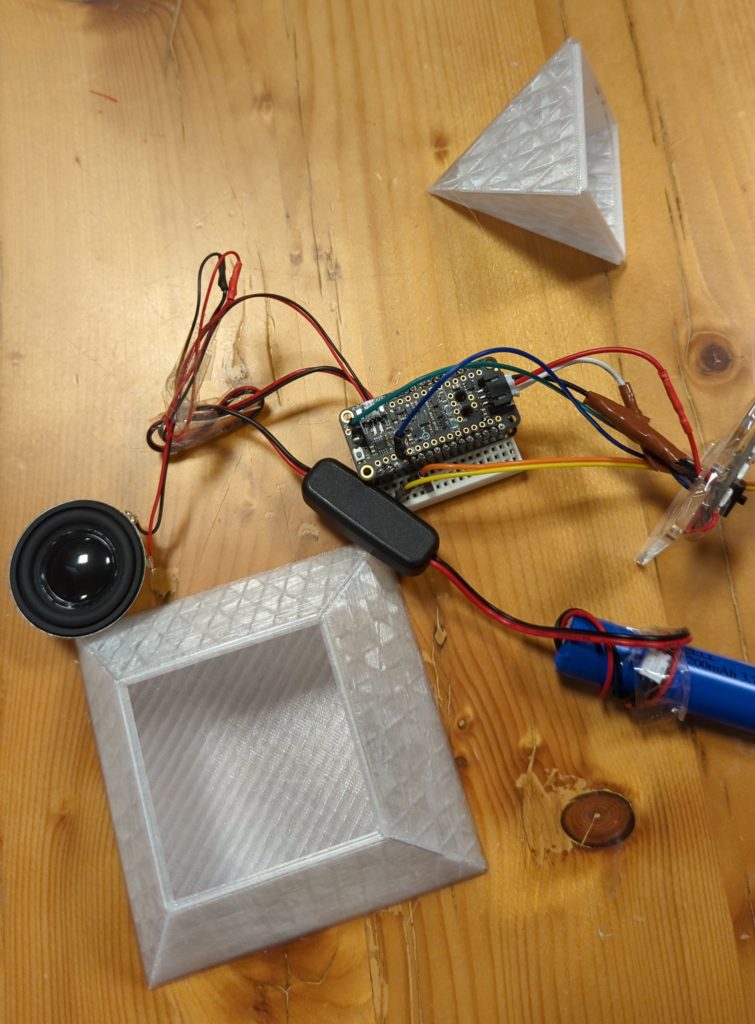
Hardware Connections and Soldering
Lose wires can be very detrimental to the installation in the context of the desert. Therefore it was very important for us to make all connections tight and secure. This is where we took help of soldering. All electrical joints were soldered and if required, covered with electrical tapes, and wire casings. The length of the resistors and photoresistors were shortened to prevent short circuits. The neopixel was stuck firmly over the lasercut acrylic. Overall, the idea was to design a circuit that could easily survive the desert environment.
Experiments
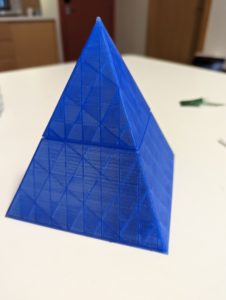
- 3D Printing: The process of 3D printing is that of a really difficult one and requires constant supervision. There were several print fails (some even after 10 hours), but even through this process, we experimented with a lot of designs and colors of the pyramid during the prototyping phase by using solid, translucent, and transparent filaments. Given below is a blue translucent pyramid that we printed in the initial days to experiment with the colors:
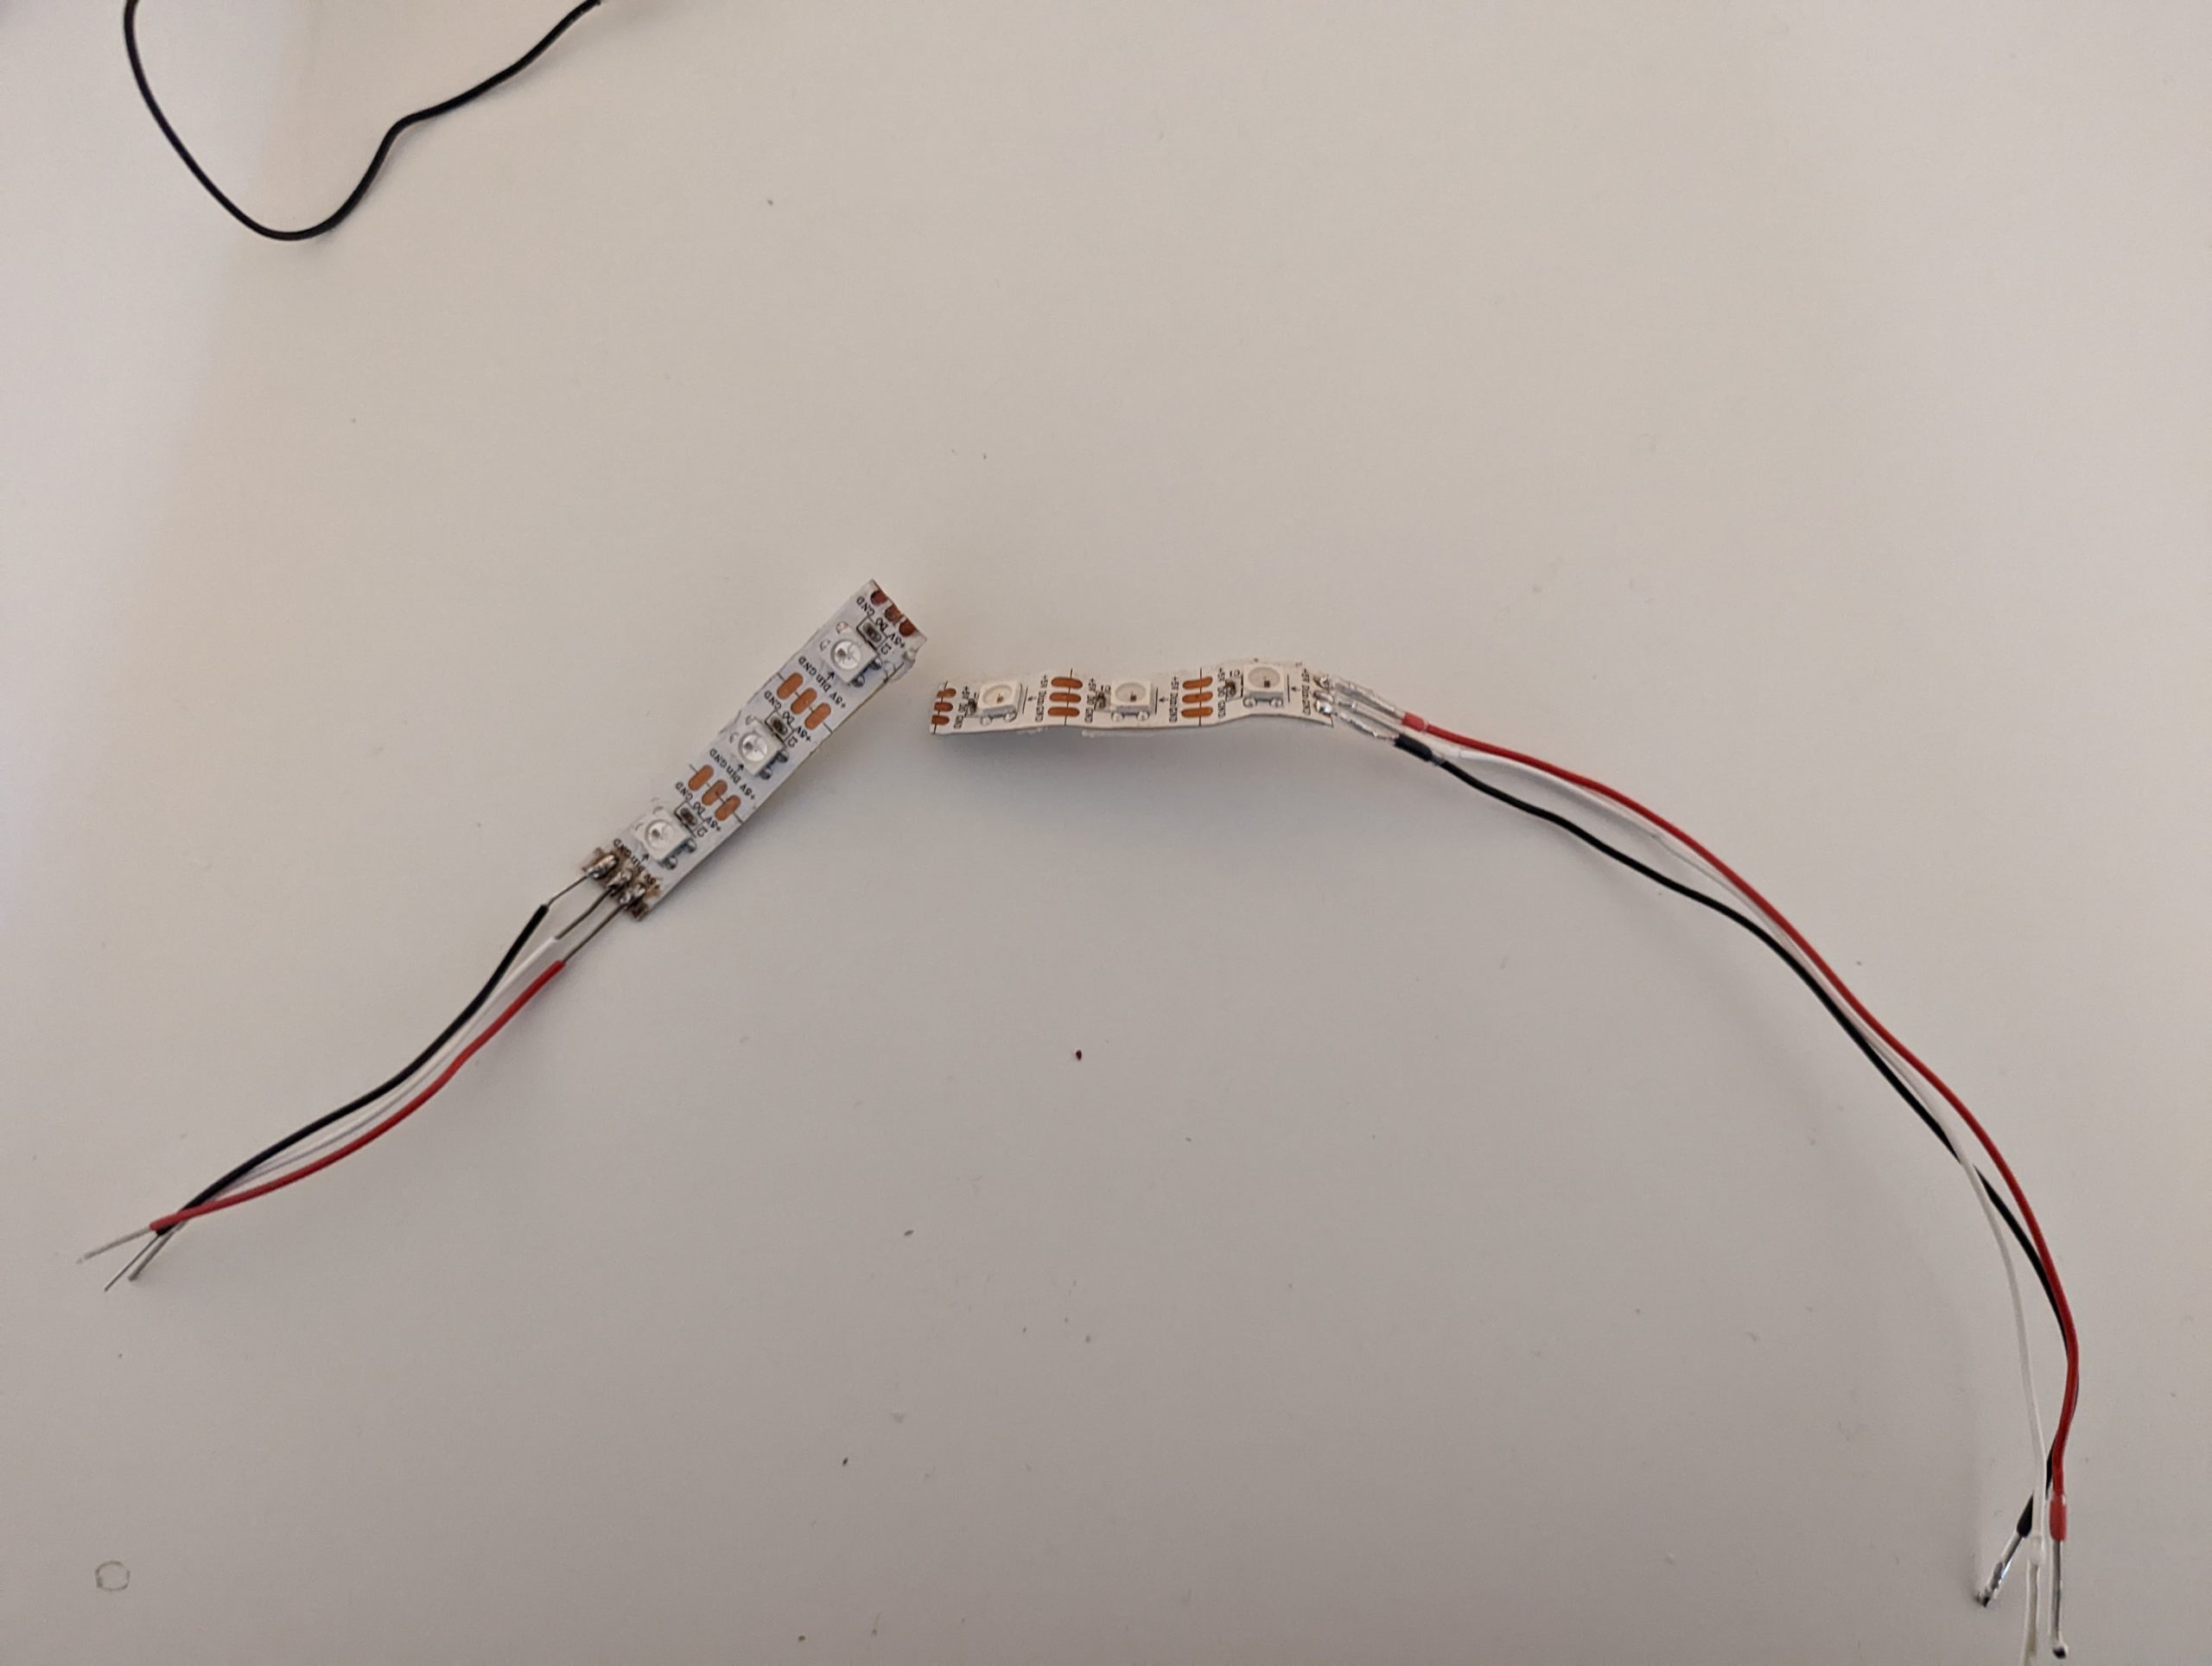
- Neopixels: We experimented around with a number of types of neopixels including neopixel bars, rings, and strips. Initially, we felt that soldering sets of neopixel strips together might be the answer. But the process of soldering them was extremely difficult and the final result was a weak and flimsy set of neopixel strips. The solder connections broke very easily rendering the entire connections useless.
In the end we realized that the neopixel ring would be a really good choice. It diffused the light all around uniformly, wass very compact and perfectly fit at the top part of the pyramid. The chances of electrical connections breaking were also quite low in case of the neopixel ring.
- Switch: It was quite difficult to set everything up in the bottom layer of the pyramid and take everything out again every time we wanted to switch ON or OFF our installation. To make this process much simpler, we soldered a small switch across the Enable pin and the ground pin on the Featherwing.
- Cardboard Base: Before laser cutting acrylic, we first tried out with cardboard to set up a base for the neopixel ring to stay. It did the job, but due to the opaque nature of the cardboard, it affected the dispersion of light. This is why we replaced the cardboard with transparent laser-cut acrylic
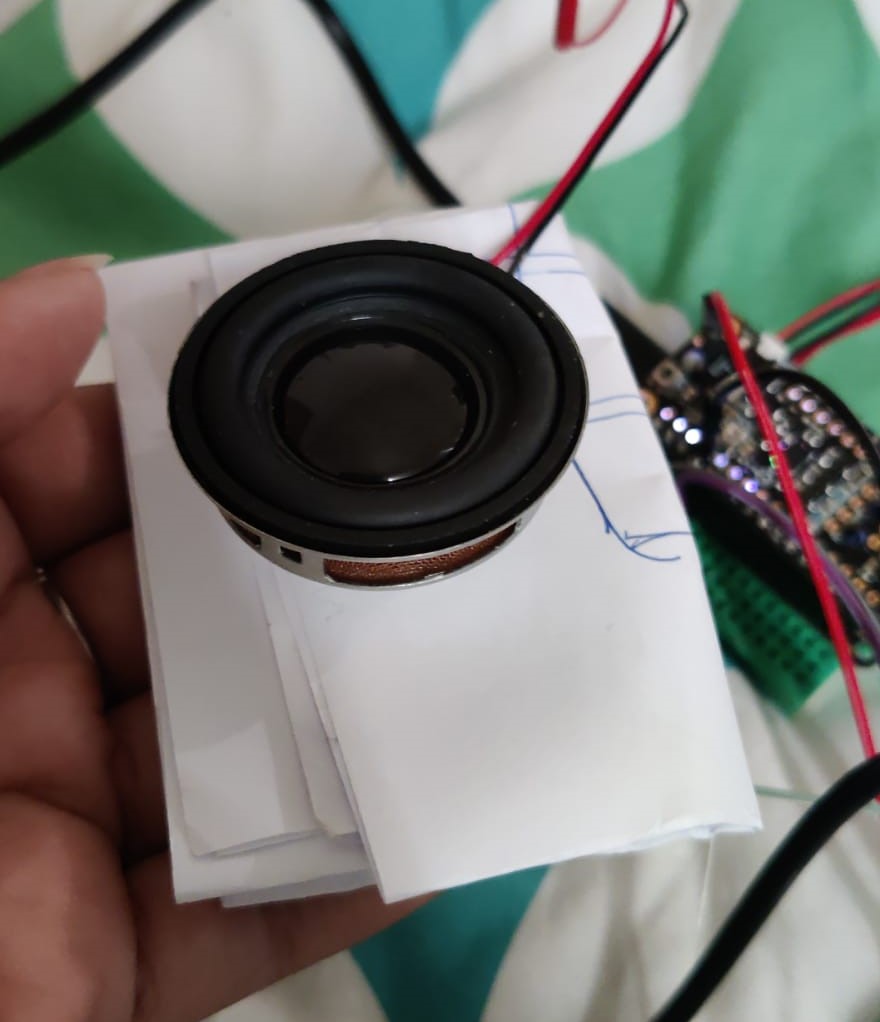
- Speaker Base: The speakers were causing a lot of issues due to the reverb that each produced while playing the music. The music felt more like noise and this had to be mitigated. After a lot of trial and error, we realized putting a small piece of tissue paper at the bottom of the speaker helped remove the unwanted noise.