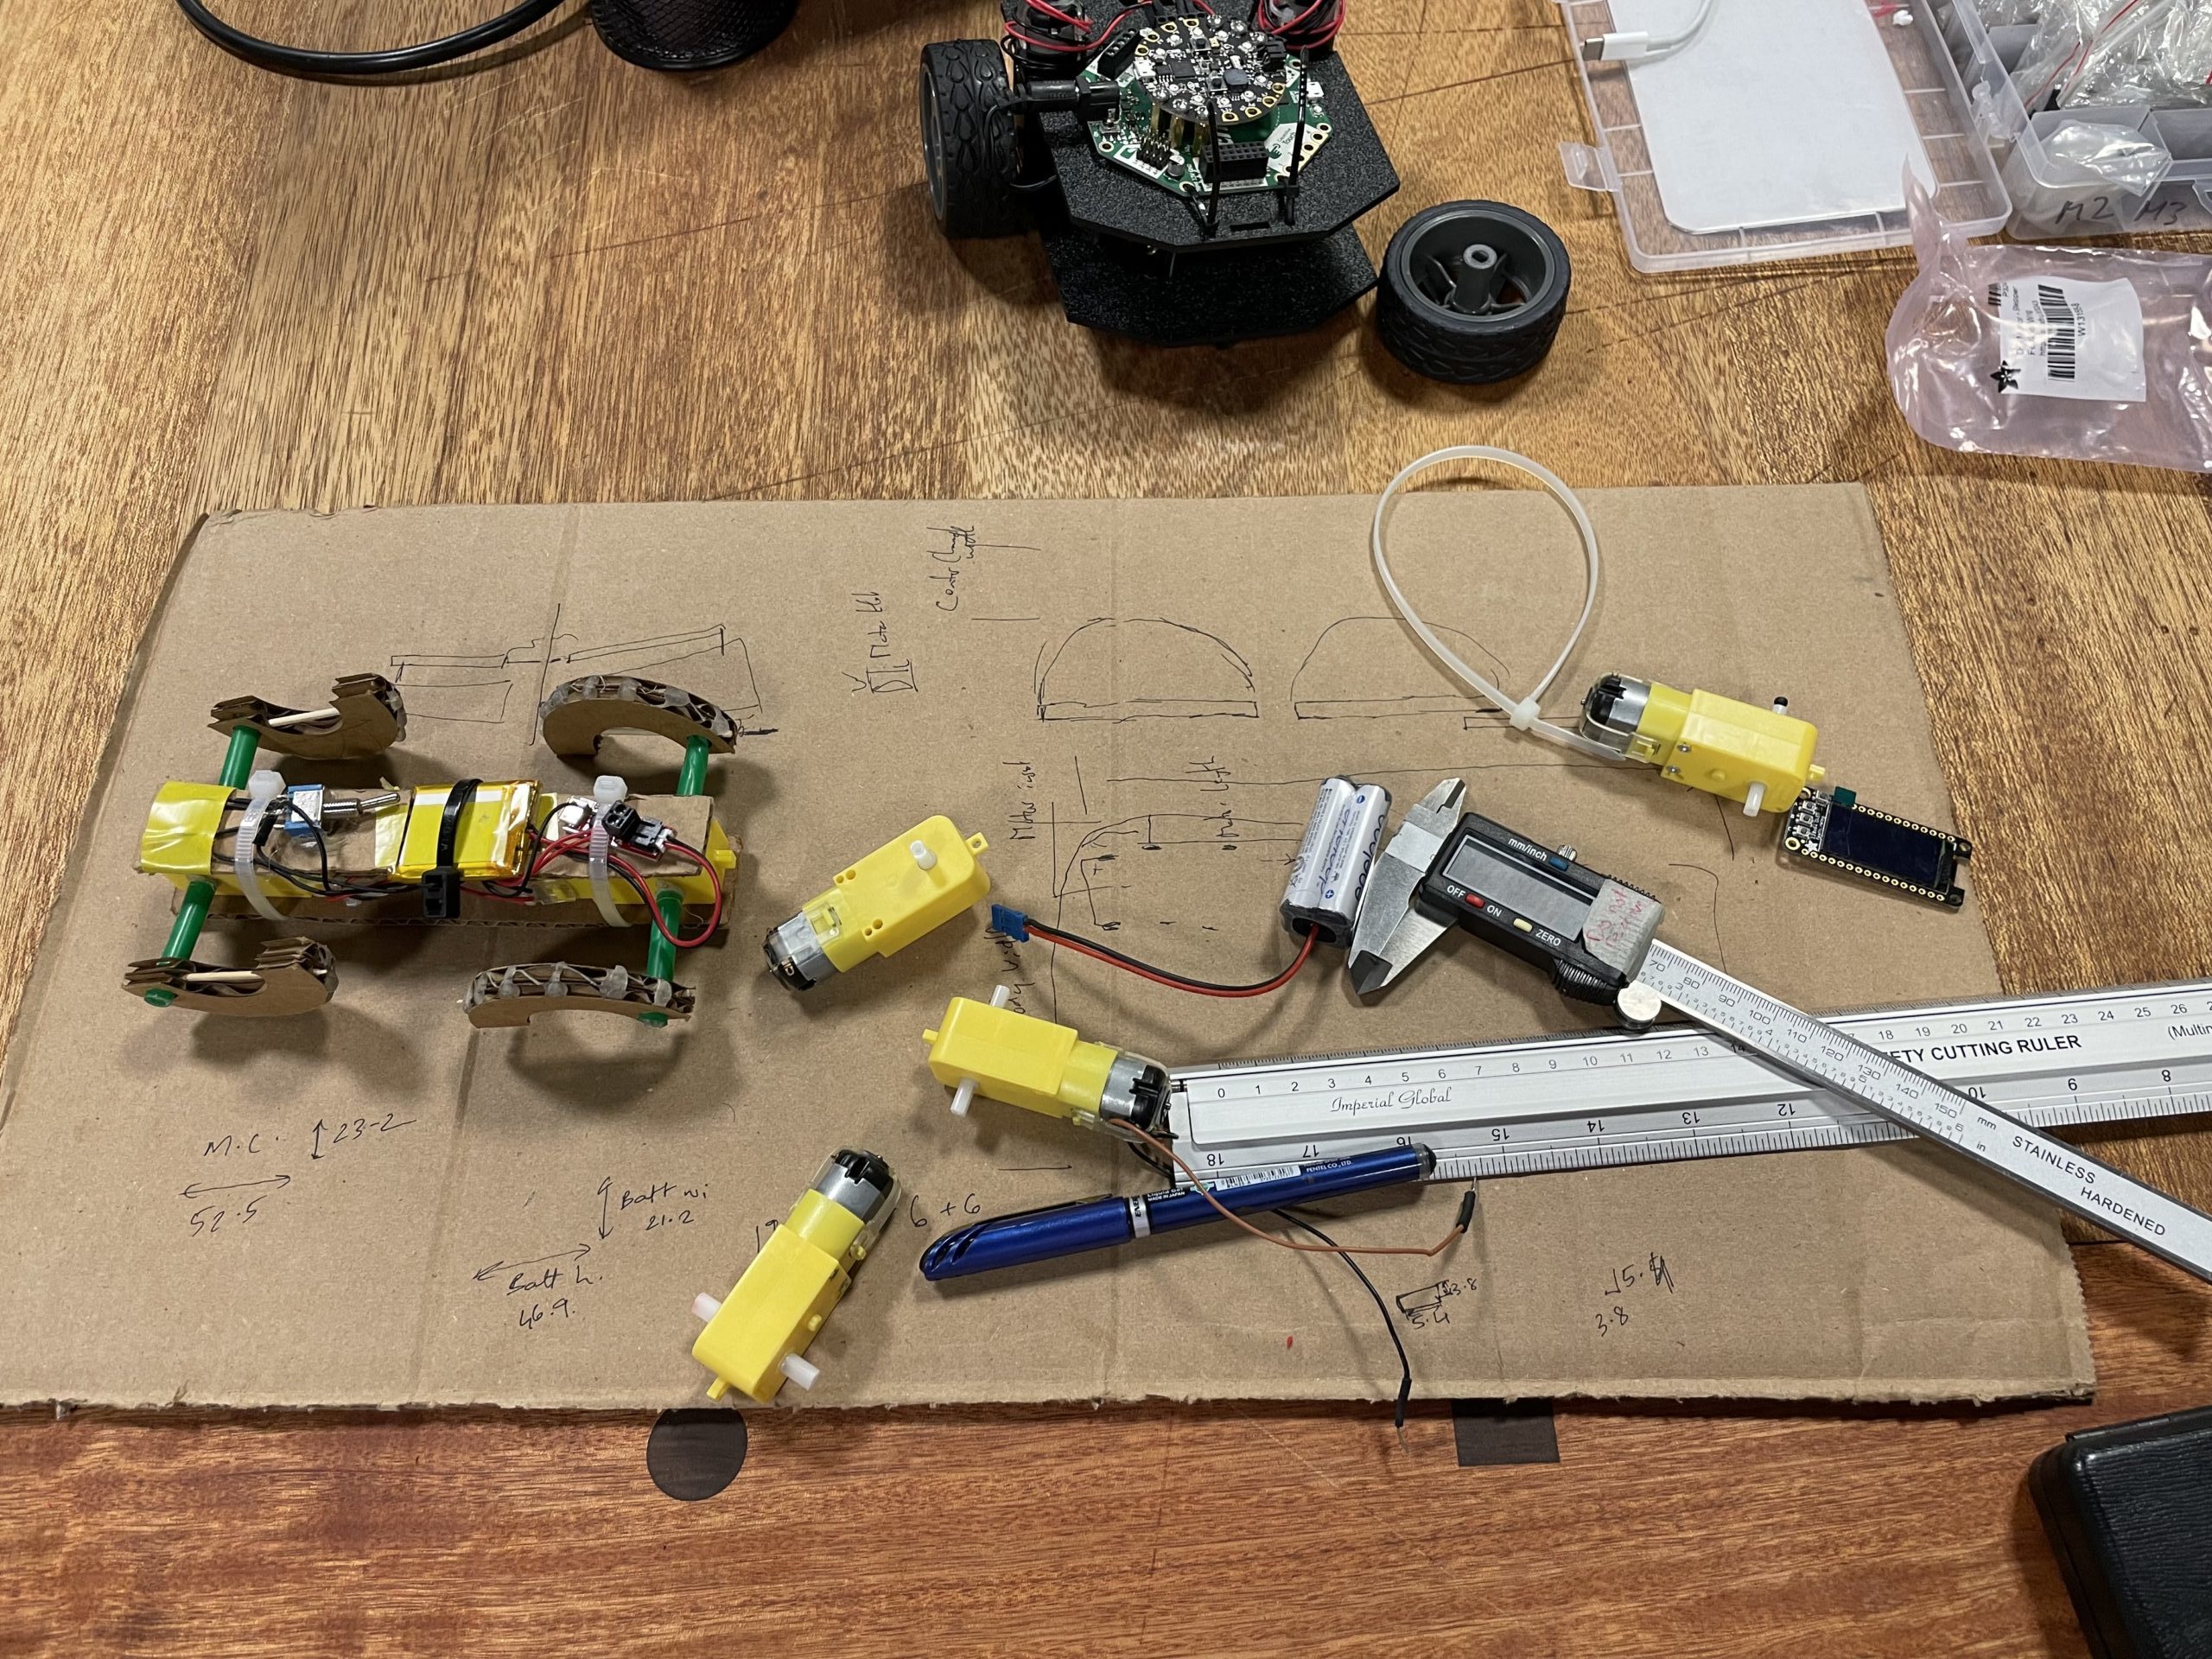
In Wednesday’s lab, we started to design and assemble robot prototype II. For this prototype, we decided to keep the wheggo design but use four motors and add remote control to it.
Micheal and Prof.Mang focused on designing the main body of the robot. We decided to print out the main board using wood instead of cardboard. We used the vernier scale to measure the parameters of the motors and our desired wheg length. For this prototype, we want to spread out the whegs further apart in case they touch each other. We also want to have longer whegs so that it could climb over obstacles more easily.
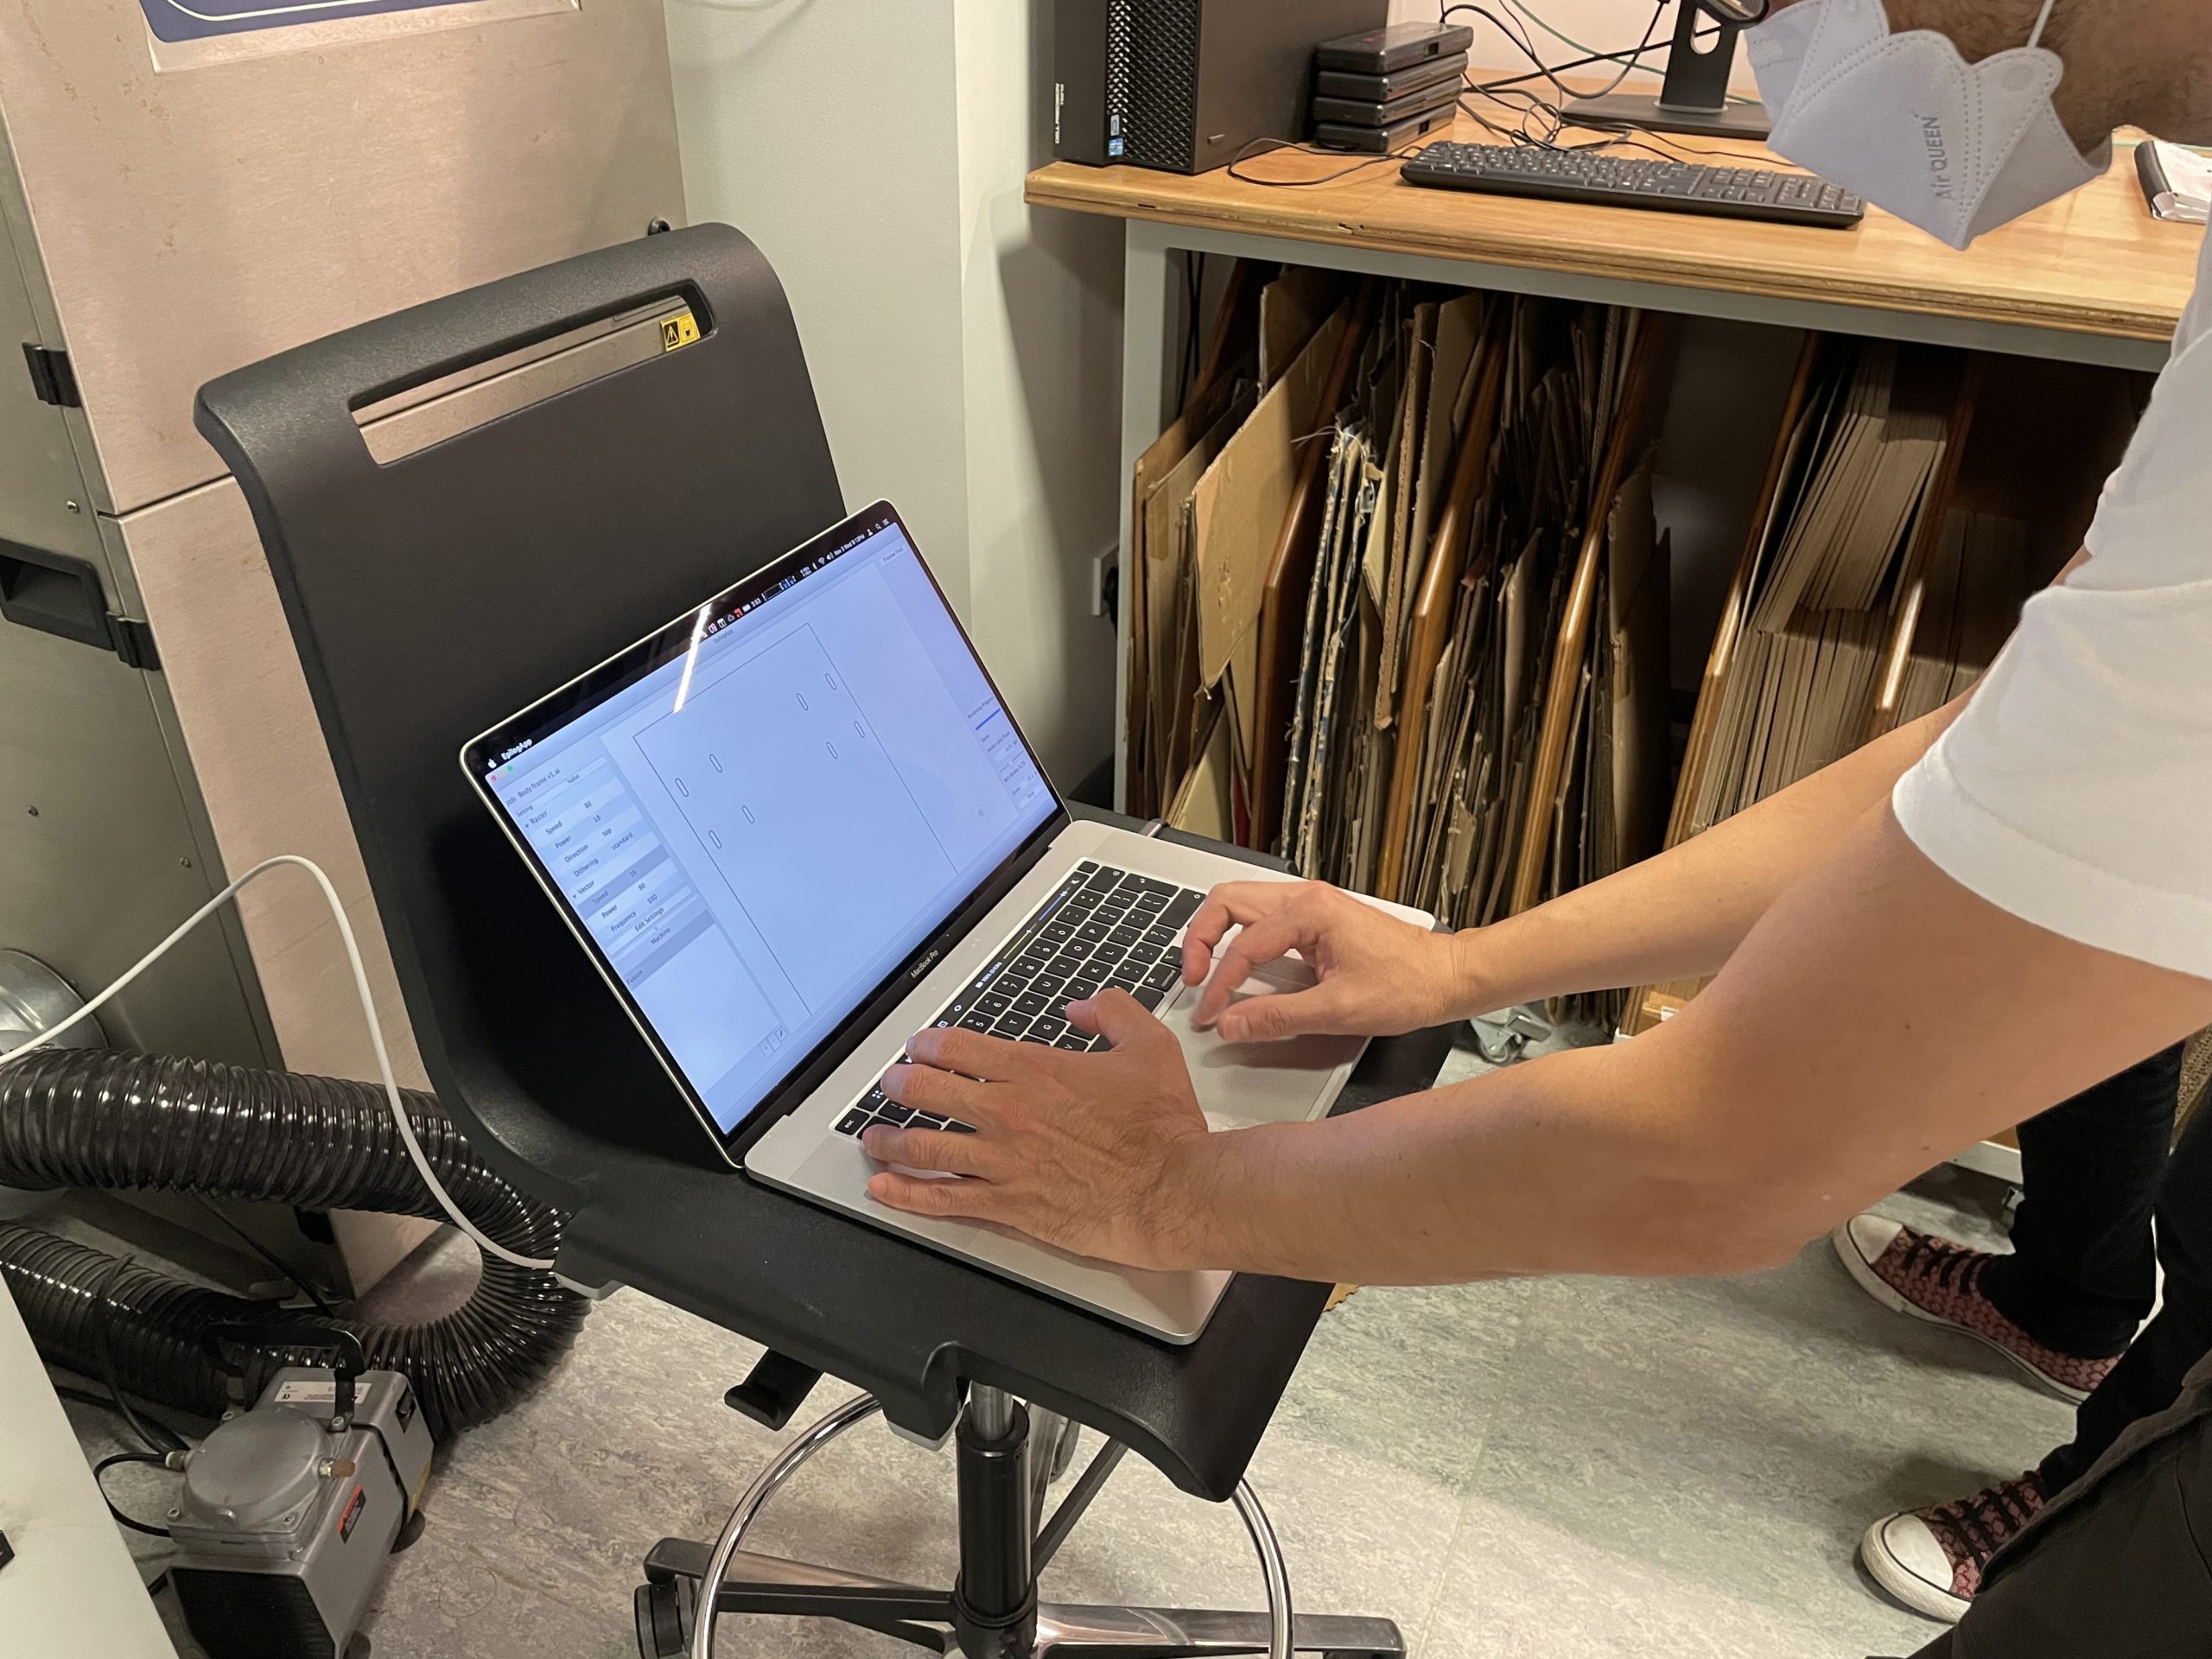
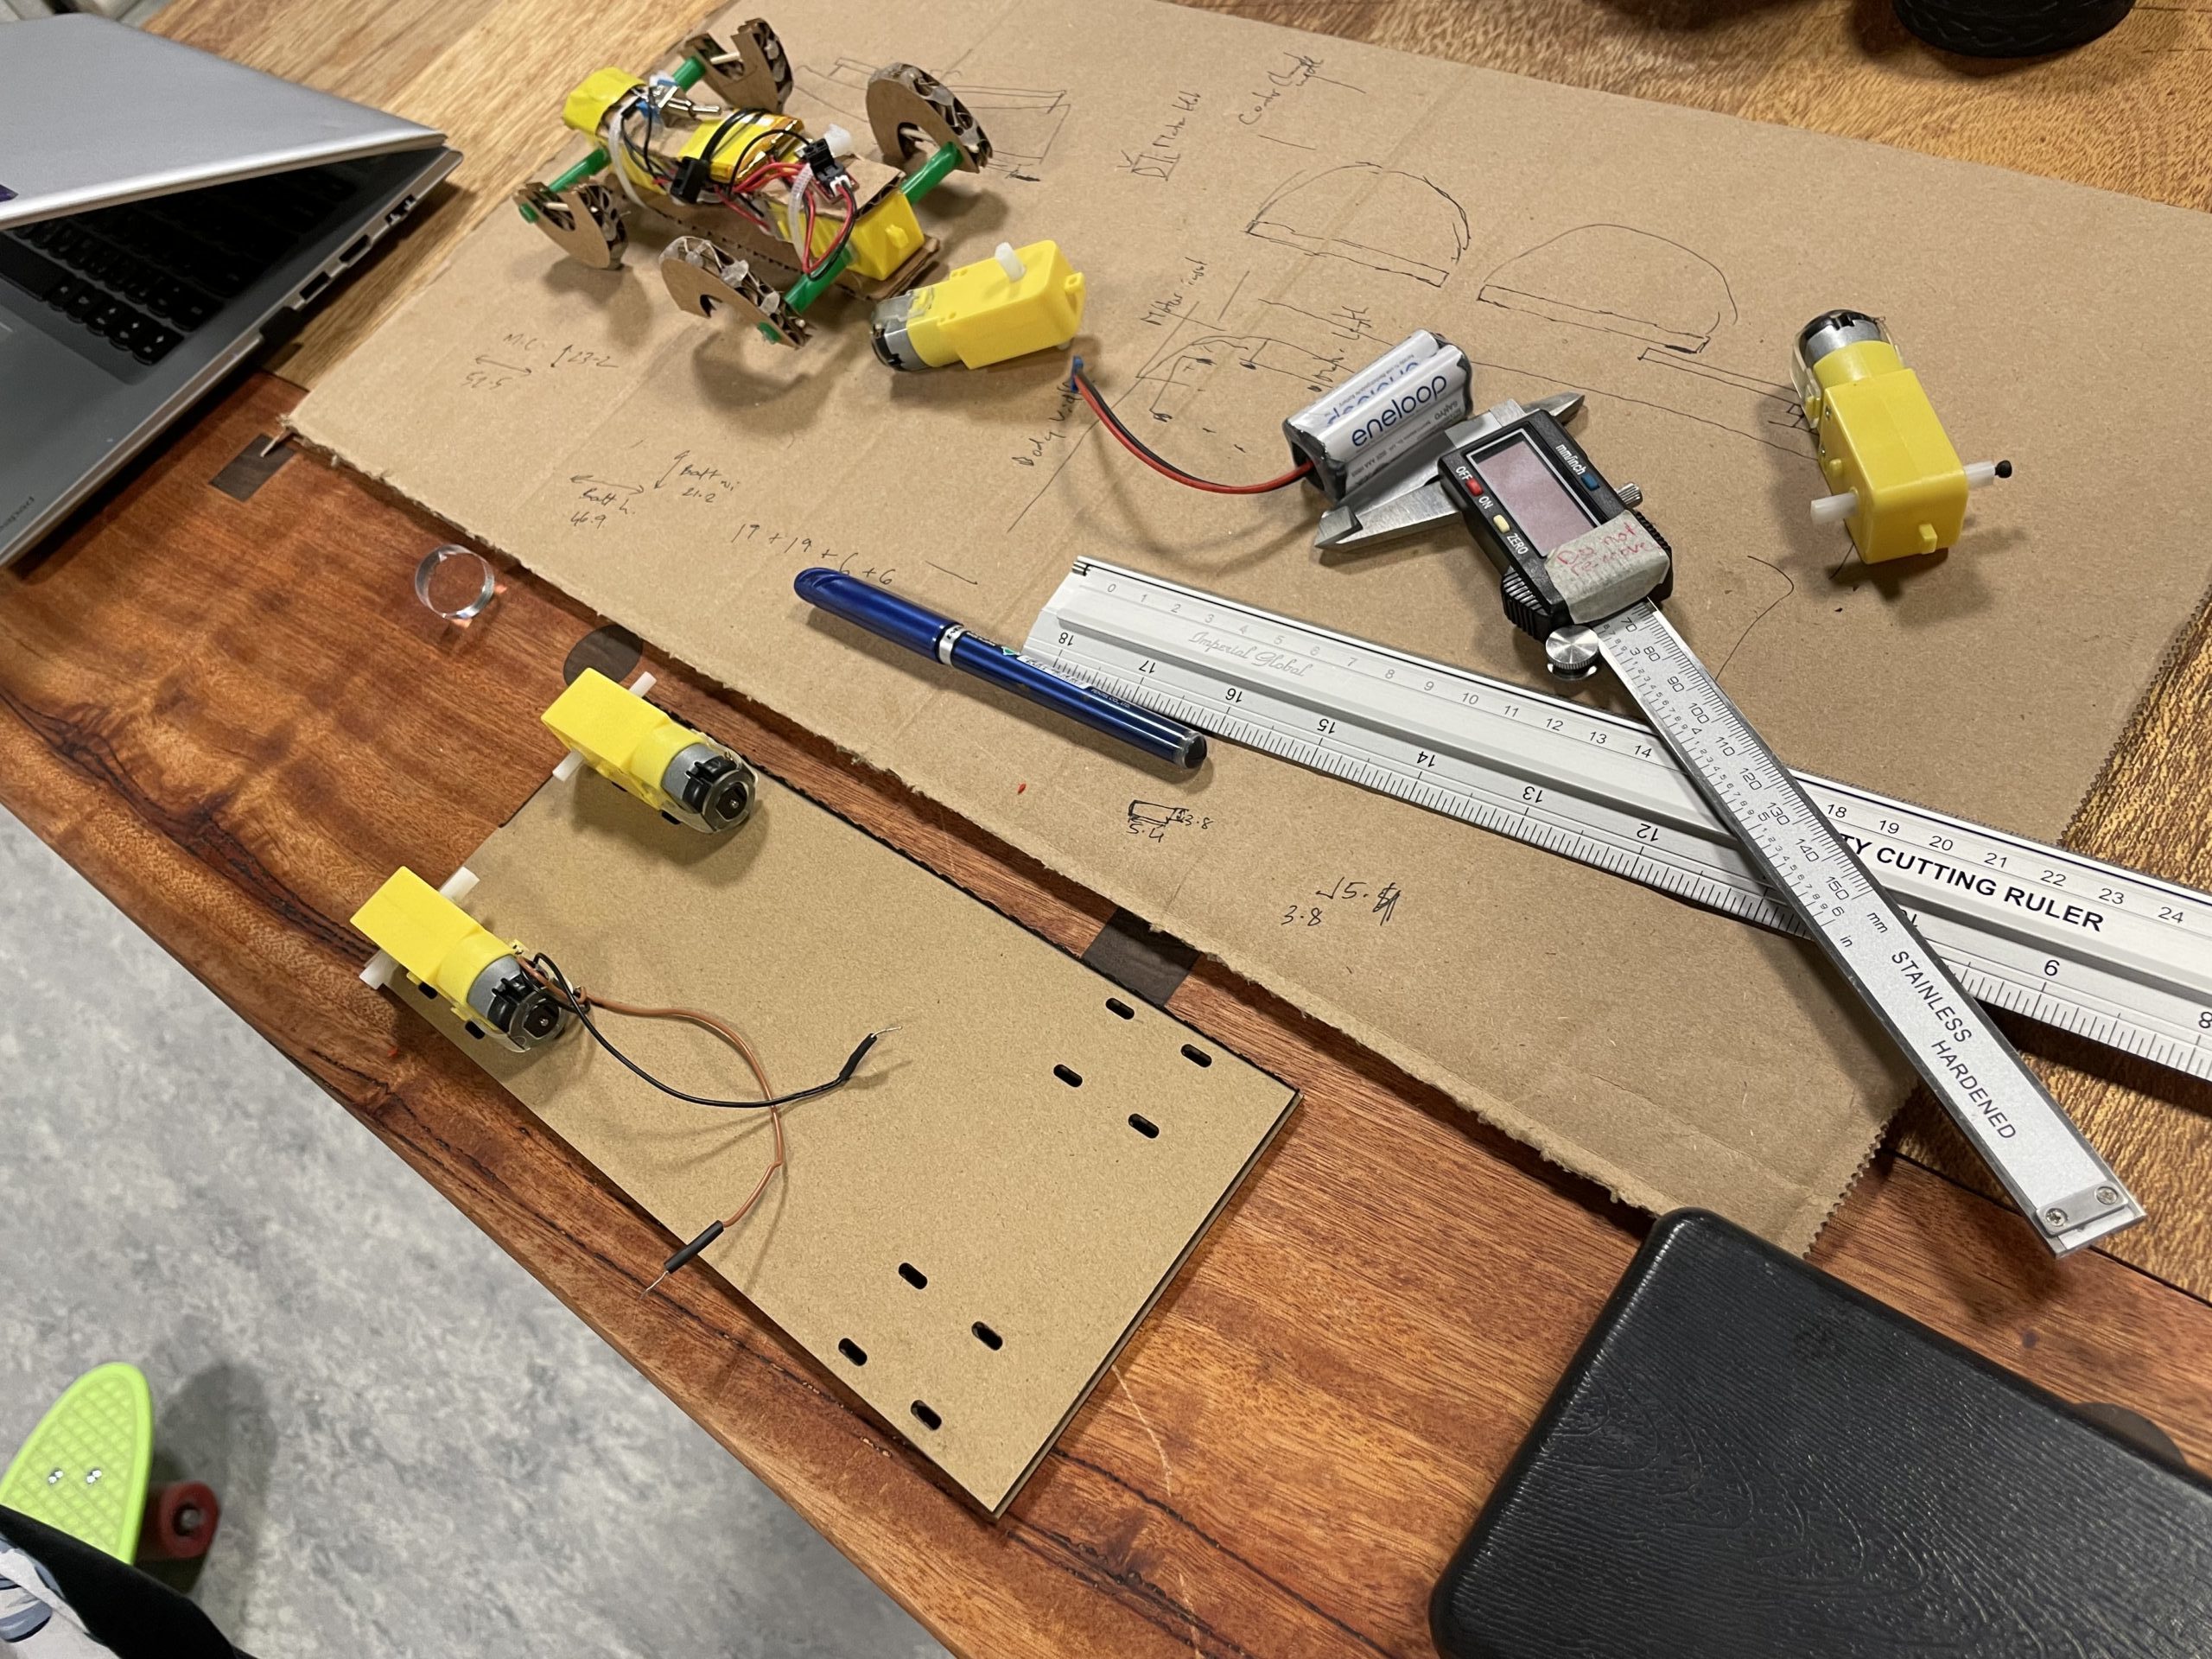
Then we used laser cutting to get our desired board. At first we forgot to focus the machine so it failed at the first try. After focusing the laser cutter we got what we want:
There’s something wrong with the media library and the embed function. Somehow I just cannot display the video here. So this is the link to the short video of laser cutting.
https://drive.google.com/file/d/1AMCeKa1EeBuxNbcBzN0-I5T8KmQiB5Ec/view?usp=sharing
The final outcome may be a little bit wider than necessary, but we are going to experiment with this first.
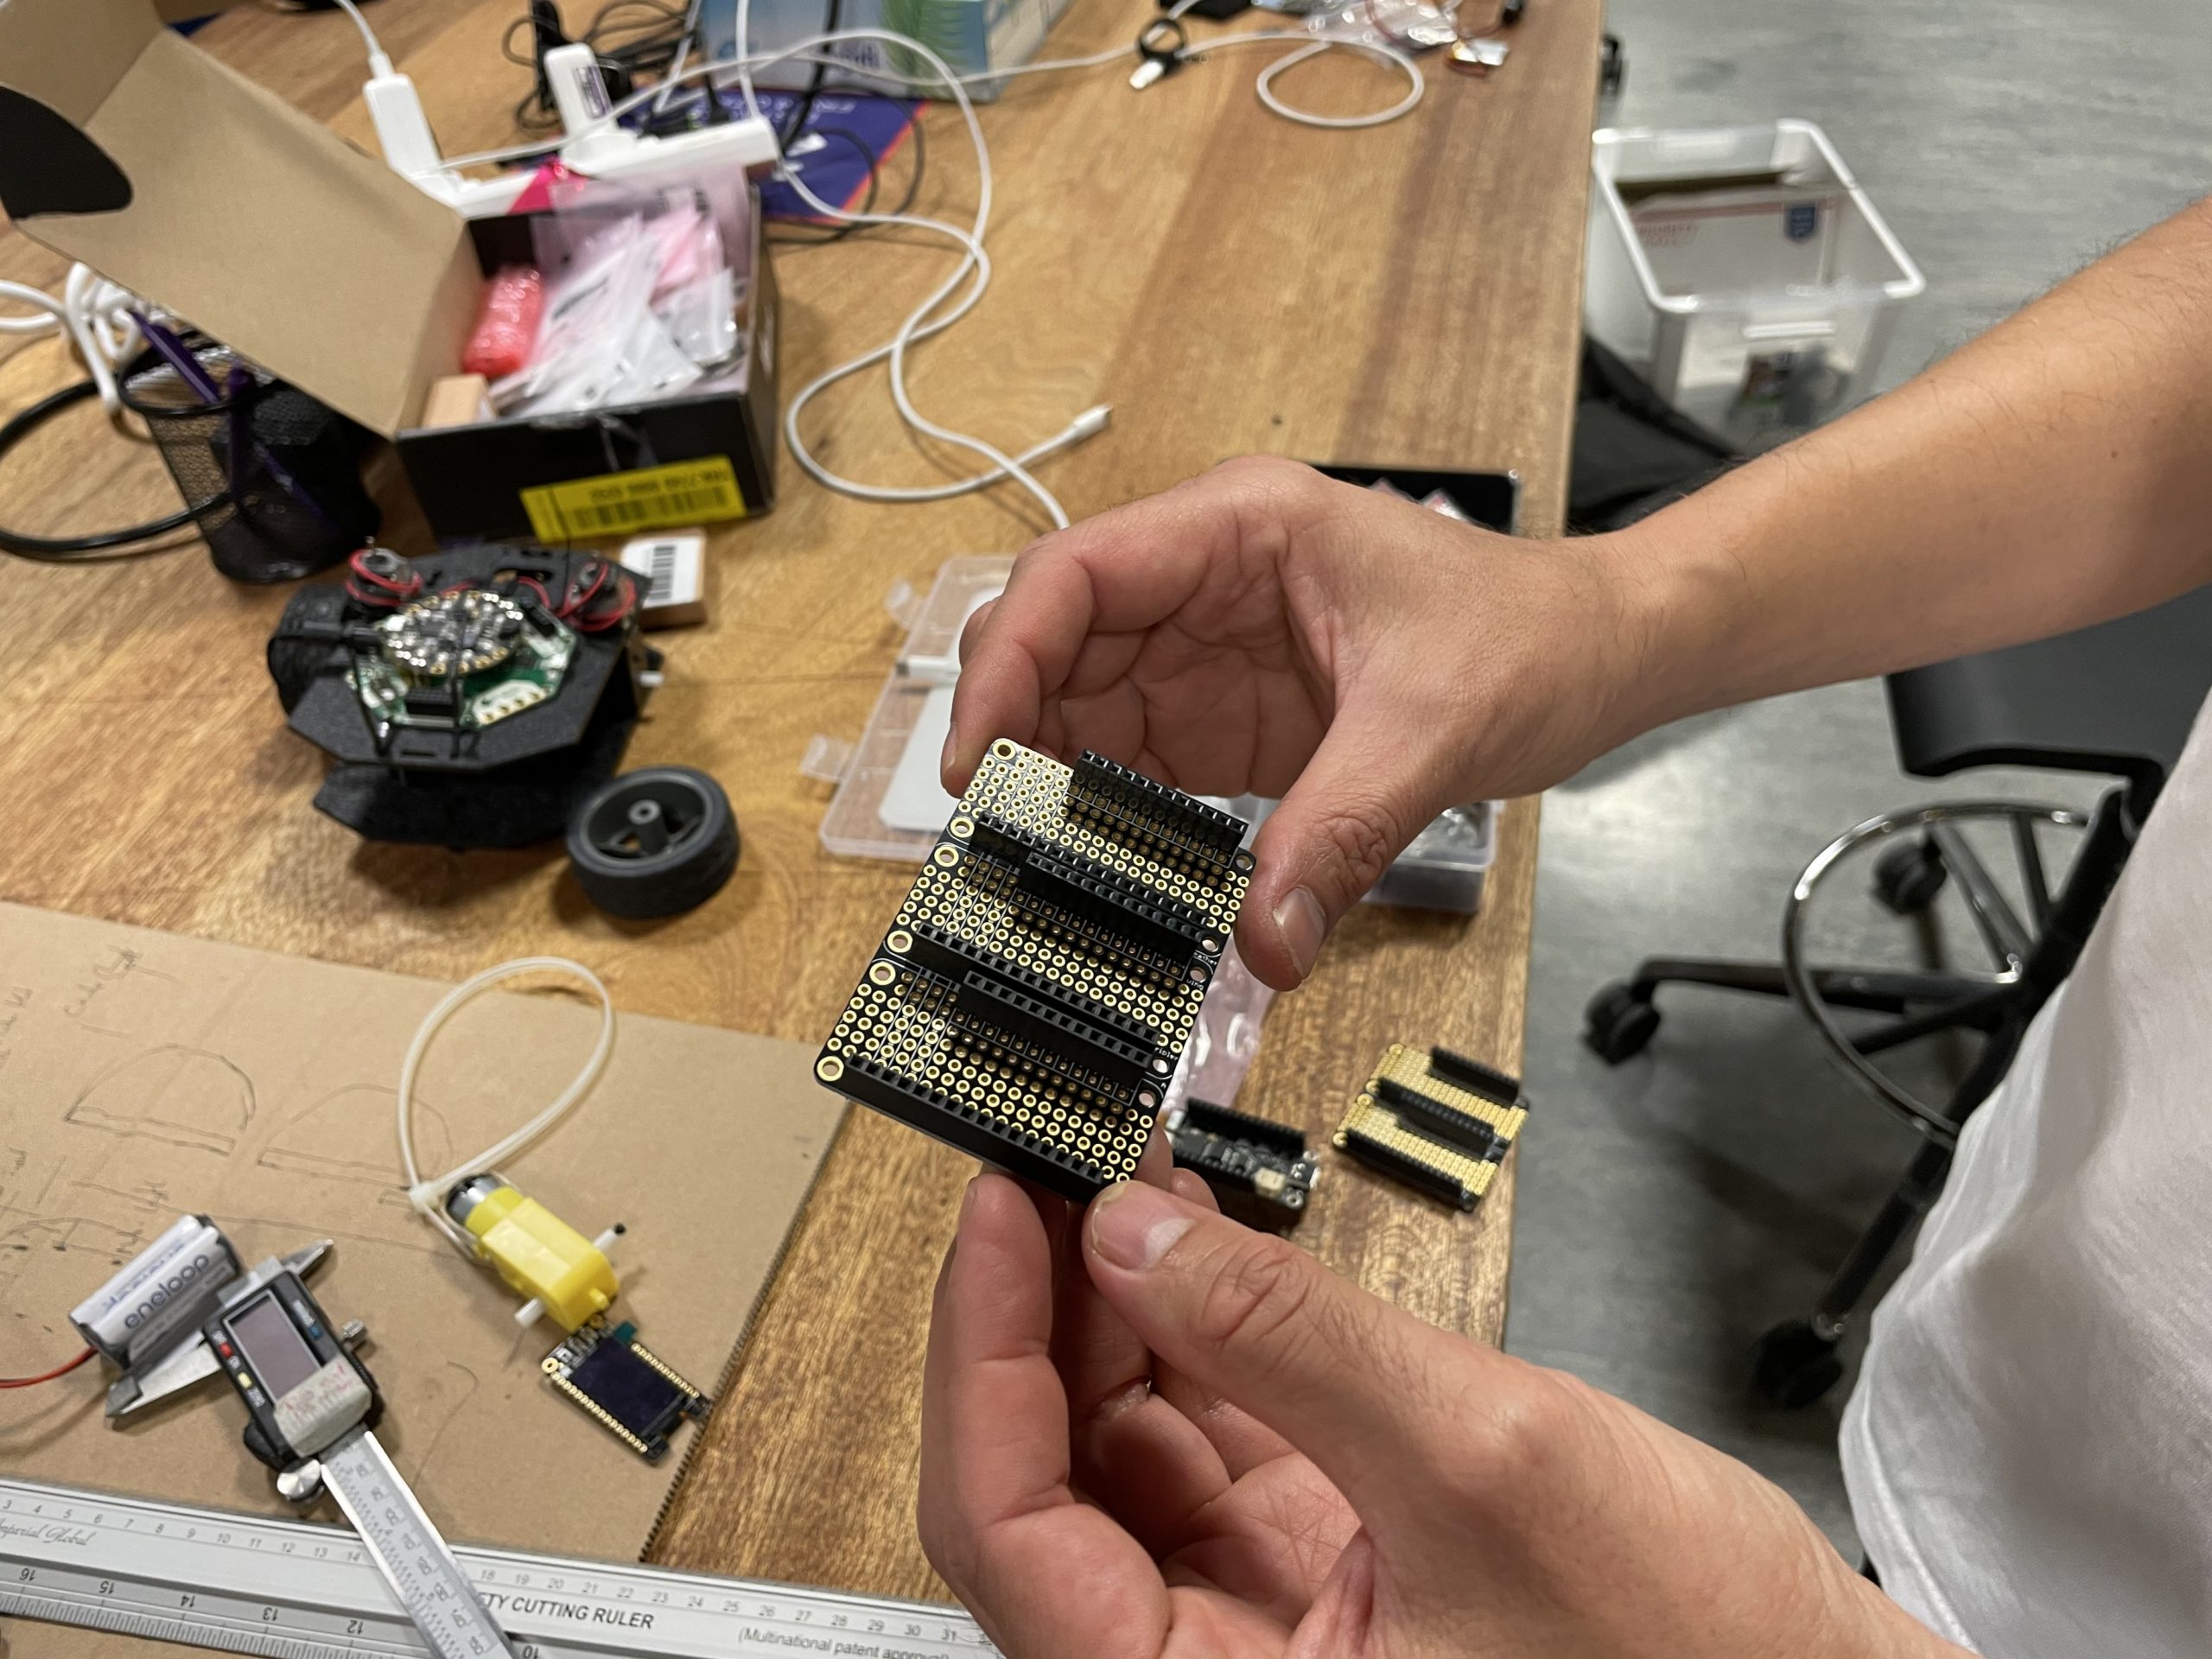
Me and Lydia worked on soldering the boards and pins together.
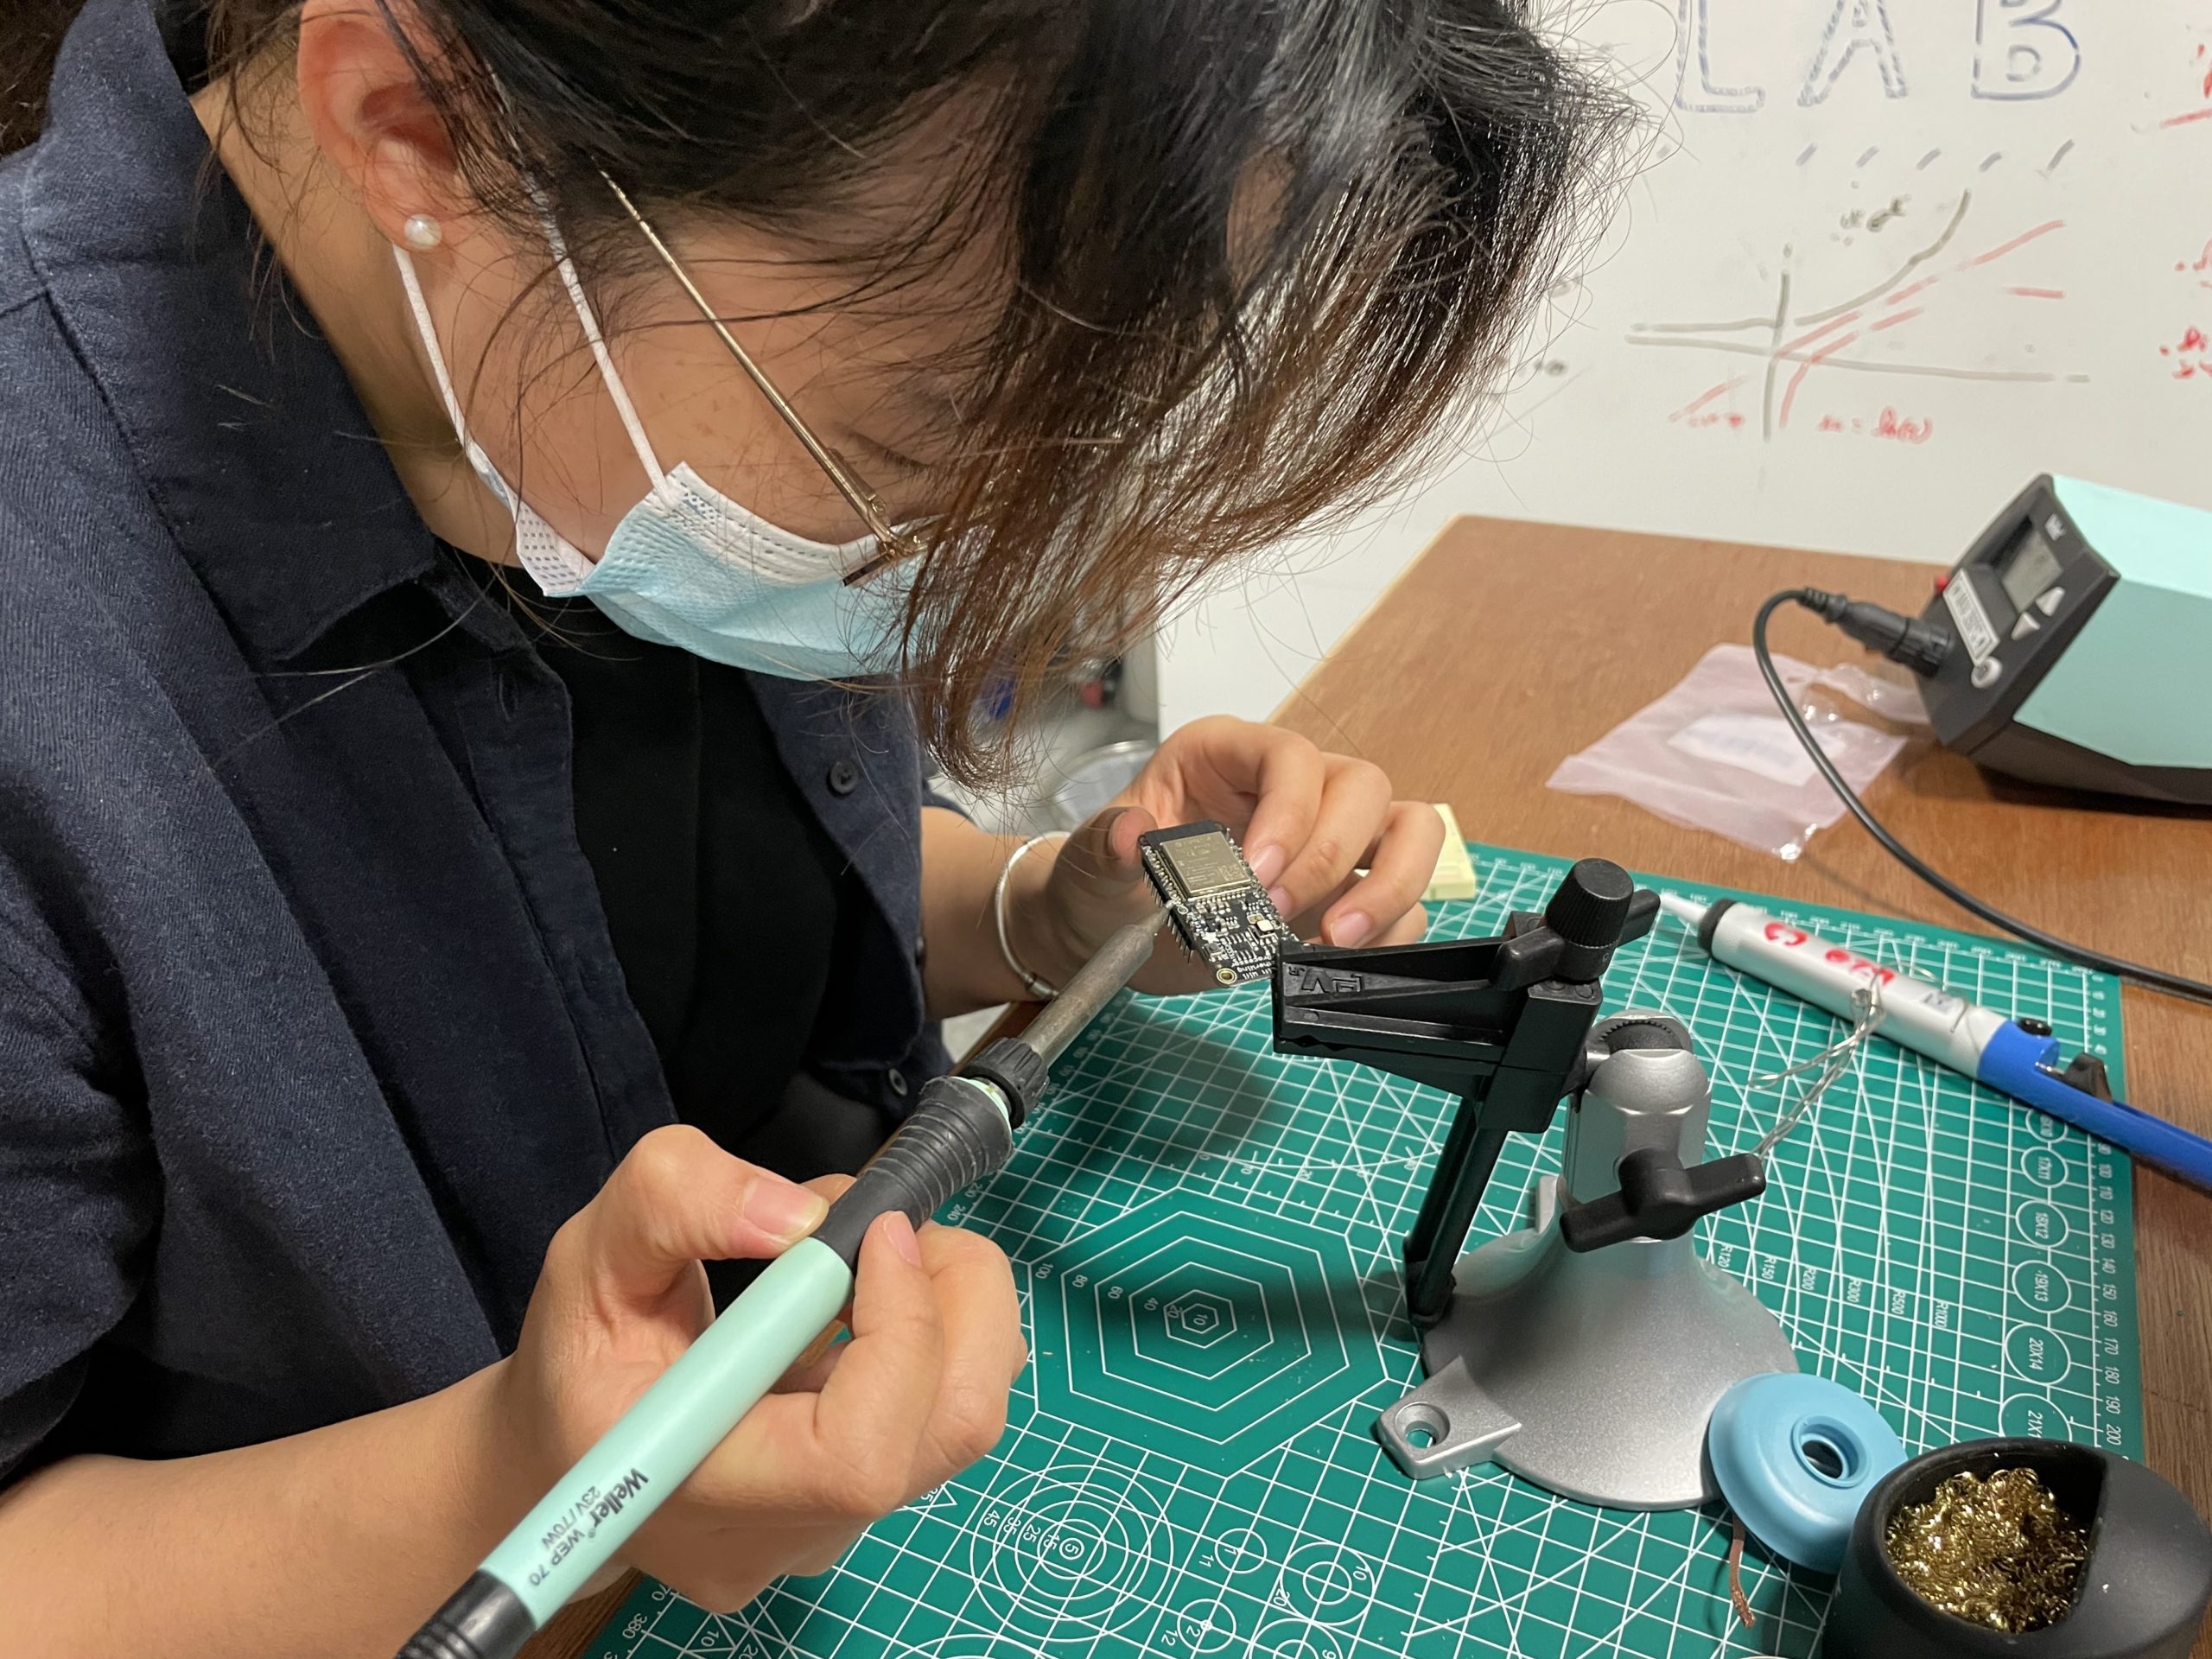
Although I messed up with the sequence of soldering and soldered the long side to the short side of the board, we ended up keeping it because we figured as long as we are not connecting them together, it should be fine. We kept on soldering a few more boards. It is actually quite an intricate work and our eyes hurt at the end of it (lol).
0 Comments